You can copy course content such as assignments, modules, pages, and discussions from previous Canvas courses into existing courses. You can also bulk migrate quizzes from Classic Quizzes to New Quizzes.
You can only copy content from courses in which you are enrolled as a user whose role has the Manage Course Content permission of Course Content - Add enabled.
The Import Course Content option allows you to copy content into existing courses. You may be able to copy content into a new course shell.
Notes:
- Course imports may not include all content. For more details, please see the import content section in the Canvas Basics Guide.
- Importing a course more than once may have unintended consequences. If you import content into a new course, edit the content in the new course, and later import the previous content again, the imported content will override the existing content.
- If you copy all content or include course settings in selected content, the grade posting policy from the original course will override the grade posting policy in the new course. Additionally, imported assignments will retain their assignment posting policy and participation dates from the original course.
- When a course including a New Quiz with an item bank is copied, the bank is automatically shared with the new course.
- To prevent 0s (zero grades) from being automatically entered into the Gradebook when importing content into a course with a late/missing policy set up, it is recommended that you temporarily disable your late/missing policy before importing the content. You can re-enable it once the import is complete.
00:12: In Global Navigation, click the Courses link, then click the name of the
00:16: course.
00:18: In Course Navigation, click the Settings link.
00:21: Click the Import Course Content link.
00:25: In the Content Type drop-down menu, select the Copy a Canvas Course
00:29: option.
00:30: In the Select a course drop-down
00:32: menu, select the course you would like to access. Courses are
00:37: ordered alphabetically by most recent
00:39: term. You can also choose to include completed courses by selecting
00:43: the Include completed courses checkbox, which is selected by
00:48: default. To search for a course by name, enter the name or SIS ID in
00:52: the Search for a course field. Click the name of the course when it appears.
00:57: To import all content from the course, select the All content radio
01:01: button. If you want to select specific content, click
01:05: the Select specific content radio button.
01:09: If allowed by your institution, you can bulk migrate existing quizzes
01:13: into New Quizzes by clicking the Convert content to New Quizzes checkbox.
01:19: If your institution enables the quiz migration feature, question banks
01:23: linked via a question group in Classic Quizzes will migrate to New
01:27: Quizzes. If the quiz migration feature is not enabled by your institution,
01:31: questions from question banks must be individually added before migrating
01:35: to New Quizzes.
01:38: If you want to adjust the due dates associated with the course events and assignments,
01:42: click the Adjust events and due dates checkbox.
01:46: You can import settings from a blue print course into another.
01:49: Blueprint course, importing Blue Print settings applies.
01:52: The same lock preferences to objects.
01:54: As the original blueprint course to import settings from a blueprint.
01:59: Course, click the import blueprint course settings, checkbox,
02:03: When importing content, a message displays explaining that previously
02:07: imported content from the same course will be replaced while manually
02:12: added content will remain.
02:14: Click the Add to Import Queue button.
02:17: The Content imports section displays the status of your import. Running
02:22: reports display a progress bar.
02:25: If you chose to select specific content in your course, the current job
02:29: will show as Waiting for Select, which means you must select the content
02:33: you want to import. View the other content from any
02:37: completed imports by accessing any link
02:40: in Course Navigation. The import may also display
02:44: other status indicators as part of the import process.
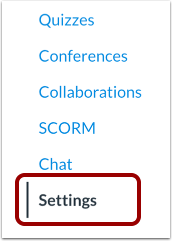
Open Settings
In Course Navigation, click the Settings link.
Import Content into Course
Click the Import Course Content link.
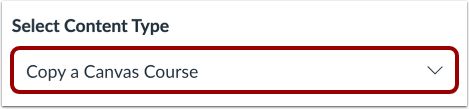
Select Content Type
In the Content Type drop-down menu, select the Copy a Canvas Course option.
Search Course
In the Select a course drop-down menu [1], select the course you would like to access. Courses are ordered alphabetically by most recent term. You can also choose to include completed courses by selecting the Include completed courses checkbox [2], which is selected by default.
To search for a course by name, enter the name or SIS ID in the Search for a course field [3]. Click the name of the course when it appears.
Note: If you have access to more than 100 courses, the search page only displays the Search for a coursefield.
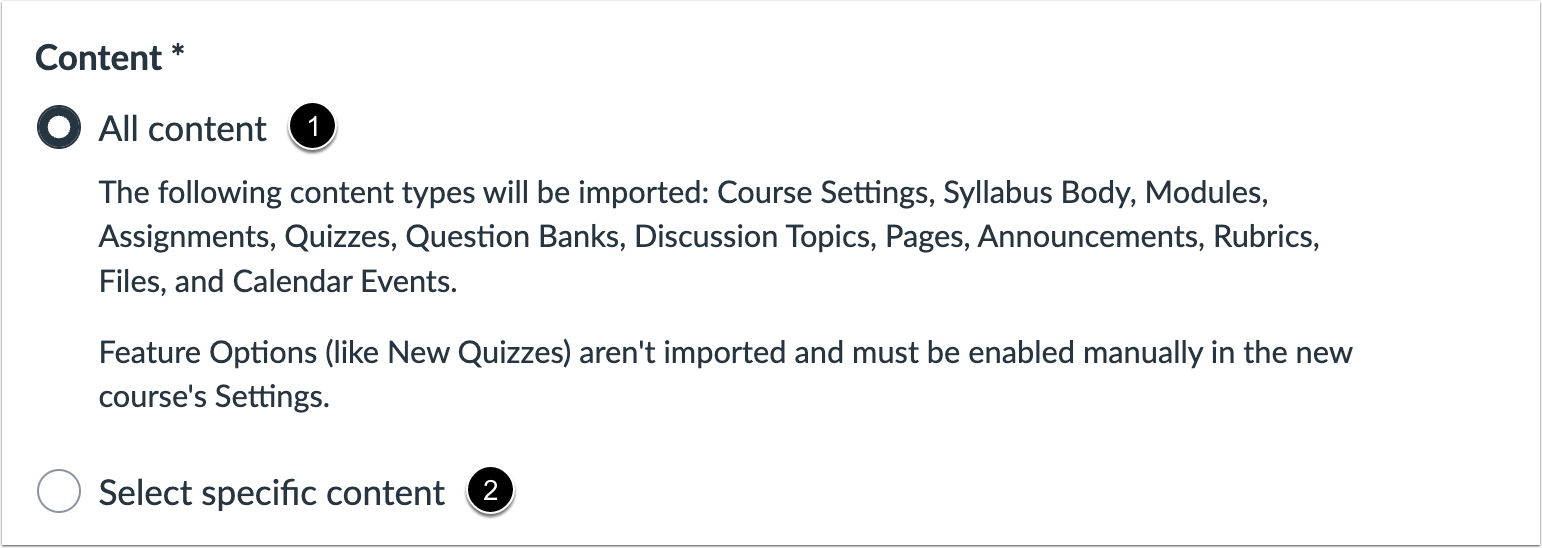
Select Migration Content
To import all content from the course, select the All content radio button [1].
If you want to select specific content, click the Select specific content radio button [2].
Note: If you select the specific content option, you are required to select the content you want to import after you review the remaining page options. After you start importing the content, the import selection cannot be canceled.
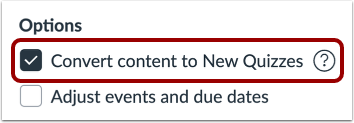
Bulk Migrate Existing Quizzes as New Quizzes
If allowed by your institution, you can bulk migrate existing quizzes into New Quizzes by clicking the Convert content to New Quizzes checkbox. Your institution may enable this option by default, allow you to uncheck it, or require it so that it cannot be unchecked.
If your institution enables the quiz migration feature, question banks linked via a question group in Classic Quizzes will migrate to New Quizzes. If the quiz migration feature is not enabled by your institution, questions from question banks must be individually added before migrating to New Quizzes.
Notes:
- After migration to New Quizzes, multiple dropdown questions display as matching questions.
- Text No Question questions migrate to New Quizzes as Stimulus questions. An instructor must add a question in order for it to display in a quiz.
- Question groups with manually created questions will migrate as item banks in New Quizzes.
- If a quiz is migrated multiple times, Canvas uses smart merging to decipher the question bank content that should be retained. This process helps ensure all content is retained, such as in cases where multiple users may be making edits to a quiz at the same time.
- Practice quizzes from Classic Quizzes can be migrated to New Quizzes. Once migrated, by default, the practice quizzes are displayed as zero points possible and are hidden from the Gradebook and Grades page.
- All Question Banks converted to Item Banks appear on the Item Banks page of the new course under the This Course filter.
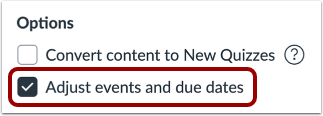
Adjust Events and Due Dates
If you want to adjust the due dates associated with the course events and assignments, click the Adjust events and due dates checkbox.
Import Blueprint Course Settings
You can import settings from a blueprint course into another blueprint course. Importing blueprint settings applies the same lock preferences to objects as the original blueprint course. To import settings from a blueprint course, click the Import Blueprint Course settings checkbox.
View Content Import Warning Message
When importing content, a message displays explaining that previously imported content from the same course will be replaced while manually added content will remain.
Import Course
Click the Add to Import Queue button.
View Content Imports
The Content imports section displays the status of your import. Running reports display a progress bar [1].
If you chose to select specific content in your course, the current job will show as Waiting for selection [2], which means you must select the content you want to import. View the other content from any completed imports by accessing any link in Course Navigation.
The import may also display other status indicators as part of the import process.