00:07: How do I create a group discussion in a course?
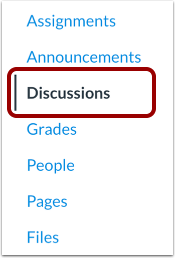
00:10: In Course Navigation, click the Discussions link.
00:15: Click the Add Discussion button.
00:18: Enter a discussion title in the Topic Title field.
00:22: Add discussion content using the Rich Content Editor.
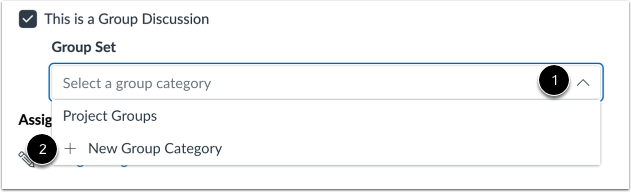
00:26: To make the discussion a group discussion,
00:28: click the This is a Group Discussion checkbox.
00:32: To select an existing group set, click the Group Set drop-down menu. To
00:37: create a new group category, click the New Group Category button.
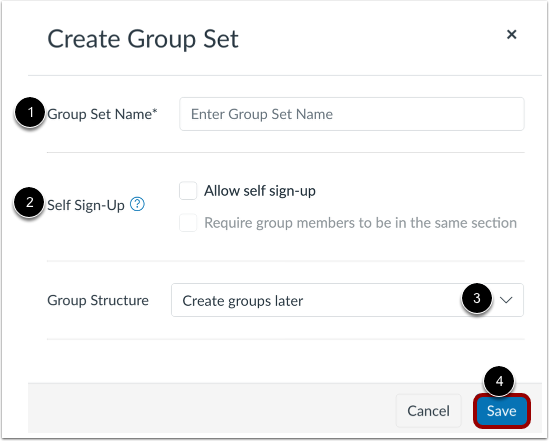
00:41: If you chose to create a new group category, enter the group set and group information
00:46: in the create group set, modal type, the groupset name in the groupset
00:50: name field. If you want to allow for self, sign up for groups in the group set,
00:54: check the allow self signup checkbox, select a group structure option
00:58: in the group structure section, you can choose to split students into a set
01:03: number of groups split students into groups with a set number of students per group
01:07: or create groups. Later on the People page when you're finished, click
01:11: the save button to create the group set and groups, you can refer to
01:15: our group guides for more information about creating and editing group sets
01:19: and creating groups.
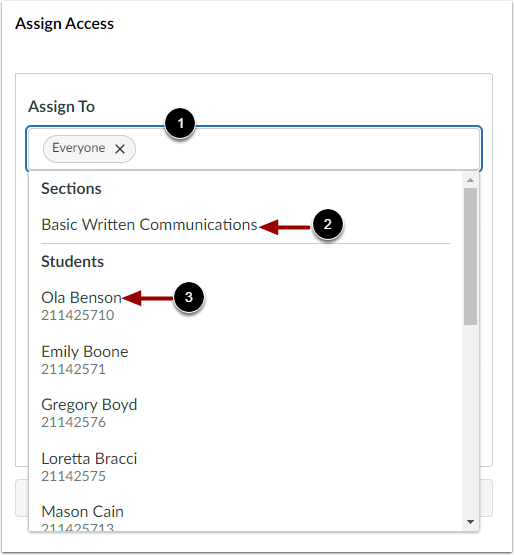
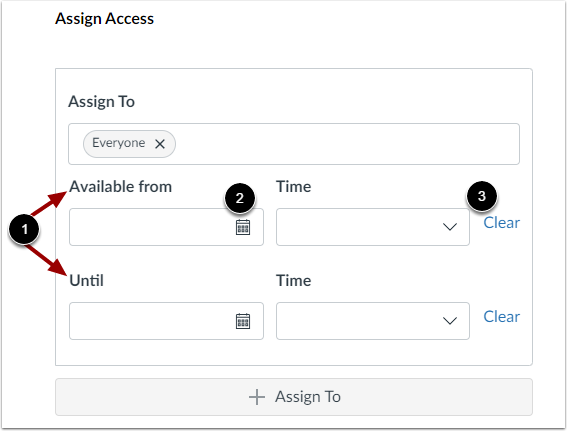
01:22: To change the assignees, click the Assign To field.
01:25: Select one or more assignees. You can assign to everyone
01:29: a course section, or an individual student.
01:32: To make your discussion available on a specific date or during a specific date
01:37: range, enter the dates in the Available From and Until fields, or
01:41: click the calendar icons to select dates.
01:43: These dates apply to all users. By default, these fields
01:47: are left blank and the discussion can be viewed throughout the entire course.
01:52: To remove a date entered in the Available From or Until field, click
01:56: the Clear button.
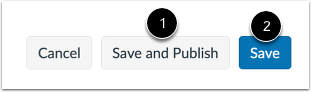
01:58: If you are ready to publish your discussion, click the Save and Publish button.
02:02: If you want to create a draft of your discussion and publish it later, click
02:06: the Save button.
02:09: When your discussion is saved in a draft state, you can return to the page and
02:13: publish it at any time by clicking the Publish button.
02:17: To open the group discussion, click the Groups icon, then click the name
02:21: of the group you want to open.
02:24: When students open the discussion, they will be taken to the Discussions page
02:28: within their specified project group to complete the assignment.
02:32: This guide covered how to create a group discussion in a course.