00:10: To create a question, click the Add button anywhere in the quiz.
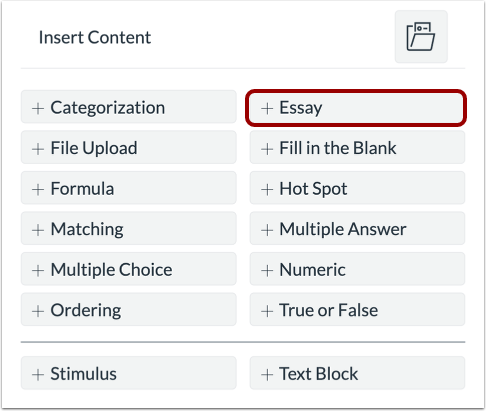
00:15: Click the Add Essay button.
00:17: In the Question Title field, add a question title. Question titles
00:22: are optional and are not visible to students.
00:25: In the Question Stem field, add the question for the Essay question.
00:29: You can use the Rich Content Editor or the HTML view to format
00:33: and add content to your prompt.
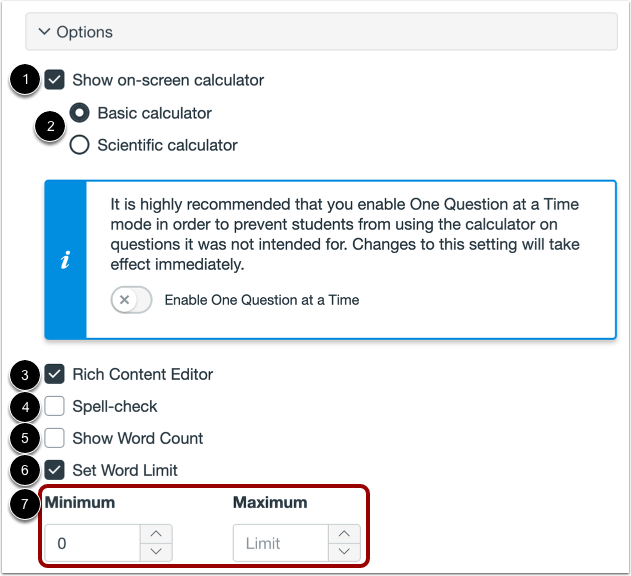
00:36: To allow students to use an on-screen calculator, click the show on screen calculator.
00:40: Checkbox, when you select this option, you can choose either a basic or
00:44: scientific calculator, the basic calculator displays numbers, and basic
00:49: math functions, such as add subtract, multiply and divide,
00:53: the scientific calculator, displays more options for advanced calculations.
00:59: The Rich Content Editor is enabled for students by default. To disable
01:03: the Rich Content Editor, click the Rich Content Editor checkbox.
01:08: To enable spell-check, click the Spell-check checkbox.
01:12: To enable word count tracking, click the Show Word Count checkbox.
01:17: To set a word limit for the Essay question, click the Set Word Limit checkbox.
01:21: You can set a minimum and maximum word limit for student answers.
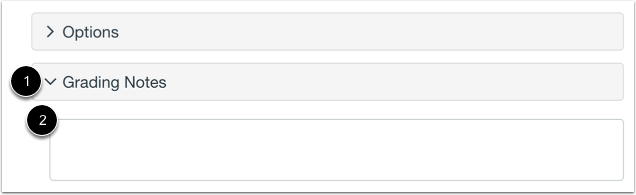
01:26: To add grading notes, click the Grading Notes tab and enter your notes in the
01:30: text field.
01:32: To align the question to an outcome, click anywhere in the Align to Outcomes section.
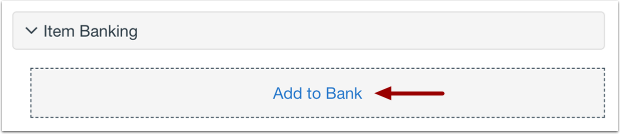
01:38: To add the question to an item bank,
01:40: click the Add to Bank link.
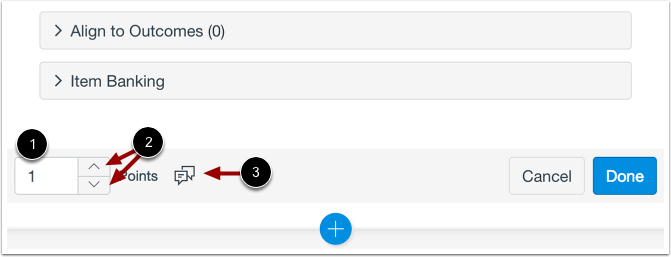
01:43: To customize the point value for the question, type the point value in the Points
01:47: field or use the arrows to increase or decrease the point value.
01:52: To leave feedback for students, click the Feedback icon.