00:07: How do I create a graded discussion?
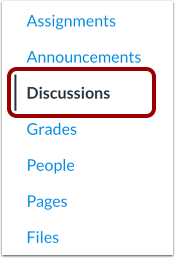
00:10: In Course Navigation, click the Discussions link.
00:14: Click the Add Discussion button.
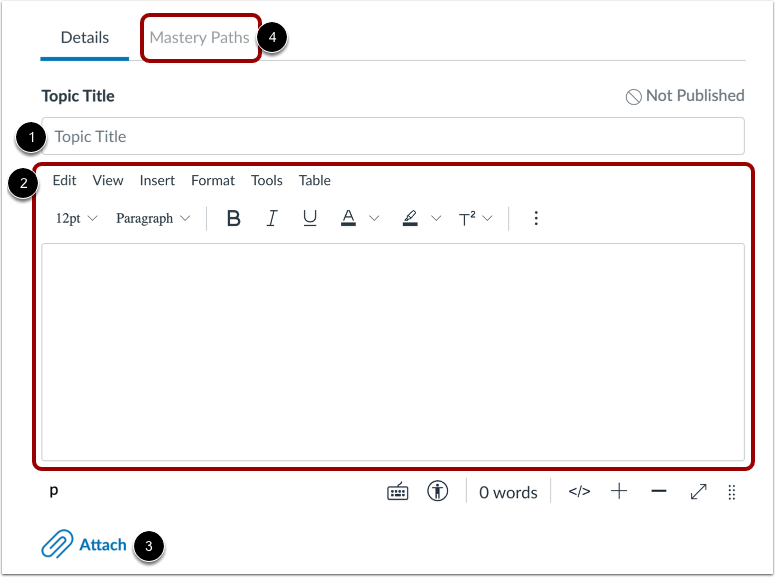
00:17: By default, the Details tab is selected.
00:20: Enter a discussion title in the Topic Title field.
00:24: Add discussion content using the Rich Content Editor.
00:28: You can also attach files to your discussion.
00:32: To add Mastery Paths to a graded discussion, click the Mastery Paths
00:36: tab.
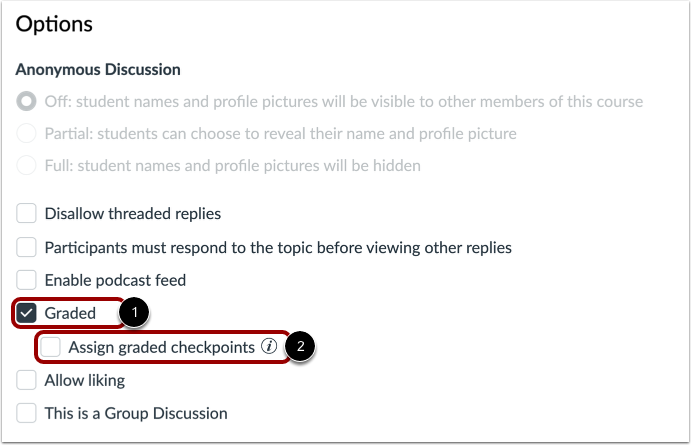
00:37: To create a graded assignment, click the Graded checkbox. When creating
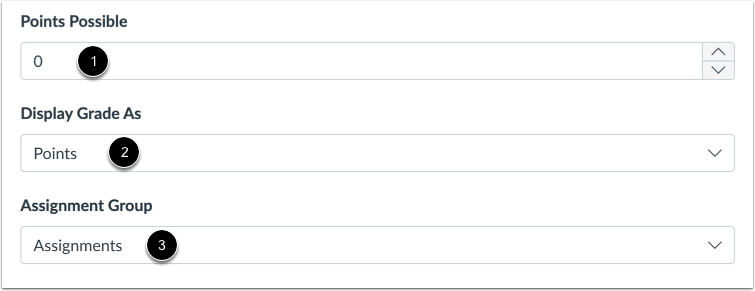
00:42: a graded assignment, additional options display, where you can select a
00:46: number of points, add peer reviews, and select other options.
00:49: Learn more about creating a graded assignment for everyone, individual
00:53: students, course sections, or for course groups.
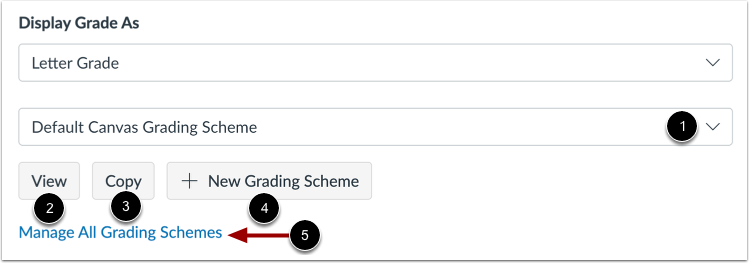
01:22: If you display grades as letter grades, the grading scheme defaults to the Default
01:26: Canvas Grading Scheme. To select another grading scheme, click the Grading
01:30: Scheme drop-down menu and select another scheme.
01:34: You can view or copy the current grading scheme.
01:37: You can also create a new grading scheme or manage all grading
01:41: schemes.
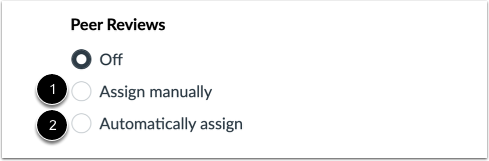
01:42: By default, peer reviews are not assigned. To assign peer
01:46: reviews manually, click the Assign manually radio button. To assign
01:50: peer reviews automatically, click the Automatically assign radio button.
01:56: If you enabled the Assign graded checkpoints option, you can add points
02:00: possible for replies to the discussion topic, the number of additional replies
02:04: required, and points possible for additional replies.
02:07: The total points possible will display at the bottom.
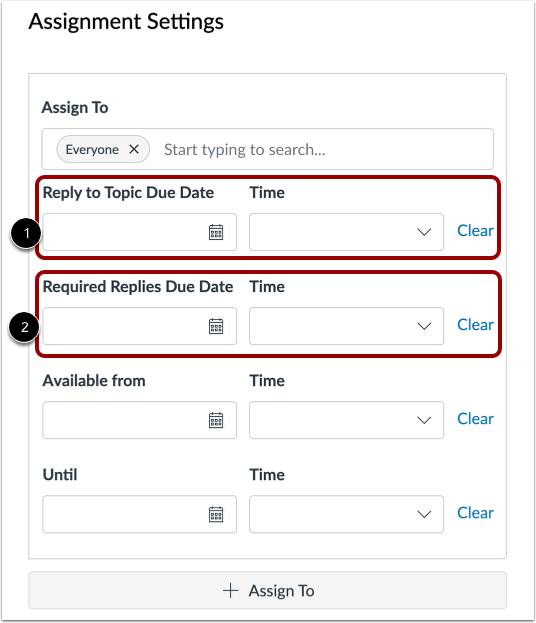
02:11: In the Assignment Settings section, you can manage assignees, the due
02:16: date, and availability dates.
02:19: If you enabled the Assign graded checkpoints option, you can add a due date for replies
02:23: to the discussion topic and required replies.
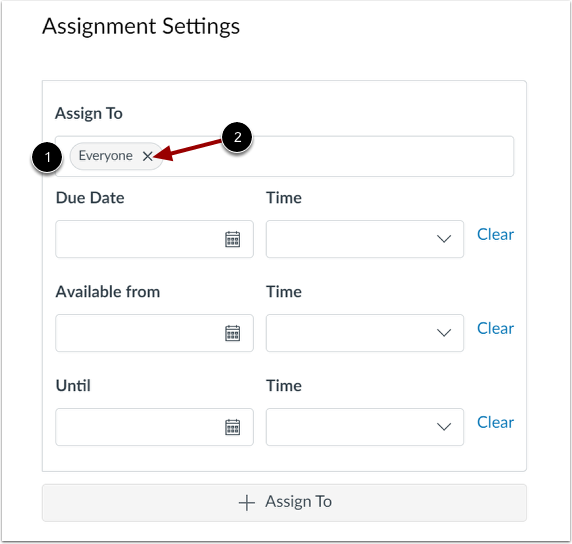
02:27: By default, graded discussions are assigned to everyone in the course.
02:30: However, you can differentiate the assignments. To assign
02:34: a graded discussion to an individual student, section, group, or
02:39: Mastery Path, remove Everyone
02:41: by clicking the Remove icon.
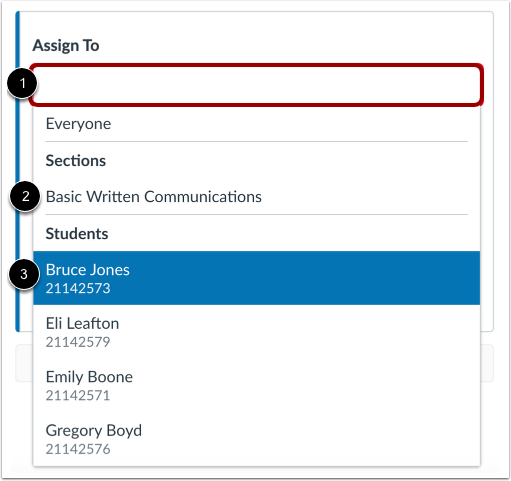
02:44: To add individual student, click the Assign To field. Then, select
02:48: a course section or a student's display name.
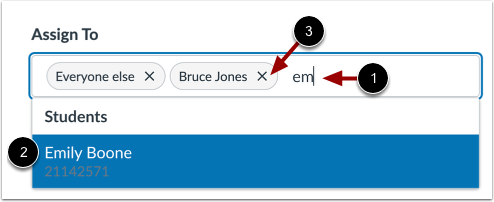
02:52: To find a student or section more easily, enter a few letters of the name
02:56: and select the name from a filtered list.
03:00: To remove an assignee, click the assignee Remove icon.
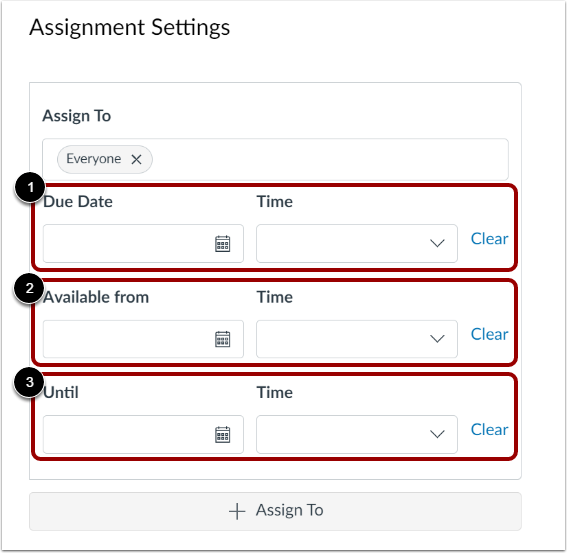
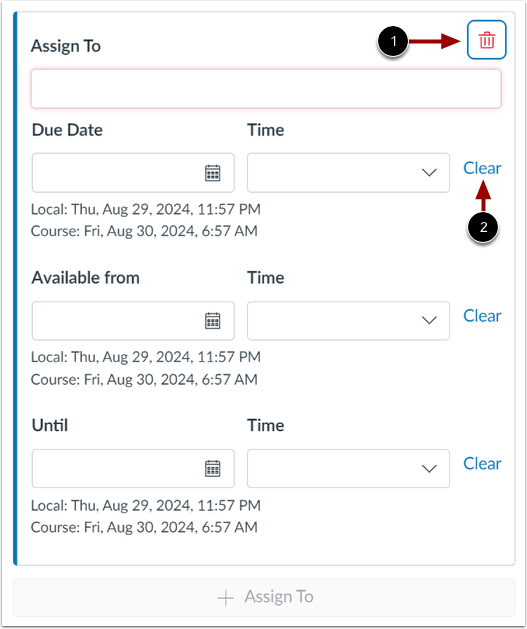
03:04: Add the due date as well as the availability dates.
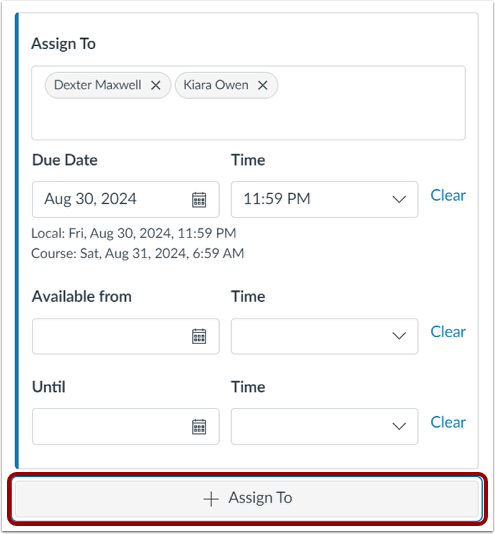
03:08: To add an assignment with a different due date and availability dates, click
03:13: the Assign To button. Then enter a new set of assignees, due
03:17: dates, and availability dates.
03:20: You can also delete assignments by clicking the Remove icon in the appropriate assignment
03:24: section.
03:26: To remove the dates in the Due Date, Available
03:28: from, or Until fields, click the Clear link.
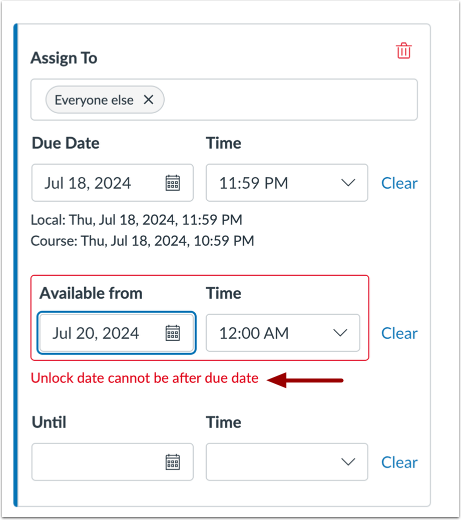
03:33: If you submit an invalid string of due dates, Canvas generates an
03:37: error notification. Invalid
03:39: entries include not unlocking the discussion before it is due, not placing
03:43: the due date inside the range of availability dates, or assigning
03:47: a date that is outside the course or term dates.
03:51: Correct the date and then update the discussion again.
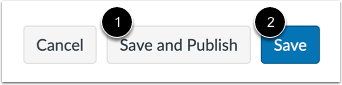
03:55: If you are ready to publish your discussion, click the save and publish button.
03:59: If you want to create a draft of your discussion and publish it later, click
04:03: the save button.
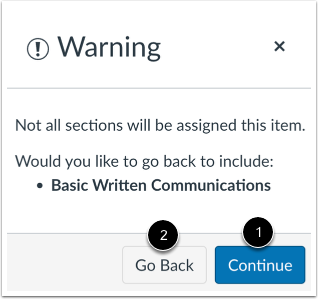
04:06: If you do not add course sections or students to the assignment, a
04:10: warning message displays. If you don't want to add any others to the assignment,
04:14: click the Continue button, or to go back and add additional sections
04:18: or students, click the Go Back button.
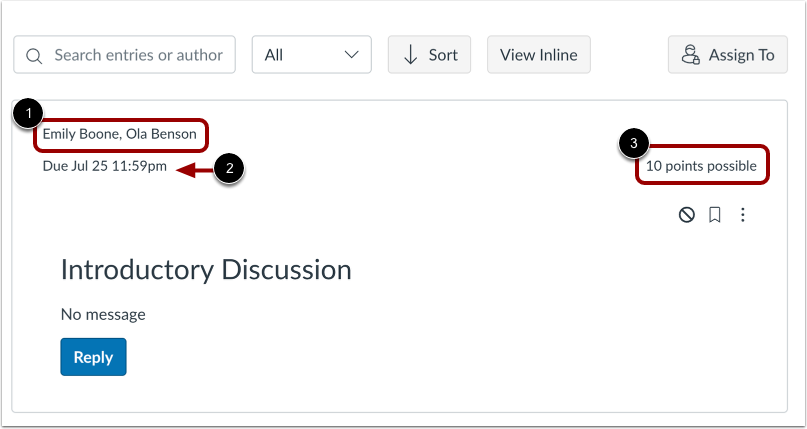
04:22: If there is only one set of assignment dates, you can view the assignees, the
04:26: due date, and the number of points possible.
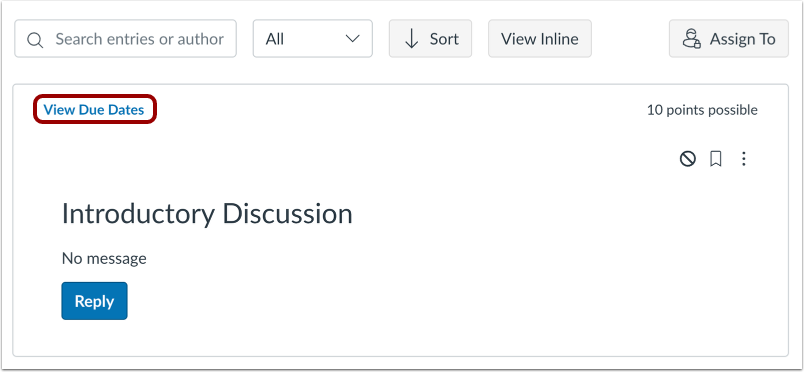
04:29: If there are multiple assignments, you can view users and due dates for the discussion
04:34: by clicking the View Due Dates link.
04:37: View the dates assigned to the graded discussion. To close the Due Dates window,
04:41: click the Close icon.
04:44: This guide covered how to create a graded discussion.