00:07: How do I create a Fill-in-the-Blank quiz question?
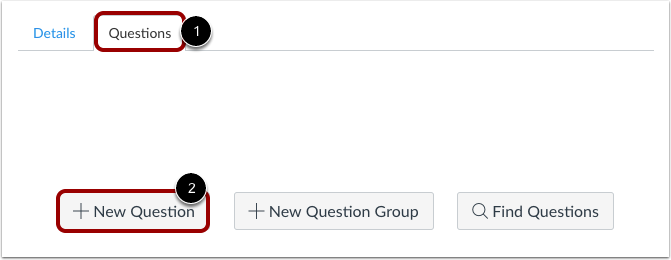
00:10: With the Questions tab selected inside a new quiz, click the New Question button.
00:16: Quiz questions are not automatically numbered for instructors. To add a custom name to your quiz question, enter the name in the question text field. Custom names can help you identify quiz questions more easily. Regardless of the question name, students always see quiz questions in numerical order, such as Question One and Question Two.
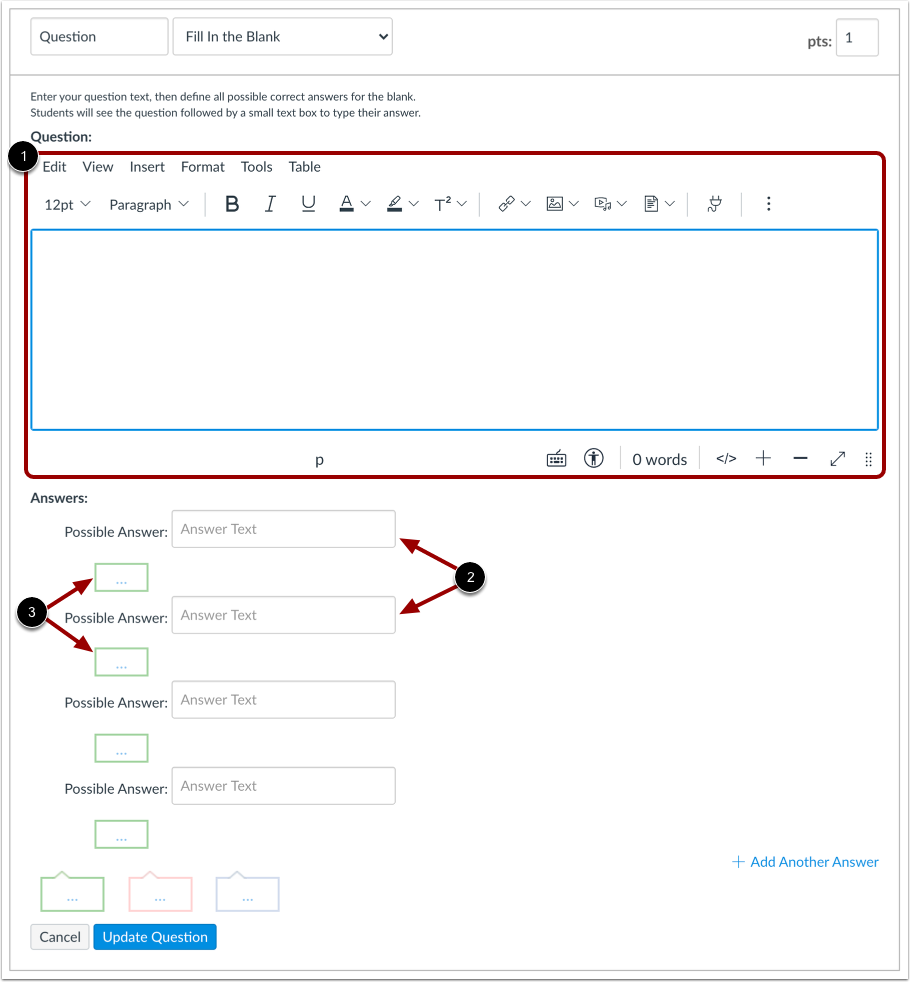
00:36: Click the drop-down menu and select the Fill in the Blank question type.
00:42: Enter the number of points the question is worth. Quiz totals are calculated based on the combined total of all questions.
00:51: Keep in mind that quiz point values support up to two decimal places. If you enter more than two decimal places, the value will round to the nearest hundredth.
01:01: To build a Fill in the Blank question, you will need to enter the following details:
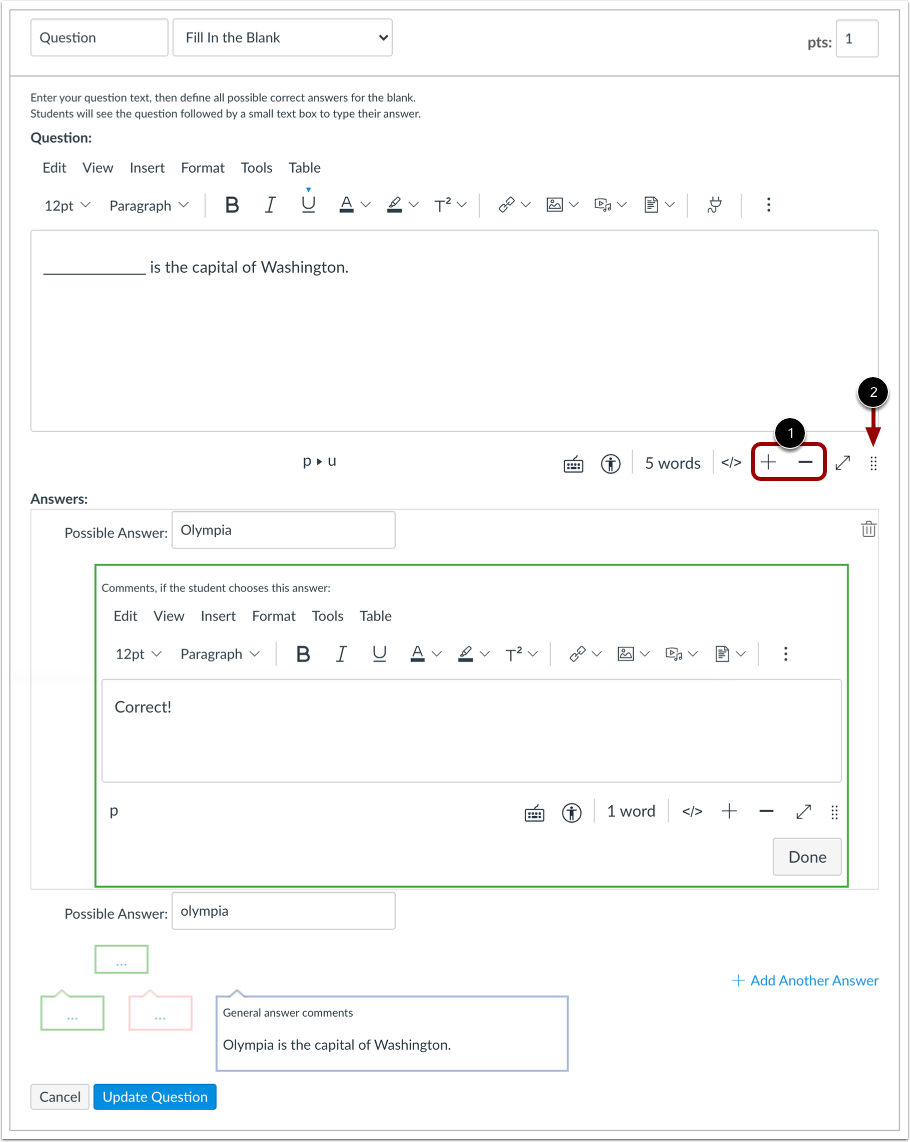
01:06: The question text, where you can use the Rich Content Editor to add video, images, math equations, or flash activities.
01:15: The text for the possible answers.
01:17: And the text for the answer comments under each answer, which appear for all possible answers and also at the end of the question.
01:26: Fill in the Blank answers are not case sensitive. The only way a student will get the answer wrong is if they leave it blank or misspell it. You can click Add Another Answer to include as many different versions of the correct answer as you want. Possible answers are limited to eighty characters.
01:45: Students must enter their response exactly as it appears in the possible answer field, including any extra spaces, in order to receive credit. If a student enters a valid response that doesn’t match any of the listed possible answers, you may need to manually grade the quiz to restore any points they lost.
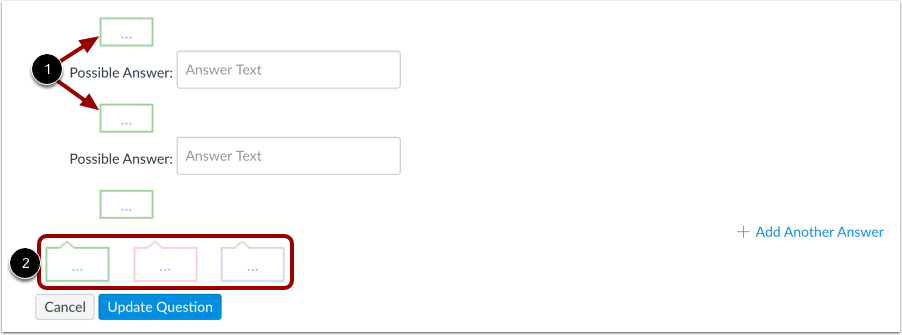
02:04: You can choose to give students feedback in the answer, comments fields to leave feedback for a specific answer, click the comment field. Beneath that answer.
02:14: You can also create General answer comments for the quiz question as a whole.
02:18: Students who select the correct answer will see the feedback in the green comment field.
02:23: Students, who select an incorrect answer will see the feedback in the red. Comment field. All students will see the feedback in the blue comment field.
02:32: Any applicable feedback becomes visible. As soon as a quizzes submitted and cannot be hidden from students,
02:39: Click the Update Question button.
02:42: Add additional individual questions as needed.
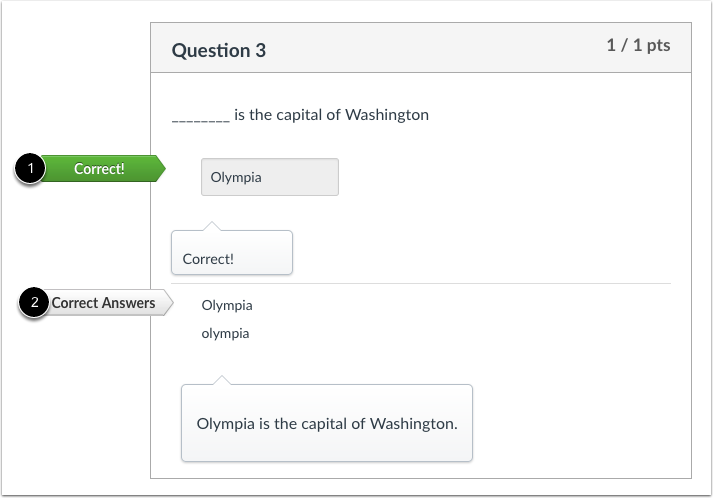
02:46: This is what students see when they encounter a Fill-in-the-blank question in a quiz.
02:51: Students will see whether their answer is correct, as indicated by the green flag. If you allow students to view correct answers, they will see all of the possible correct responses, marked with a gray flag, after they submit the quiz.
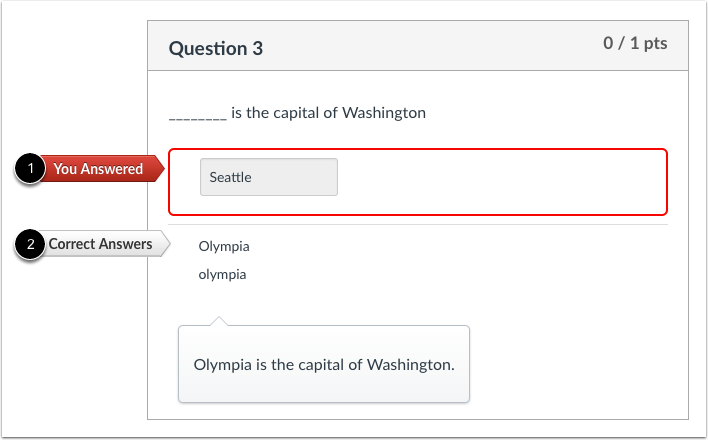
03:05: Students will see whether their answer is incorrect, as indicated by the red flag. If you allow students to view correct answers, they will see all of the possible correct responses, marked with a gray flag, after they submit the quiz.
03:19: This video covered how to create a Fill in the Blank quiz question.