00:07: How do I use Course Pacing?
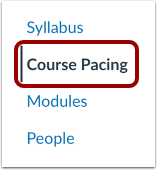
00:09: In Course Navigation, click the Course Pacing link.
00:14: To create a course pace, click the Get Started button.
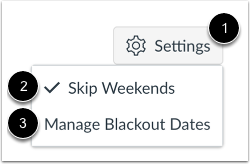
00:18: To exclude weekends from course pacing,
00:20: click the Settings icon. Then click the Skip Weekends link.
00:25: To manage blackout dates, click the Manage Blackout Dates link.
00:30: Note: The first assignment that is adjusted
00:32: is based off the course start date. The second assignment that's adjusted is based
00:36: off the first assignments due date.
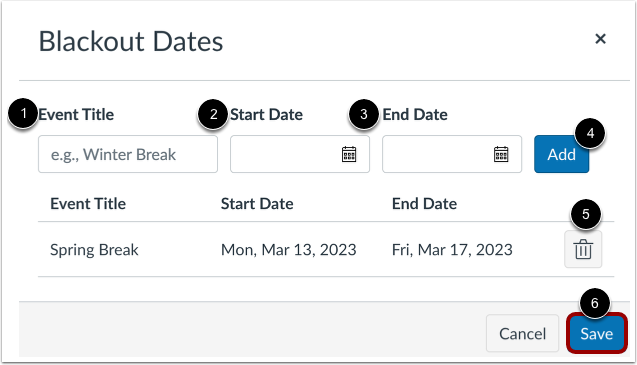
00:39: To add blackout dates, enter a title for the event in the Event Title field.
00:44: Add a start date and end date. To add the blackout dates,
00:48: click the Add button. To delete blackout dates, click
00:52: the Delete button. To save your changes,
00:55: click the Save button.
00:57: Of course, pacing start and end dates.
00:59: Default to the course. Start date and end dates noted.
01:02: In course settings. You can create a course Pace to
01:07: determine when course, assignments are due using the assignments days, filled by
01:11: default, all course, pacing assignments display the course start date.
01:16: To modify the number of days and assignment is Due based on the course, start date
01:20: use the days field, subsequent assignments display, the
01:24: adjusted due date, you can manage a subsequent assignments, due date,
01:28: using the days field.
01:30: When a Course Pace has been created, you can manage individual students,
01:34: the start date displays the student's enrollment date. The student's
01:38: end date is based on your determined course pace.
01:42: The student's assigned due dates display based on their enrollment
01:46: date and the course pace.
01:49: To save your changes, click the Create Pace button
01:53: This guide covered how to use Course Pacing.