00:07: How do I add users to a course?
00:10: In Course Navigation, click the People link.
00:13: Click the Add People button.
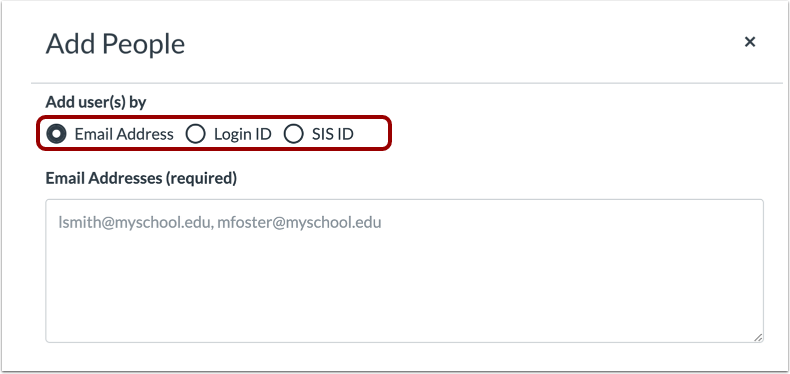
00:16: To add a user. You can search for users with up to one of three options.
00:20: Email address login ID or is Ias ID.
00:25: To select a search option, click the radio button for your preferred search method.
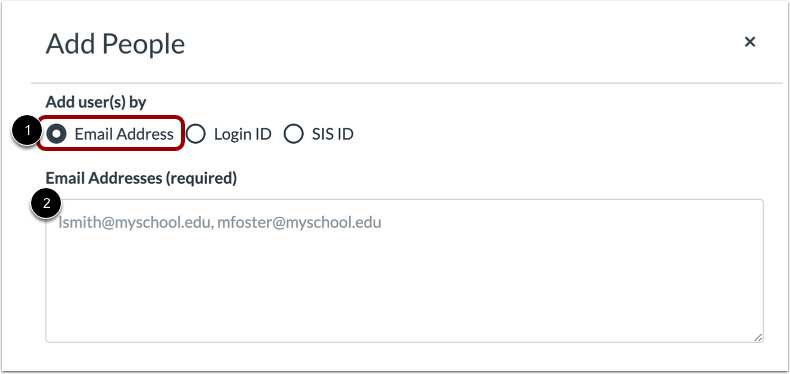
00:30: By default, the search field is set to search by email address. In
00:35: the text field , enter the email address for the
00:38: user. You can copy and paste multiple users at one
00:41: time, such as from a comma separated value (CSV) file,
00:45: by placing a comma or line break between
00:48: users. When searching by email address, the user's institution-assigned email address
00:52: should be used whenever possible.
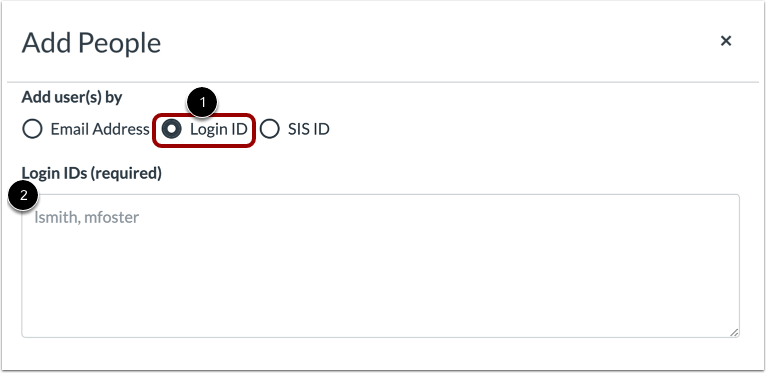
00:55: To add a user by login ID, click the login ID radio button
00:59: in the text field. Enter the login, ID for the user.
01:03: You can copy and paste multiple login, IDs at one time by
01:08: placing a comma or line break between log and IDs.
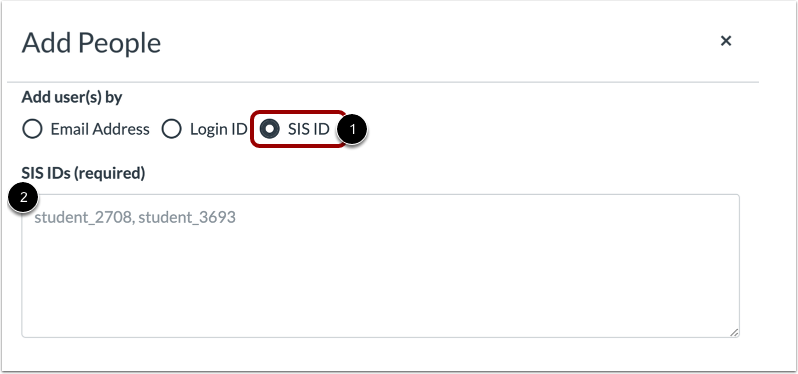
01:12: If your institution allows you to view az's, IAS IDs in
01:16: your course, you can also search for users by Aziz ID
01:20: to search for users by A's, A's Azz click the ease
01:24: eyes ID radio button in the text field enter the esi's
01:30: ID for the user. You can copy and paste, multiple ease eyes,
01:34: IDs at one time by placing a comma or line break between Eis
01:39: IDs.
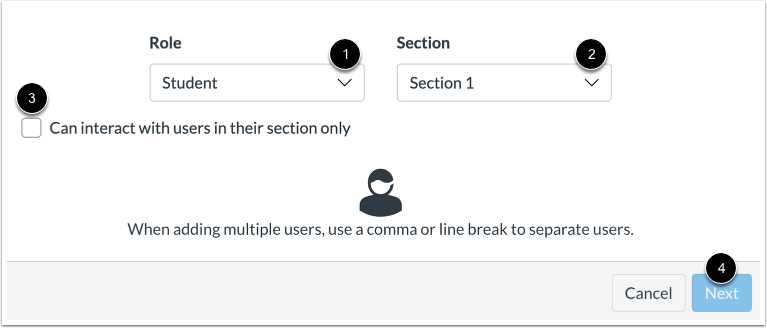
01:41: In the Role drop-down menu, assign the user(s) a role for the course based on available
01:45: course roles.
01:47: In the Section drop-down menu, assign the user(s) a section in the course.
01:51: If you want to limit the user(s) to only interact with other users in their section,
01:55: click the Can interact with users in their section only checkbox.
01:59: Click the Next button.
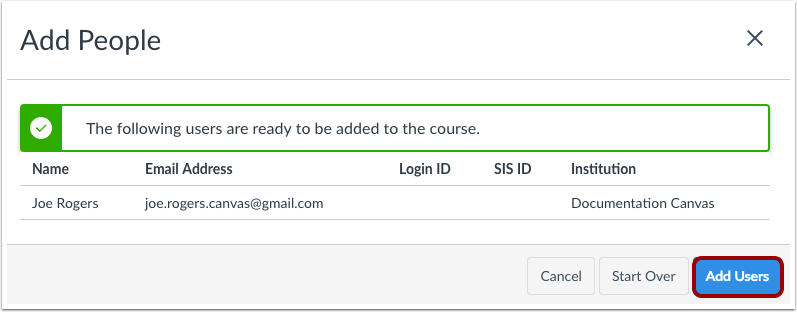
02:02: If Canvas finds an existing user, you can confirm the user before adding
02:06: the user to the course. The user's name displays in the page along
02:11: with the user's information you used in the user search.
02:14: Although Canvas may display additional search columns, existing information in
02:18: a user's account will not be displayed. When you are ready, click
02:23: the Add Users button. If Canvas did not find your intended
02:27: user, you can click the Start Over button.
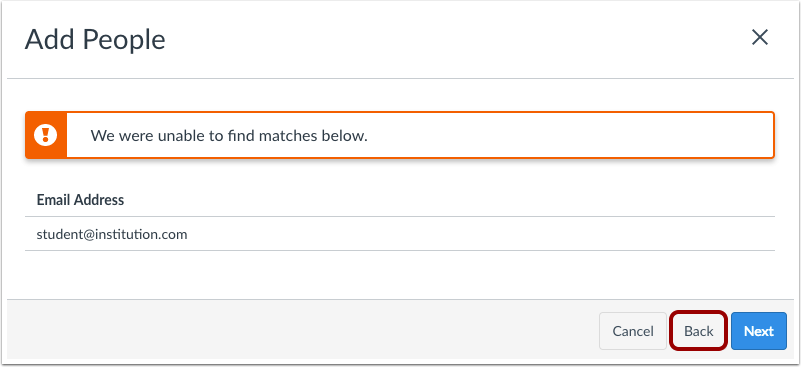
02:31: If Open Registration is disabled for your institution and Canvas is not
02:35: able to find a match for the user(s), Canvas will notify you that a match was
02:39: not found. To try a new search, click the Back button.
02:44: If open registration is enabled for your institution and canvas is
02:48: not able to find a match for the users, you can choose to add the users, to your course.
02:52: Canvas may ask you, if you want to create a new user account, if the user
02:56: does not have a user name in the courses account, the user's email address
03:00: is linked to another user within the account.
03:03: Or the institution does not use delegated, authentication to
03:07: add all users in the search results. Click the select all checkbox to
03:12: add an individual user. Click the checkbox, next to the user's name,
03:17: If you searched for users in a format that includes a user's name, any
03:21: selected users will automatically include the user's names in the enrollment list,
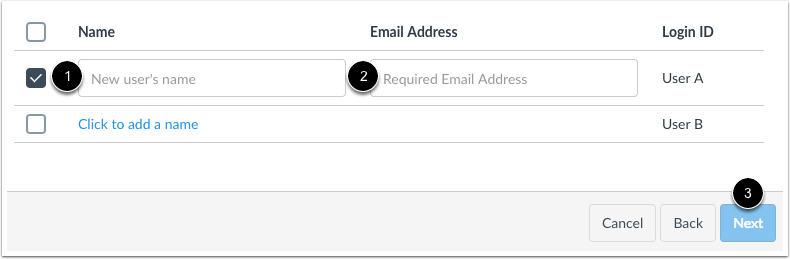
03:25: you can make adjustments to the username if necessary, if the user's
03:30: name was not included, you can choose to add a name to associate with the user's
03:34: email address, otherwise, canvas will use the user's email address
03:38: as the user's name. Click the next button,
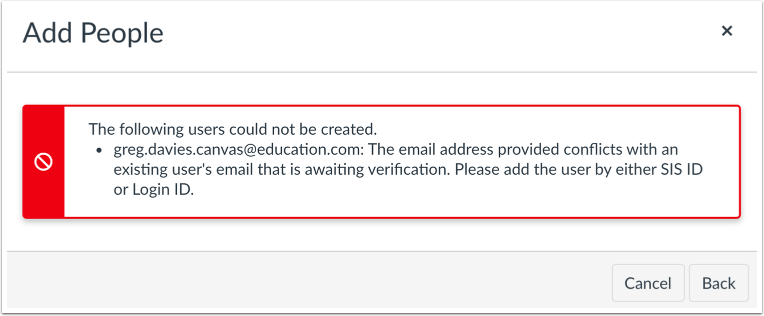
03:42: If you add a user via email and their email address has not been verified, you
03:46: may see an error message. If you are unable to add a user with an unverified
03:51: email to your course, you must wait for the user to verify their email
03:55: address or add the user by either essay I say ID
03:59: or login ID.
04:01: If you want to add a user via a login or its isid, you
04:06: can choose to add a name to associate with the user.
04:08: You are also required to include an email address for the user.
04:13: If no, username is entered canvas will use the user's email address as
04:18: the user's name. Once you have entered an email address,
04:22: you can click the next button.
04:25: Confirm the user is you are adding to the course via your selected search method, click
04:29: the add users button.
04:32: Until the user accepts the course invitation, the user's status will display as
04:36: pending. Note that observer invitations will only show as pending
04:40: if the invited observer does not already have a Canvas account.
04:45: If you added a user without a Canvas account, the user can create an account
04:49: as part of the course invitation process. Once the user
04:53: has accepted the course invitation, you can interact with the user in the course.
04:57: You can also send messages to the user via Conversations.
05:02: If necessary, you may be able to edit a user's role in Canvas.
05:07: This guide covered how to add users to a course.