00:07: How do I edit a page in a course?
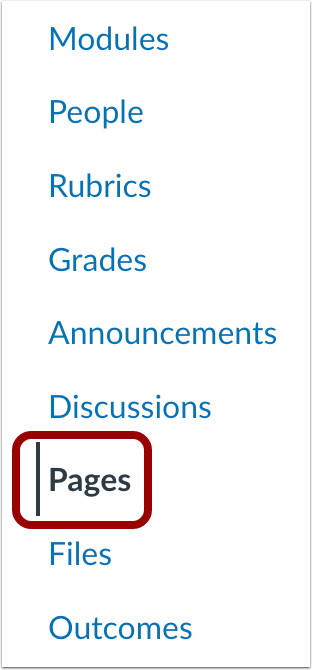
00:10: In Course Navigation, click the Pages link.
00:13: Pages is designed to open to the front page for the course, if there is a
00:17: front page selected. To select a page from the Pages Index, click
00:21: the View All Pages button.
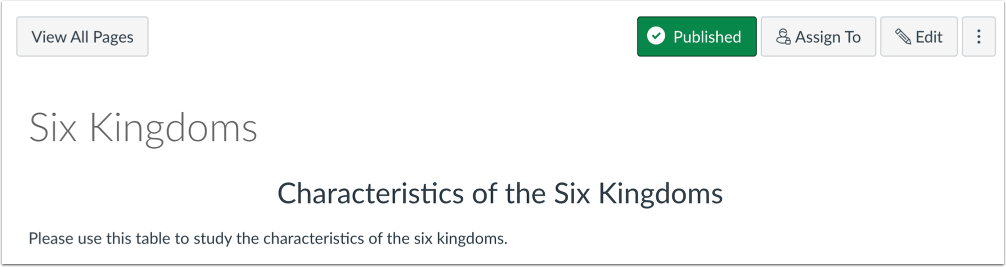
00:24: Click the title of the page you want to change.
00:27: Click the Edit button.
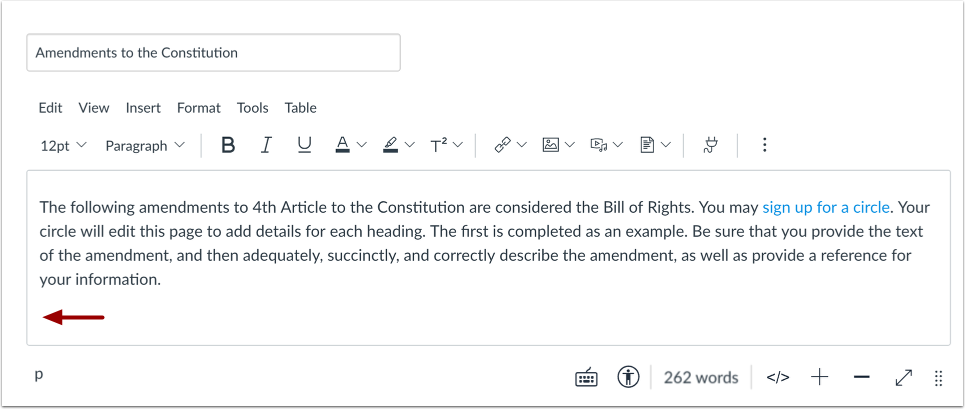
00:29: In the Rich Content Editor, place your cursor where you wish to insert your file. You
00:34: can add links to course, group, or user files.
00:37: The name of the page will appear in the Rich Content Editor and flash yellow.
00:43: Then the name will turn blue, indicating it is a link.
00:47: Click the Media icon. You can upload and embed media files
00:51: from your computer or from Canvas.
00:54: Add or edit the content using the Rich Content Editor.
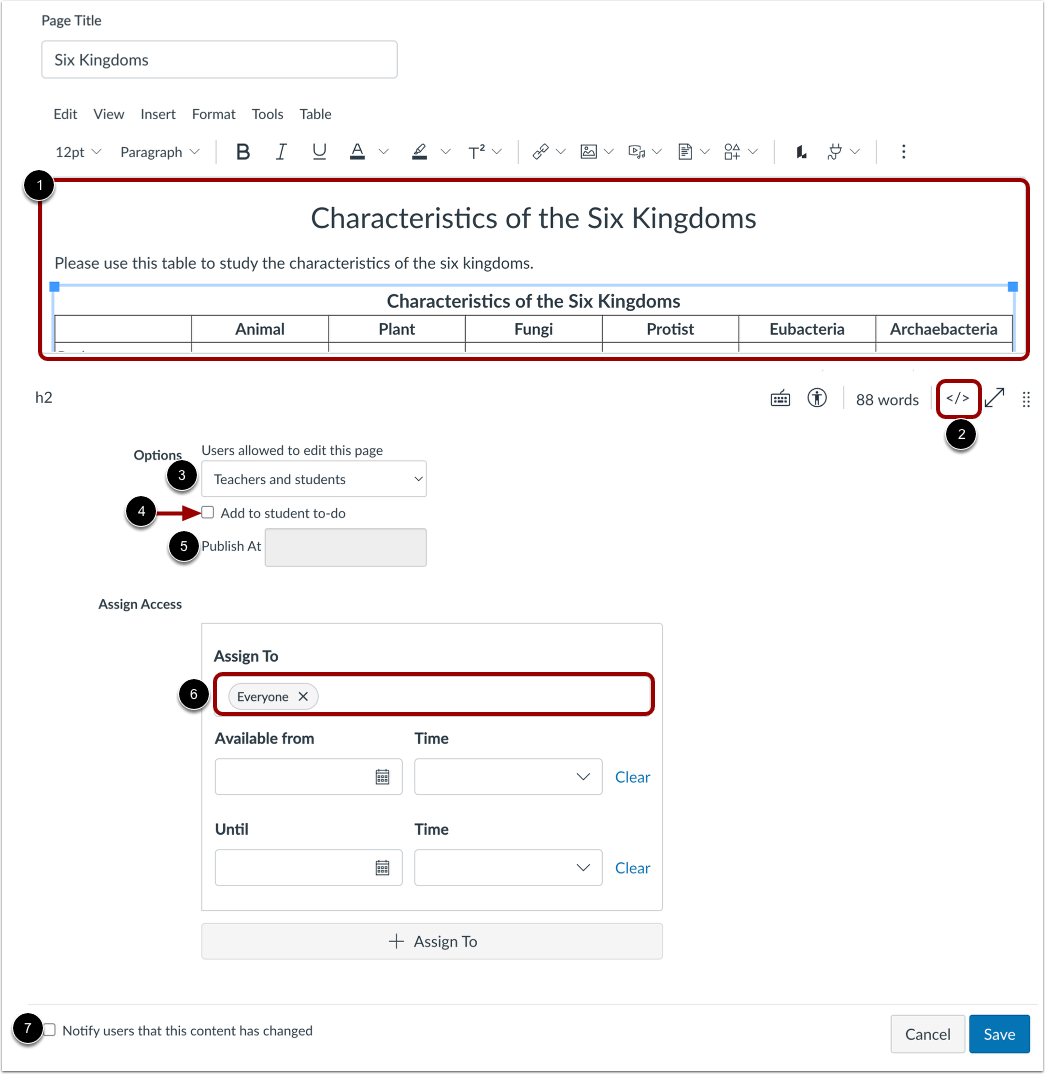
00:58: Or switch to the HTML Editor.
01:02: To change the editing permissions for the page.
01:04: Click the users allowed to edit this page.
01:06: Drop down menu.
01:09: To add the page to student's to-do list, click the Add to student to-do checkbox.
01:14: You can schedule when a page will be published. Enter a date and time
01:18: in the Publish At field. Your page must be unpublished to schedule
01:22: a publication date.
01:24: To assign specific sections or users for your page, set Availability
01:28: dates for it, or assign it to Mastery Paths, click the Assign
01:33: To link.
01:34: You can also notify users that content has changed by clicking the Notify
01:38: users that this content has changed checkbox.
01:42: Only users that have the Course Content notification enabled will be notified
01:46: of the change.
01:48: Click the Save button.
01:50: View the changes you made to the page.
01:53: This guide covered how to edit a page in a course.