Canvas Portfolios is an LTI 1.3 tool that gives learners a structured space to collect, reflect on, and showcase evidence of their learning. It also provides educators with tools to track progress, offer feedback, and support skill and competency development, helping students demonstrate growth and present a cohesive view of their academic achievements.
Notes:
- This tool is enabled by default for all institutions.
- Admins can also update the placement of Canvas Portfolio.
00:07: How do I manage developer keys for Canvas Portfolio?
00:10: In Global Navigation, click the Admin link, then click the name of the account.
00:16: Click the Inherited tab, then locate the Portfolio LTI Client app.
00:21: To disable Canvas Portfolios, click the State toggle off.
00:26: In the Account Settings Apps tab, you can change the placement of the feature.
00:32: For more information, visit our guide on how to manage external app placements for an account.
00:38: To add the Portfolio LTI Client app to a sub-account, click the Settings link.
00:44: Then, click the Apps tab.
00:47: Click the View App Configuration button.
00:50: Click the Add App button.
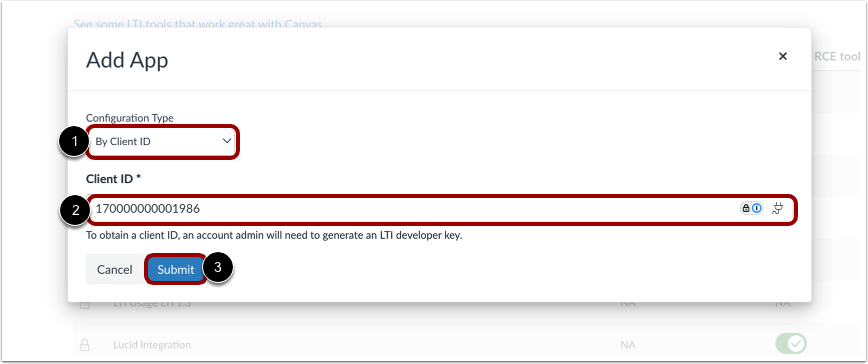
00:53: Click the Configuration Type drop-down menu and select the By Client ID option. In the Client ID field, enter 170000000001986, then click the Submit button.
01:10: This guide covered how to manage developer keys for Canvas Portfolio.
Open Account
In Global Navigation, click the Admin link [1], then click the name of the account [2].
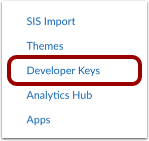
Open Developer Keys
In Account Navigation, click the Developer Keys link.
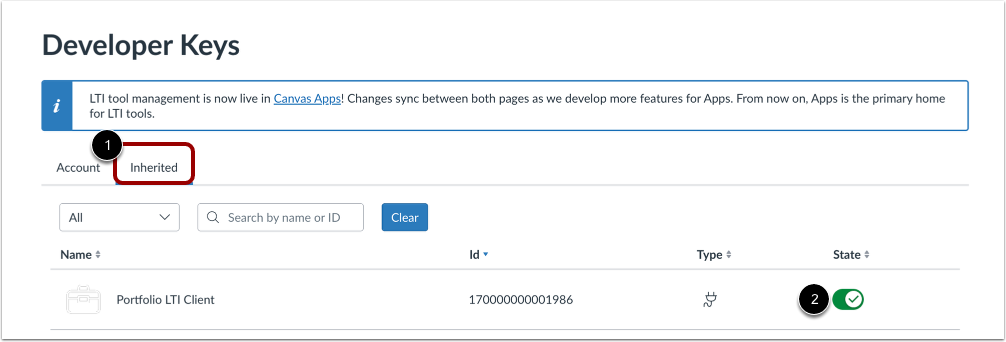
Disable Canvas Portfolio
Click the Inherited tab [1], then locate the Portfolio LTI Client app [2]. To disable Canvas Portfolios, click the State toggle off.
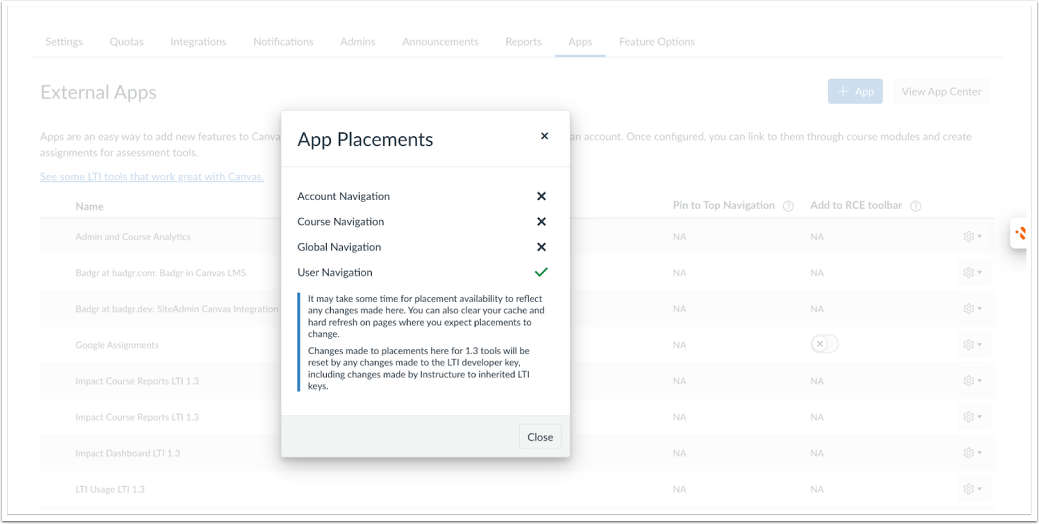
View App Placement Modal
In the Account Settings Apps tab, you can change the placement of the feature.
For more information, visit our guide on how to manage external app placements for an account.
Add to Sub-Account
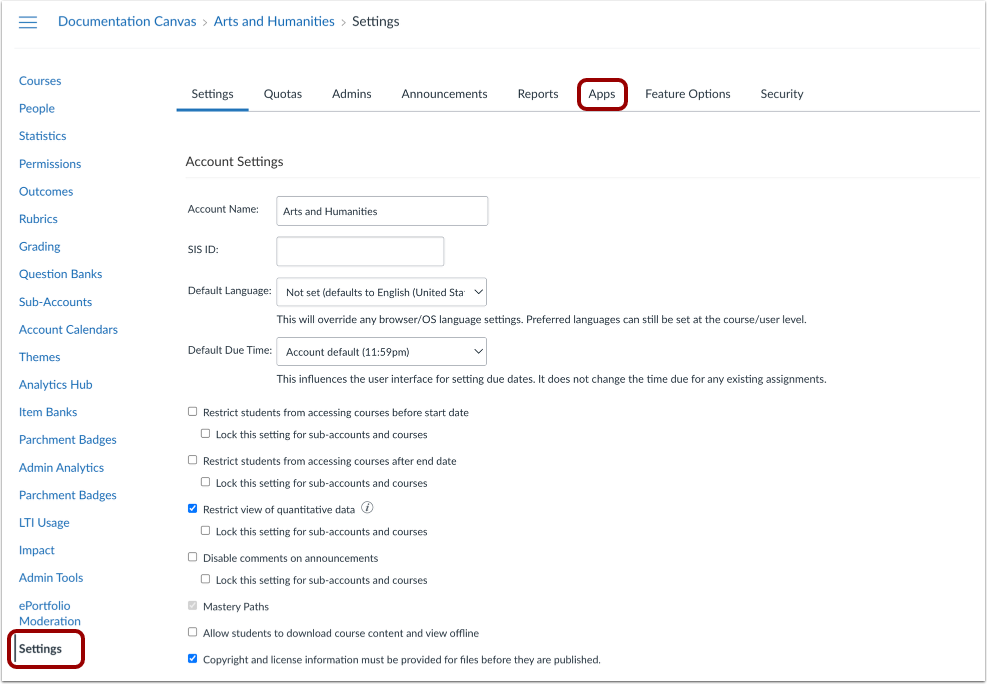
Open Settings
To add the Portfolio LTI Client app to a sub-account, click the Settings link [1]. Then, click the Apps tab [2].
View App Configurations
Click the View App Configuration button.
Add App
Click the Add App button.
Configure App
Click the Configuration Type drop-down menu and select the By Client ID option [1]. In the Client ID field, enter 170000000001986[2],thenclick the Submit button [3].