As an admin, you can view and manage sub-accounts in Canvas. Sub-accounts help establish your account's hierarchical structure and house courses and enrollments.
All of your institution’s sub-accounts are located within the root account. However, sub-accounts can include additional nested sub-accounts, and sub-account admins can view a list of all the sub-accounts in their account.
Sub-accounts can be created and managed manually or via SIS upload. Additionally, sub-accounts created via API or SIS upload retain the identifiers given in the original source. You can edit sub-account names to make them easier to find within Canvas.
Notes:
- Sub-accounts that contain courses cannot be deleted.
- Each root account automatically includes a sub-account called Manually-Created Courses that manages multiple backend processes for Canvas and cannot be deleted.
- Sub-account admins can access the Apps page and Monitor tab to view LTI usage data for their sub-account and any child sub-accounts. This access requires the LTI Registrations Manage permission, which is controlled by a root account admin.
View the video transcript
00:07: How do I view and manage a sub account?
00:10: In global navigation, click the admin link, then click the name of
00:14: the account.
00:16: In account, navigation, click the sub accounts linked.
00:20: Sub accounts are listed in alphabetical order to view a sub-account
00:24: click the sub account name.
00:27: Many canvas accounts contain multiple sub-accounts with nested sub accounts
00:31: to more easily. Navigate within sub accounts.
00:34: You can collapse sub-account lists hiding them from View.
00:38: To collapse a list of sub-accounts, click the up Arrow icon.
00:43: To expand a list of sub-accounts that have been collapsed.
00:46: Click the down arrow icon.
00:50: To create a sub account, click the add button.
00:54: To edit the name of a sub account. Click the edit icon.
00:57: Edit the name of the sub account by typing in the name field.
01:01: To save your changes, press the return key on a Mac or
01:05: Enter key on a PC on your keyboard.
01:10: To delete a sub account. Click the delete icon.
01:14: When you delete a sub account, a pop-up window will appear in your browser.
01:18: Click the okay button.
01:21: This guide covered how to view and manage a sub account.
Open Account
In Global Navigation, click the Admin link [1], then click the name of the account [2].
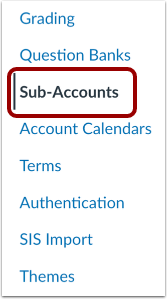
Open Sub-Accounts
In Account Navigation, click the Sub-Accounts link.
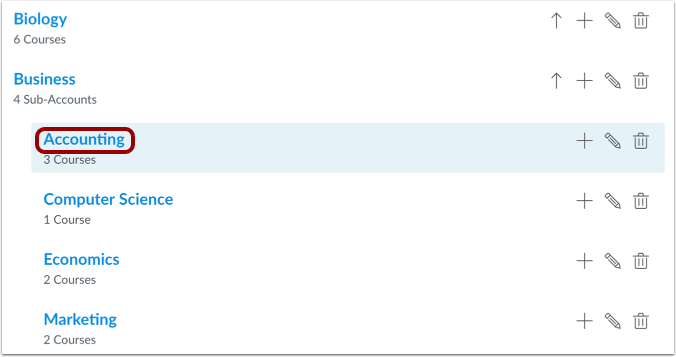
View Sub-Account
Sub-accounts are listed in alphabetical order. To view a sub-account, click the sub-account name.
Collapse and Expand Sub-Account List
Many Canvas accounts contain multiple sub-accounts with nested sub-accounts. To more easily navigate within sub-accounts, you can collapse sub-account lists, hiding them from view.
To collapse a list of sub-accounts, click the Up Arrow icon [1].
To expand a list of sub-accounts that have been collapsed, click the Down Arrow icon [2].
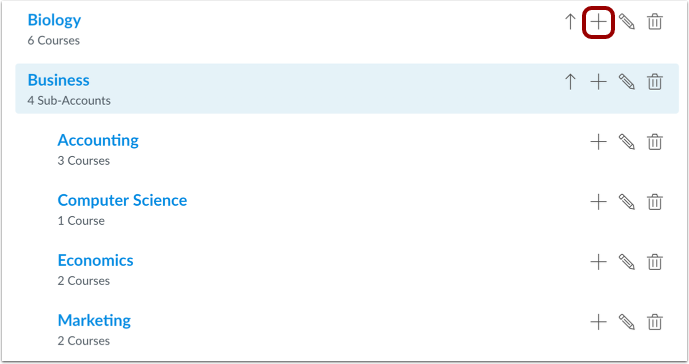
Add Sub-Account
To create a sub-account, click the Add button.
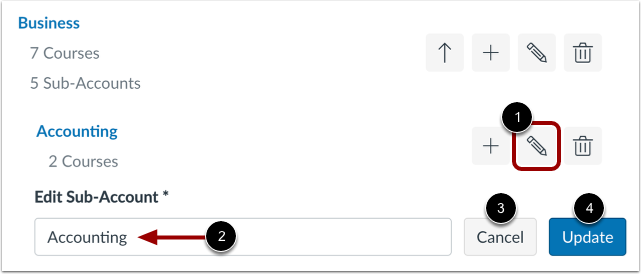
Edit Sub-Account Name
To edit the name of a sub-account, click the Edit button [1]. Edit the name of the sub-account by typing in the Edit Sub-Account field [2].
To discard your changes, click the Cancel button [3].
To save your changes, click the Update button [4] or press the Return key (on a Mac) or Enter key (on a PC) on your keyboard.
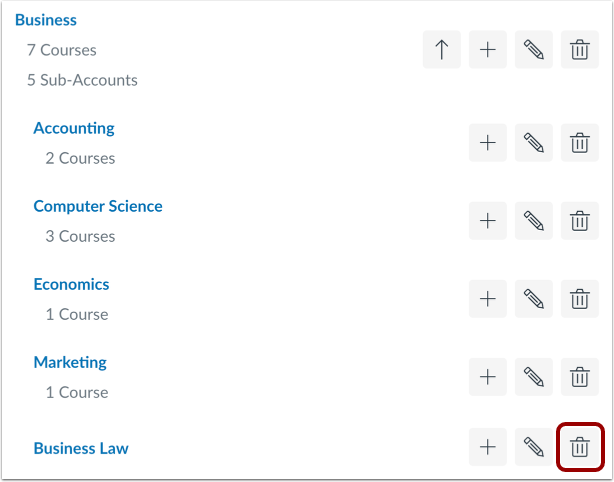
Delete Sub-Account
To delete a sub-account, click the Delete button [2].
Note: Sub-accounts that contain courses cannot be deleted.
Confirm Sub-Account Deletion
When you delete a sub-account, a pop-up window appears in your browser. Click the Delete button.