You can organize your ePortfolio by creating multiple sections.
View the video transcript
00:07: How do I create a new eportfolio section?
00:10: In global navigation, click the account link, then click the e-portfolios
00:14: link.
00:16: Click the title of the e-portfolio.
00:19: Click the organized sections link.
00:22: To create a new eportfolio section click, the ad section link.
00:27: Type your new section name in the section.
00:29: Name, field press return on a Mac keyboard or enter
00:33: on a PC keyboard.
00:36: To edit any section click the settings menu to rename a section.
00:40: Click the rename link to delete a section.
00:42: Click the delete link to move a section.
00:45: Click the move to link.
00:47: You can also rearrange sections by clicking and dragging them.
00:52: When you're finished adding and or editing your new e-portfolio sections,
00:56: click the done editing button.
00:59: This guide covered how to create a new eportfolio section.
Open ePortfolios
In Global Navigation, click the Account link [1], then click the ePortfolios (Legacy) link [2].
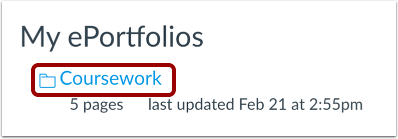
Open ePortfolio
Click the title of the ePortfolio.
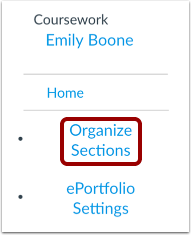
Open Sections
Click the Organize Sections link.
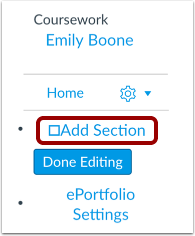
Add Section
To create a new ePortfolio section, click the Add Section link.
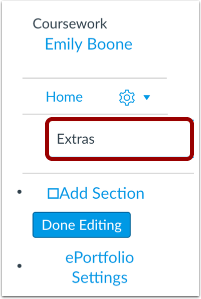
Add Section Name
Type your new section name in the section name field. Press Return (on a Mac keyboard ) or Enter (on a PC keyboard).
Manage Sections
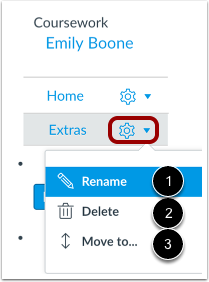
To edit any section, click the Settings menu. To rename a section, click the Rename link [1]. To delete a section, click the Delete link [2]. To move a section, click the Move to... link [3]. You can also rearrange sections by clicking and dragging them.
Save Section
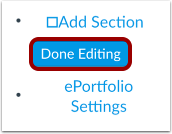
When you are finished adding and/or editing your new ePortfolio sections, click the Done Editing button.