How do I create an item-based assessment?
How do I create an item-based assessment?
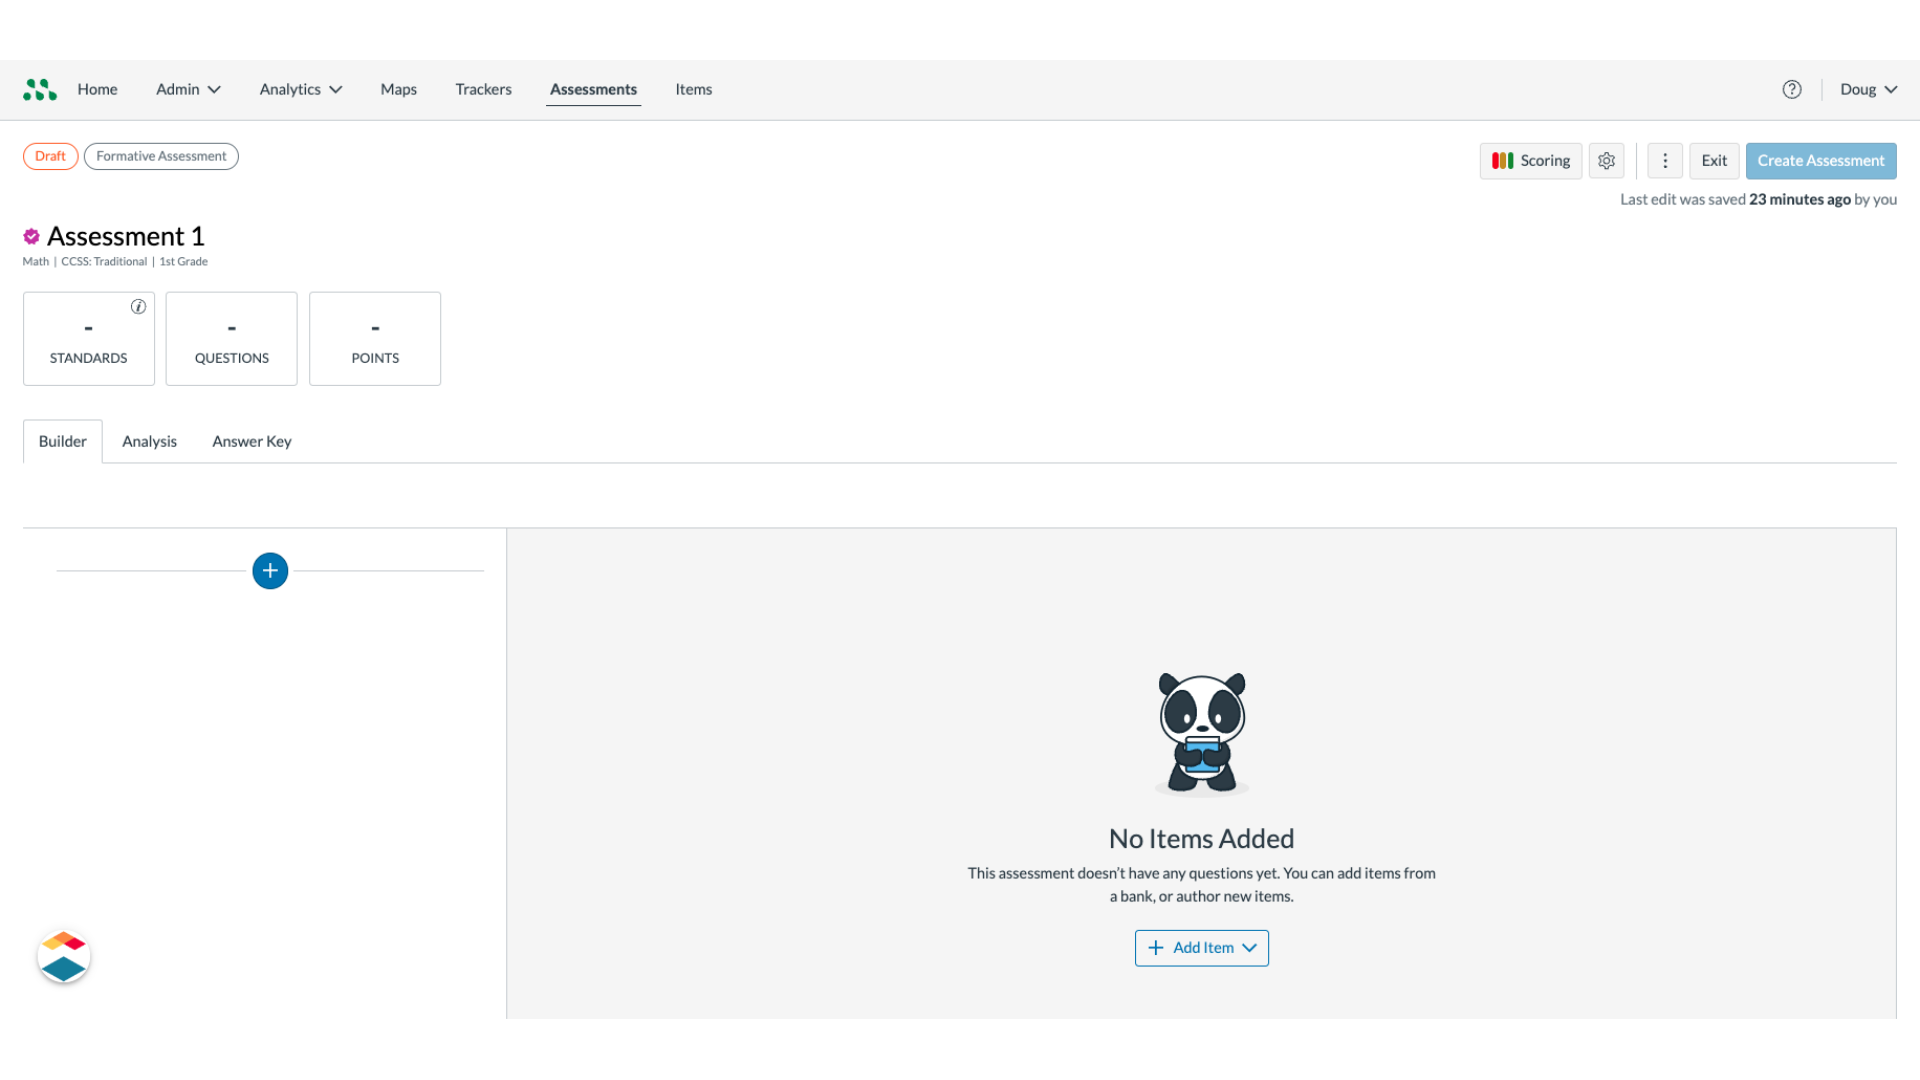
1. View Assessment Editor
Enter and save assessment details for an item-based Formative assessment. If you are a Mastery Connect admin, you can also create an item-based Benchmark assessment.
When you click the save button for the assessment details, the Assessment Editor displays.
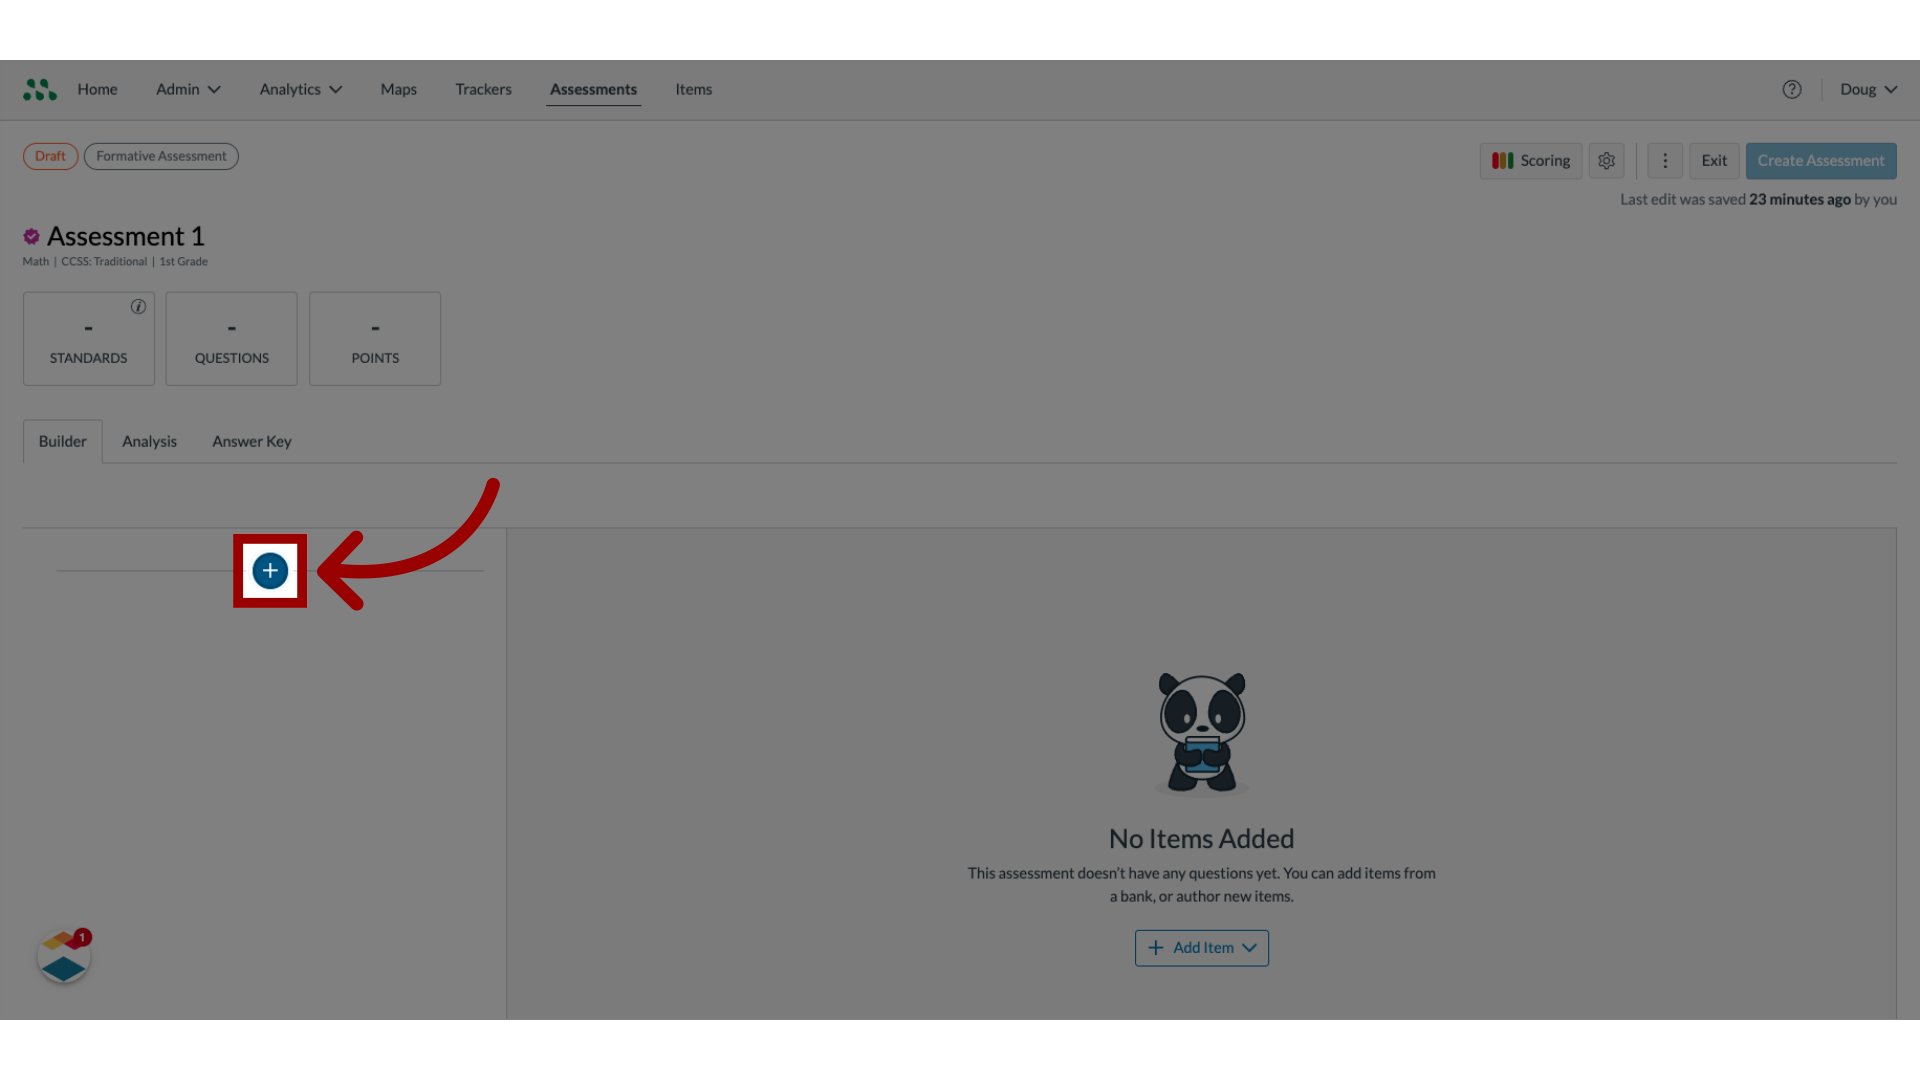
2. Add Items
To add items to the assessment, click the Add Item button.
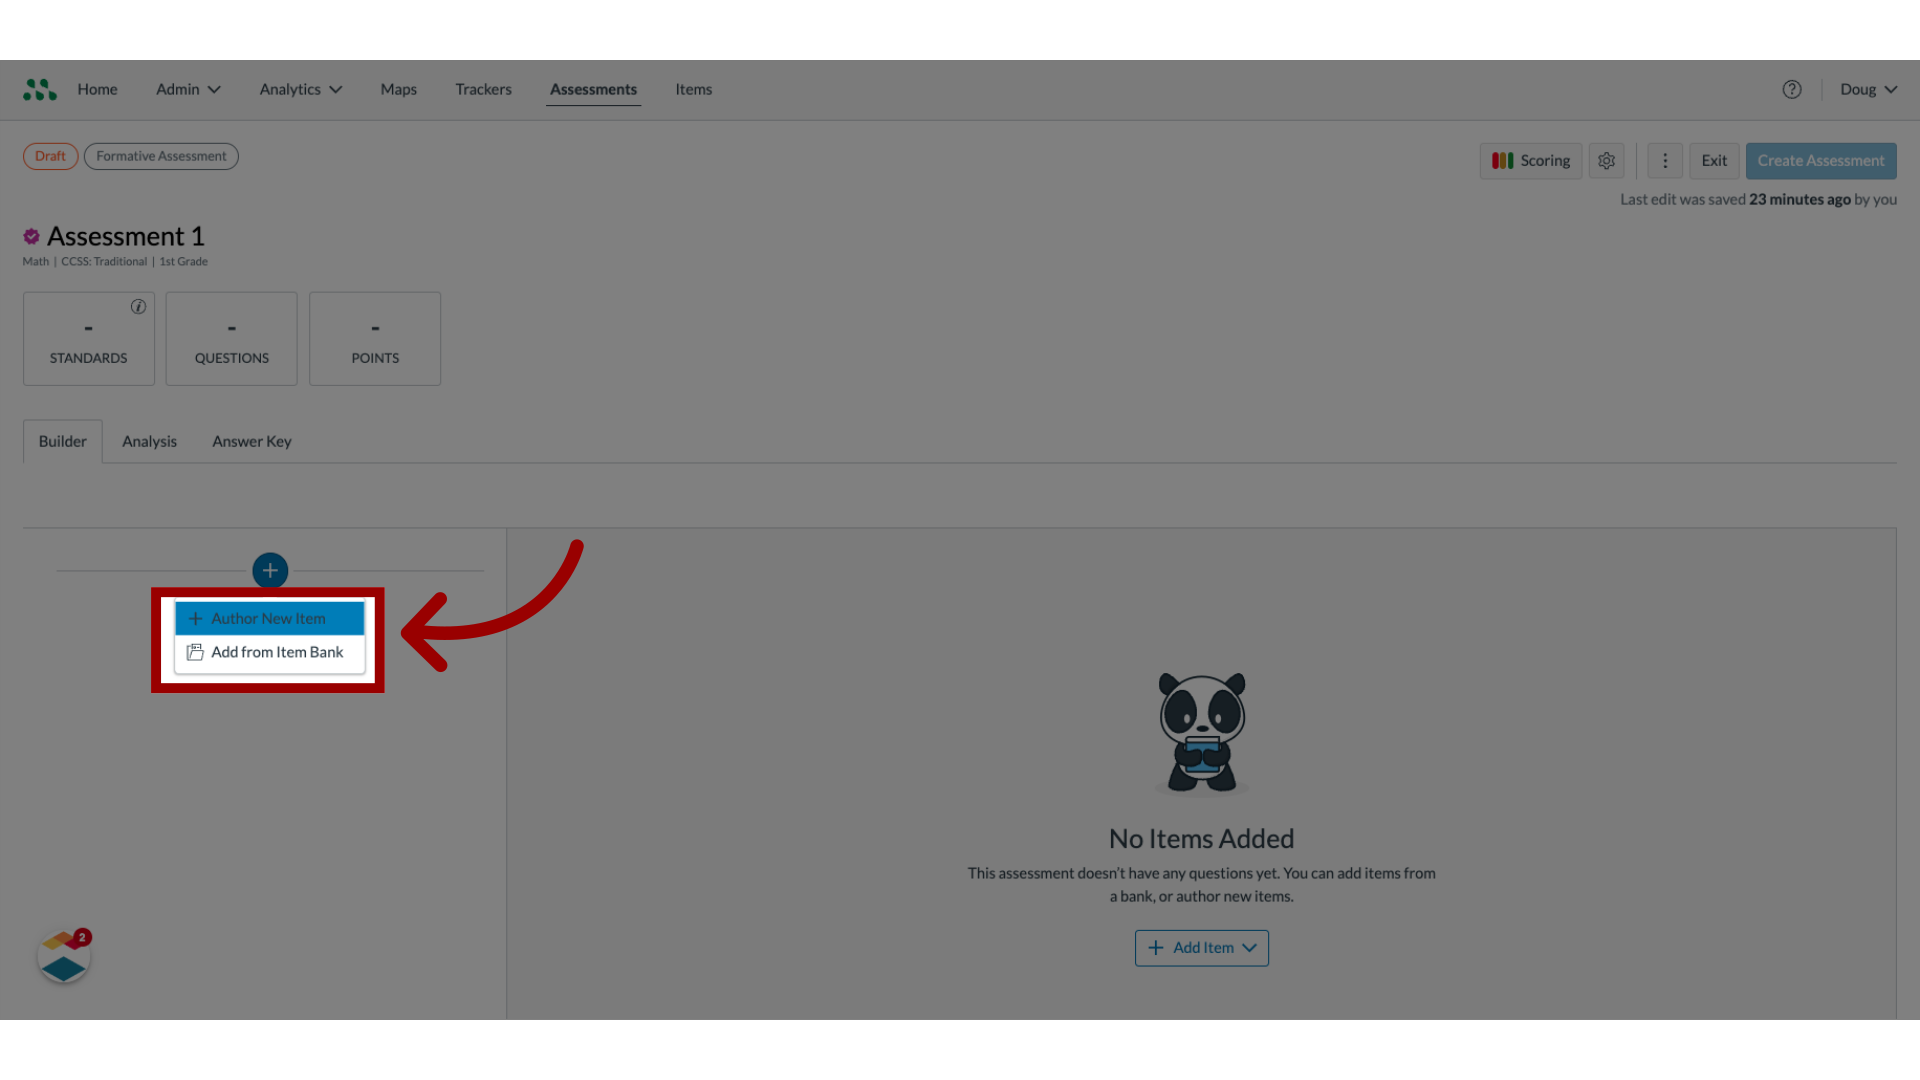
3. Select Item Source
To add an item from an item bank, click the Add from Item Bank link. To create a new item, click the Author New Item link.
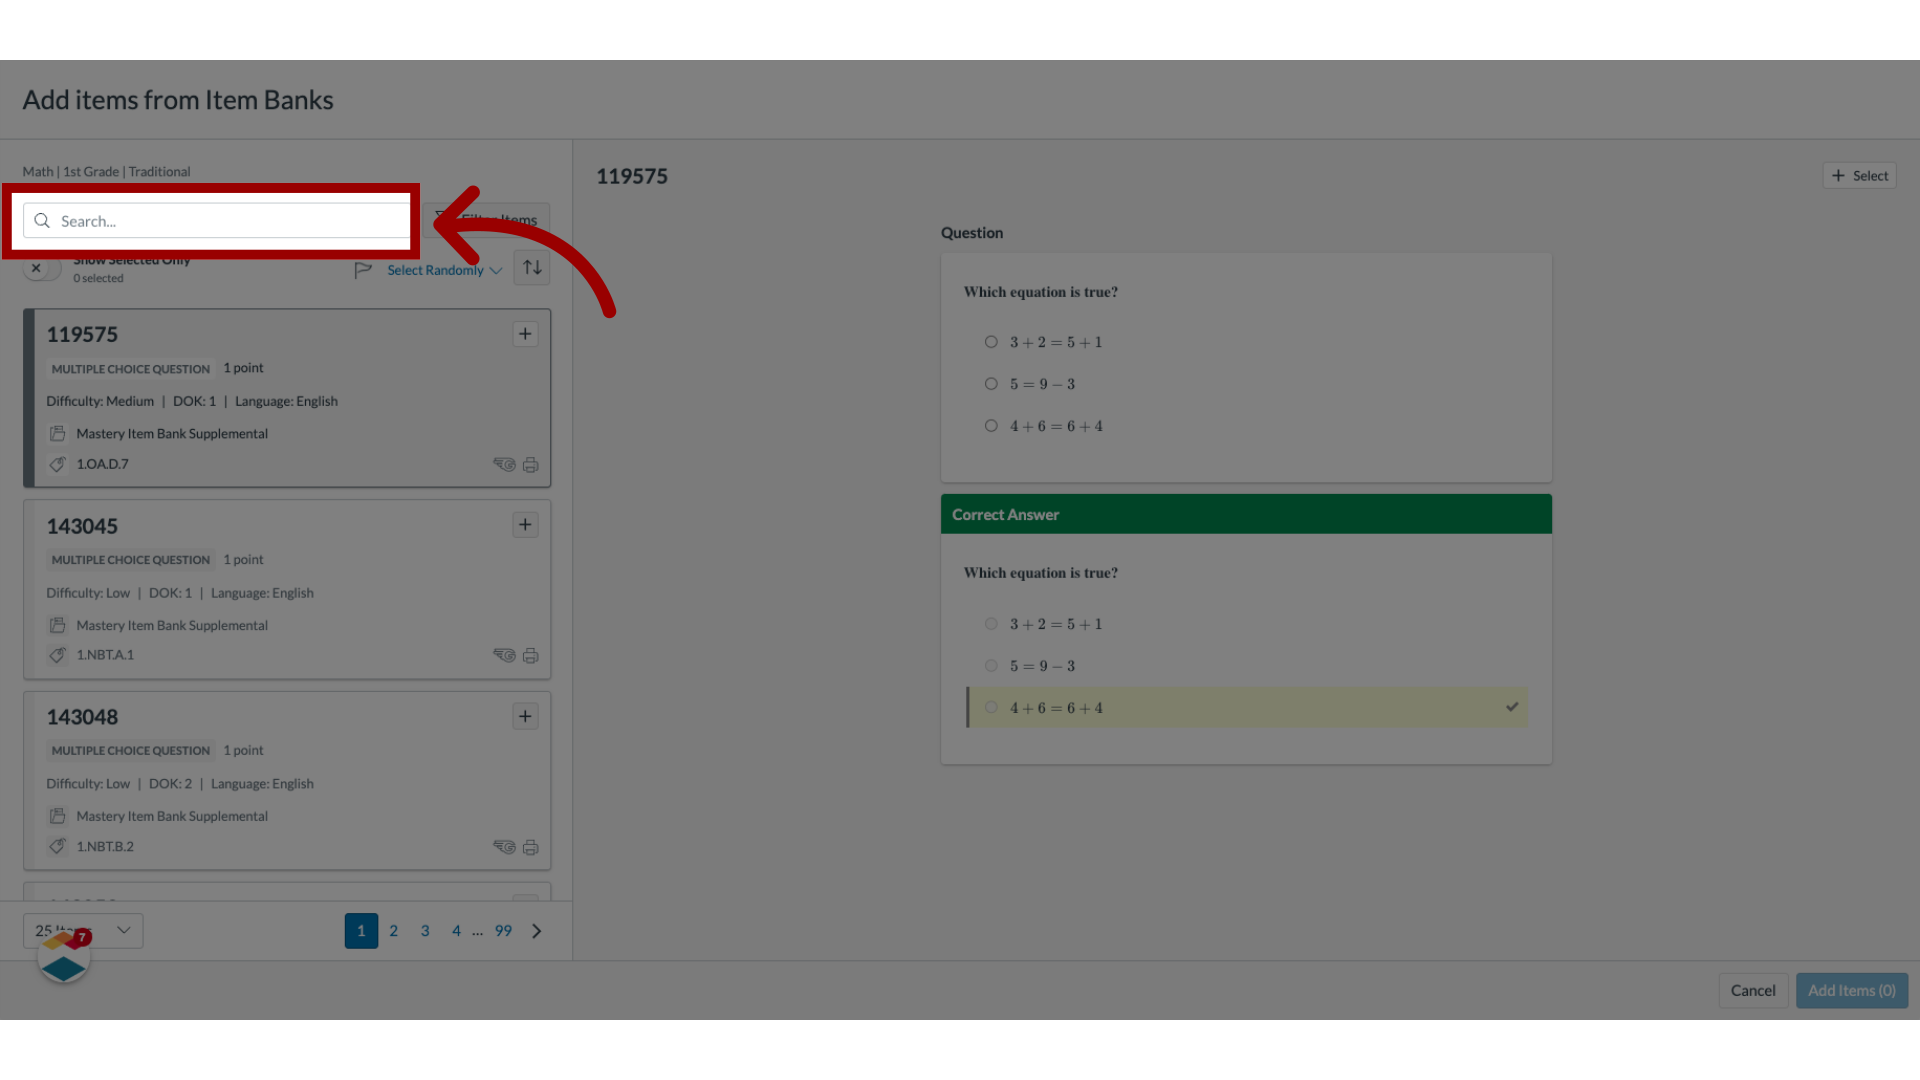
4. Enter Search Text
To search for a specific item, enter the item name or number in the Search field
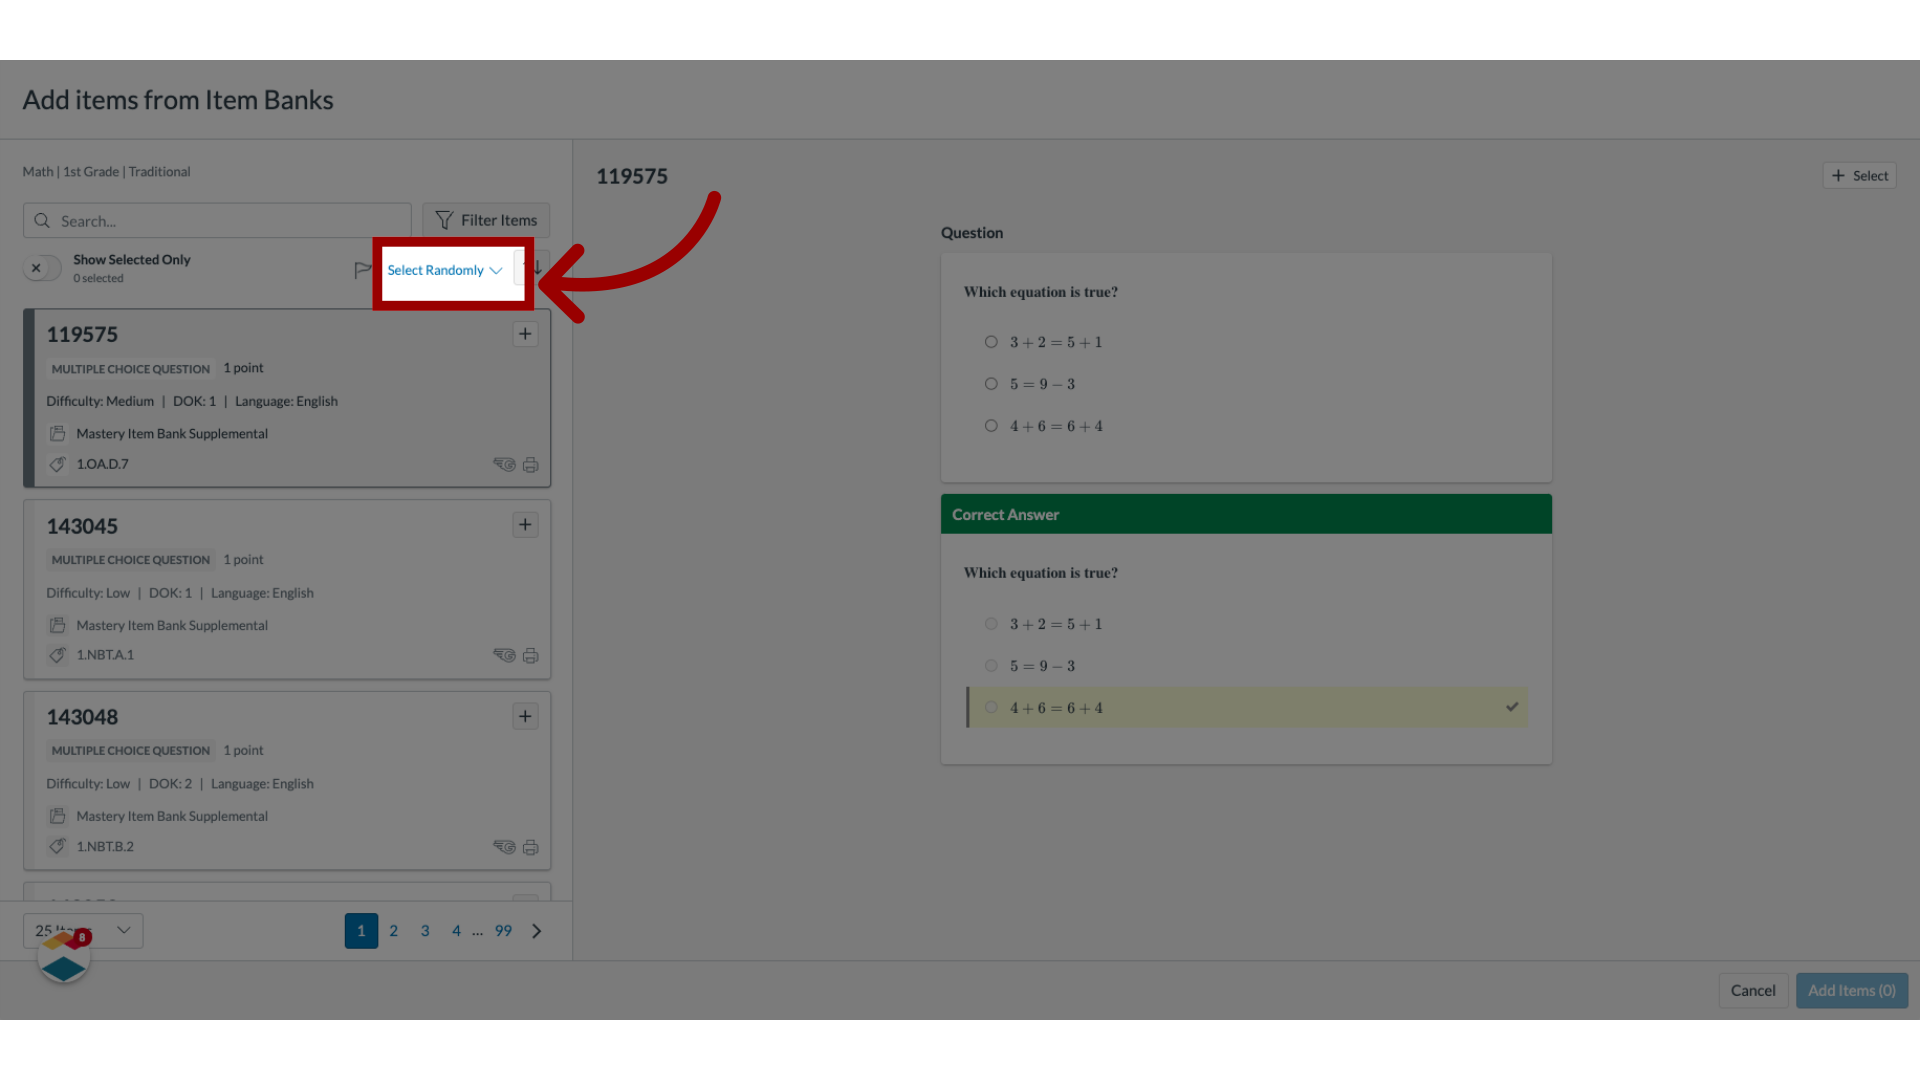
5. Select Items Randomly
To select items randomly, click the Select Randomly link.
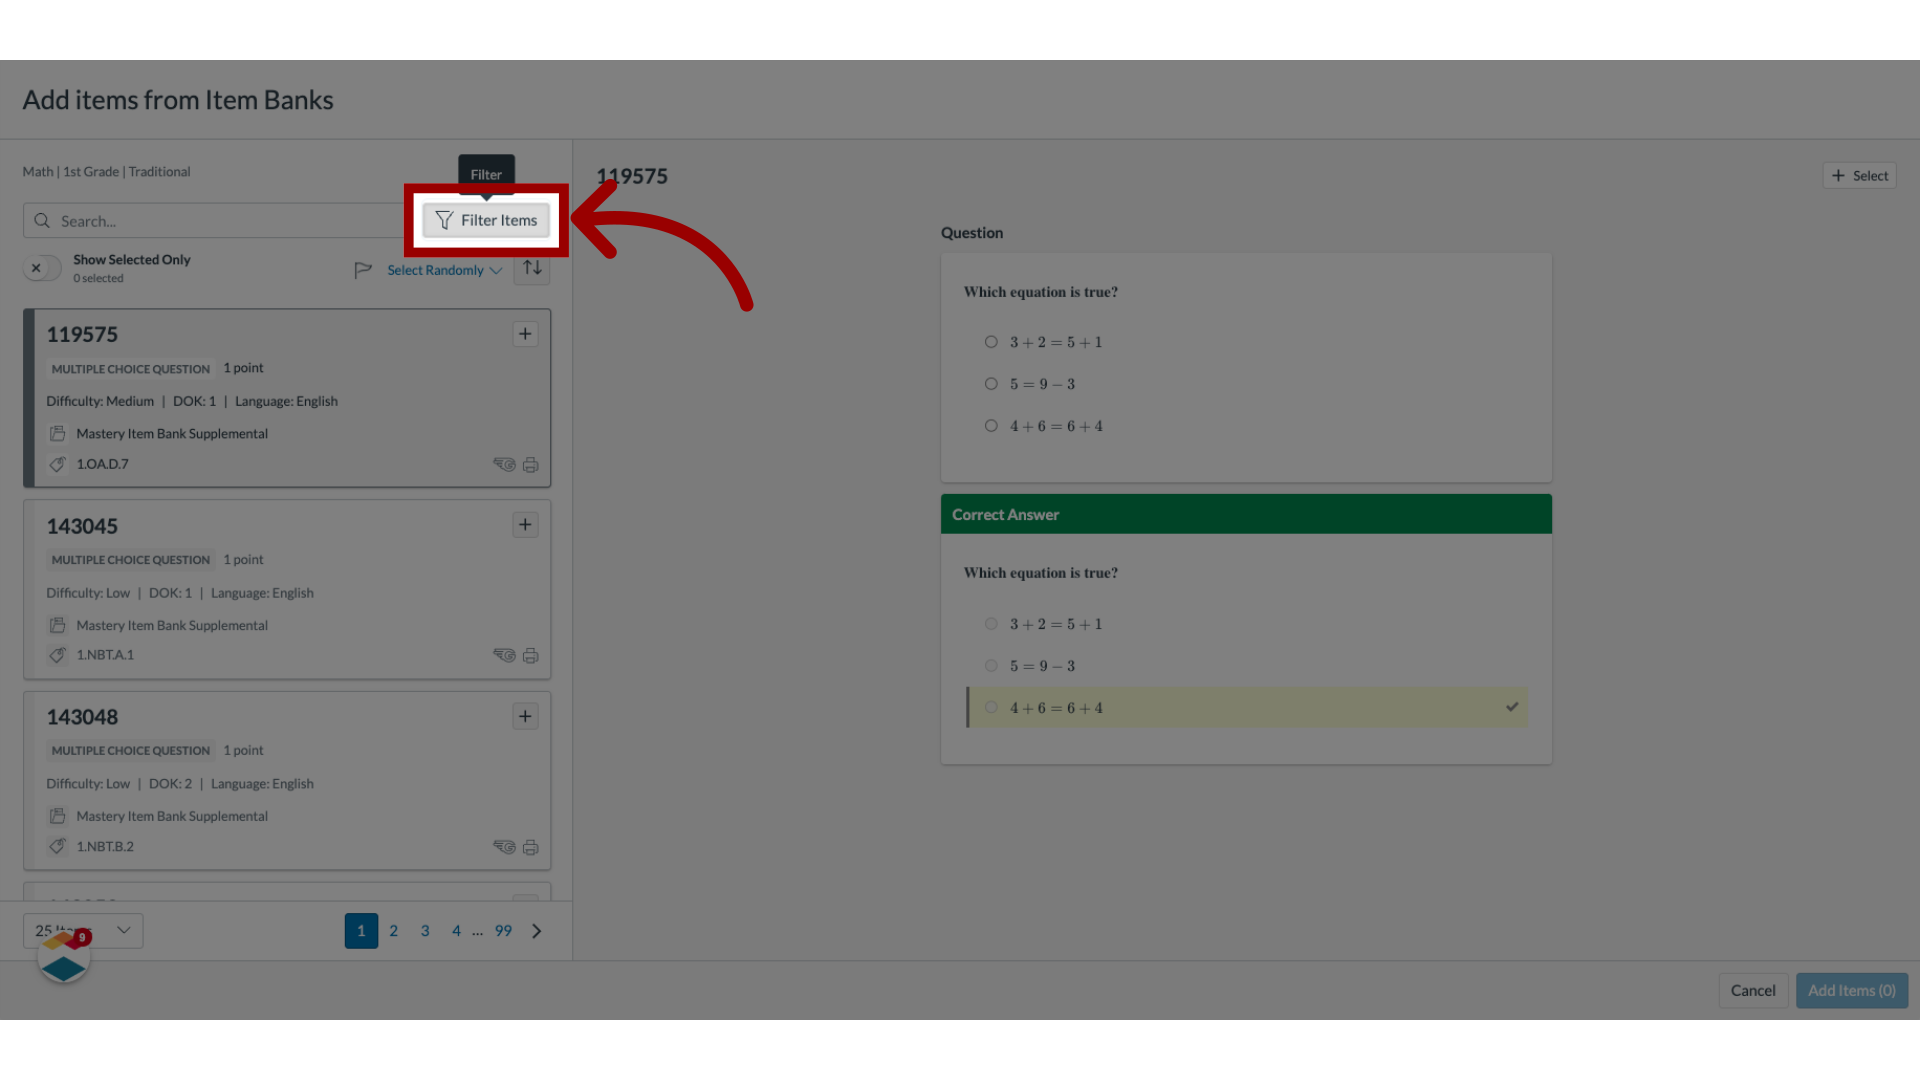
6. Filter List Items
The Item Organizer displays all items that align with the assessment. To filter the list, click the Filter Items button.
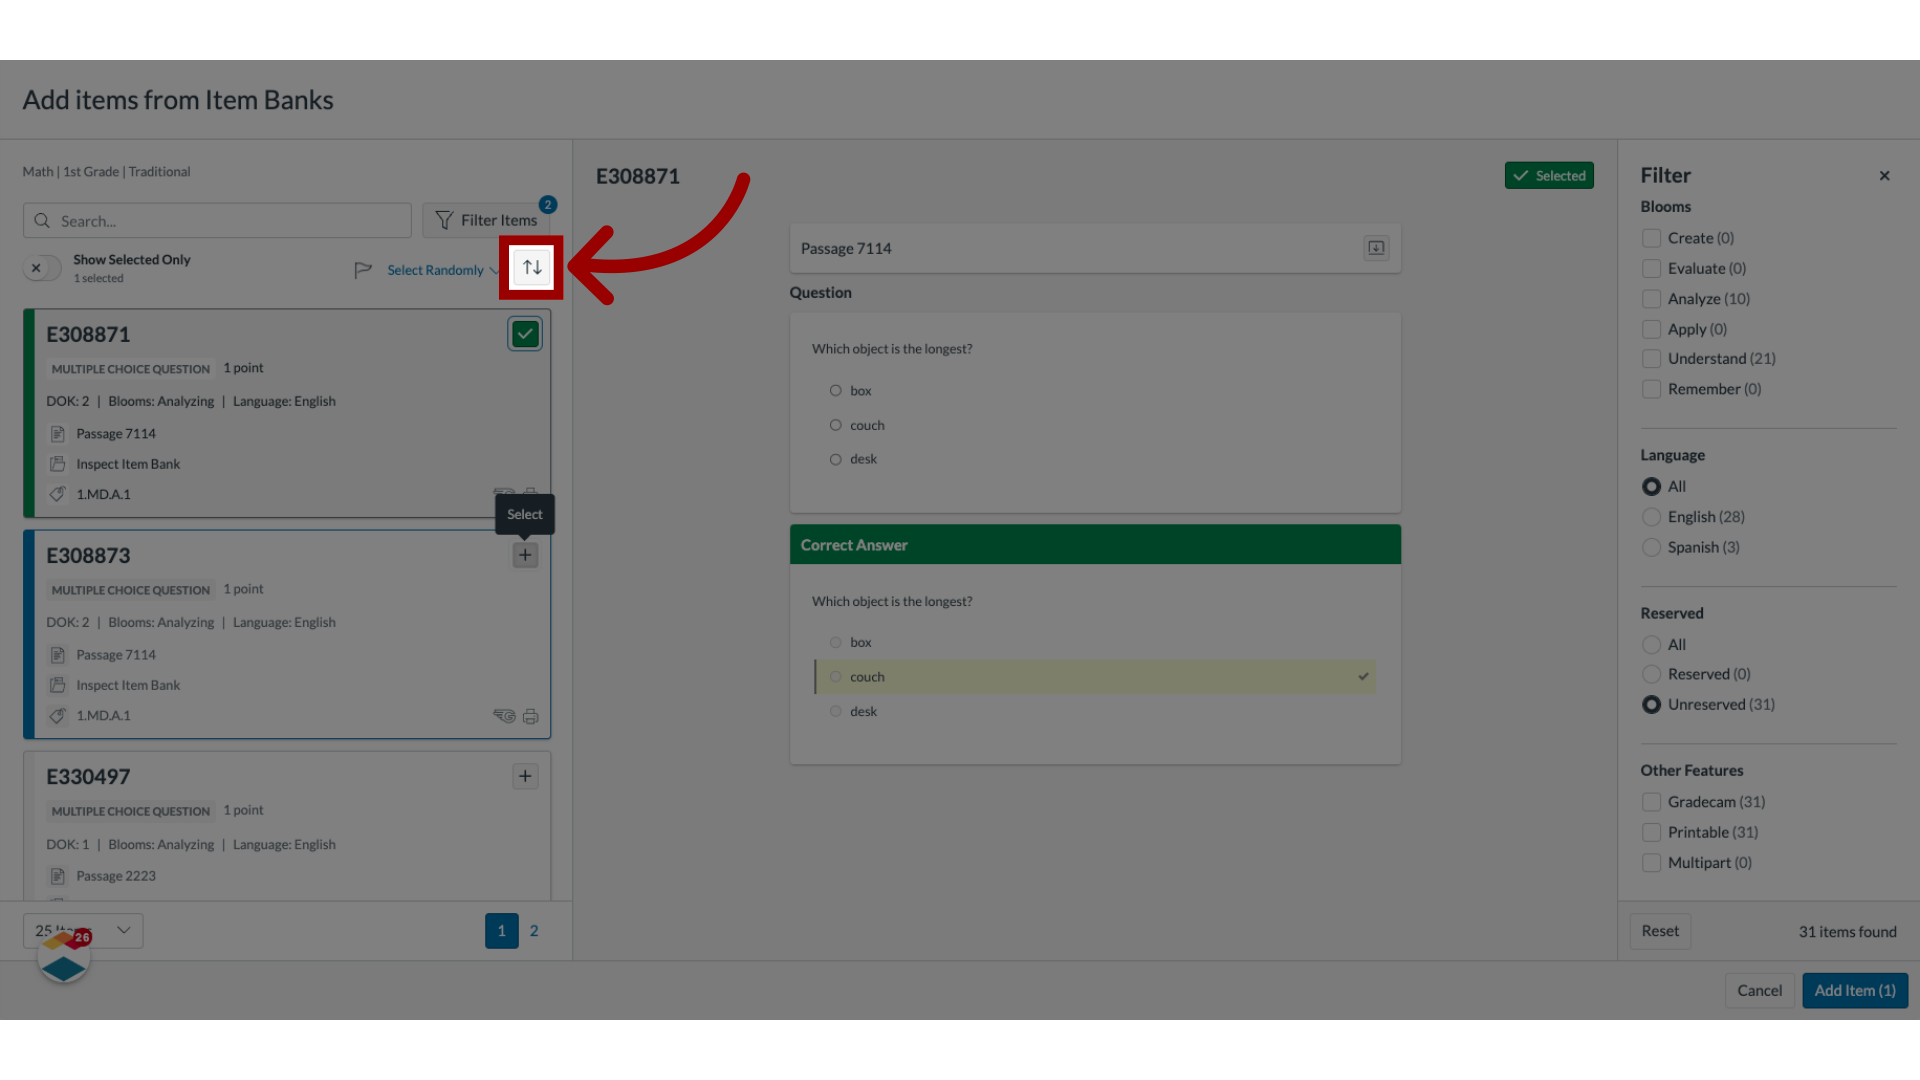
7. Select Filters
In the Filter tray, select filtering options.

8. Sort Items and Select Sorting Method
To sort items in the Item Organizer, click the Sort icon. Then, select a sorting method from the list.
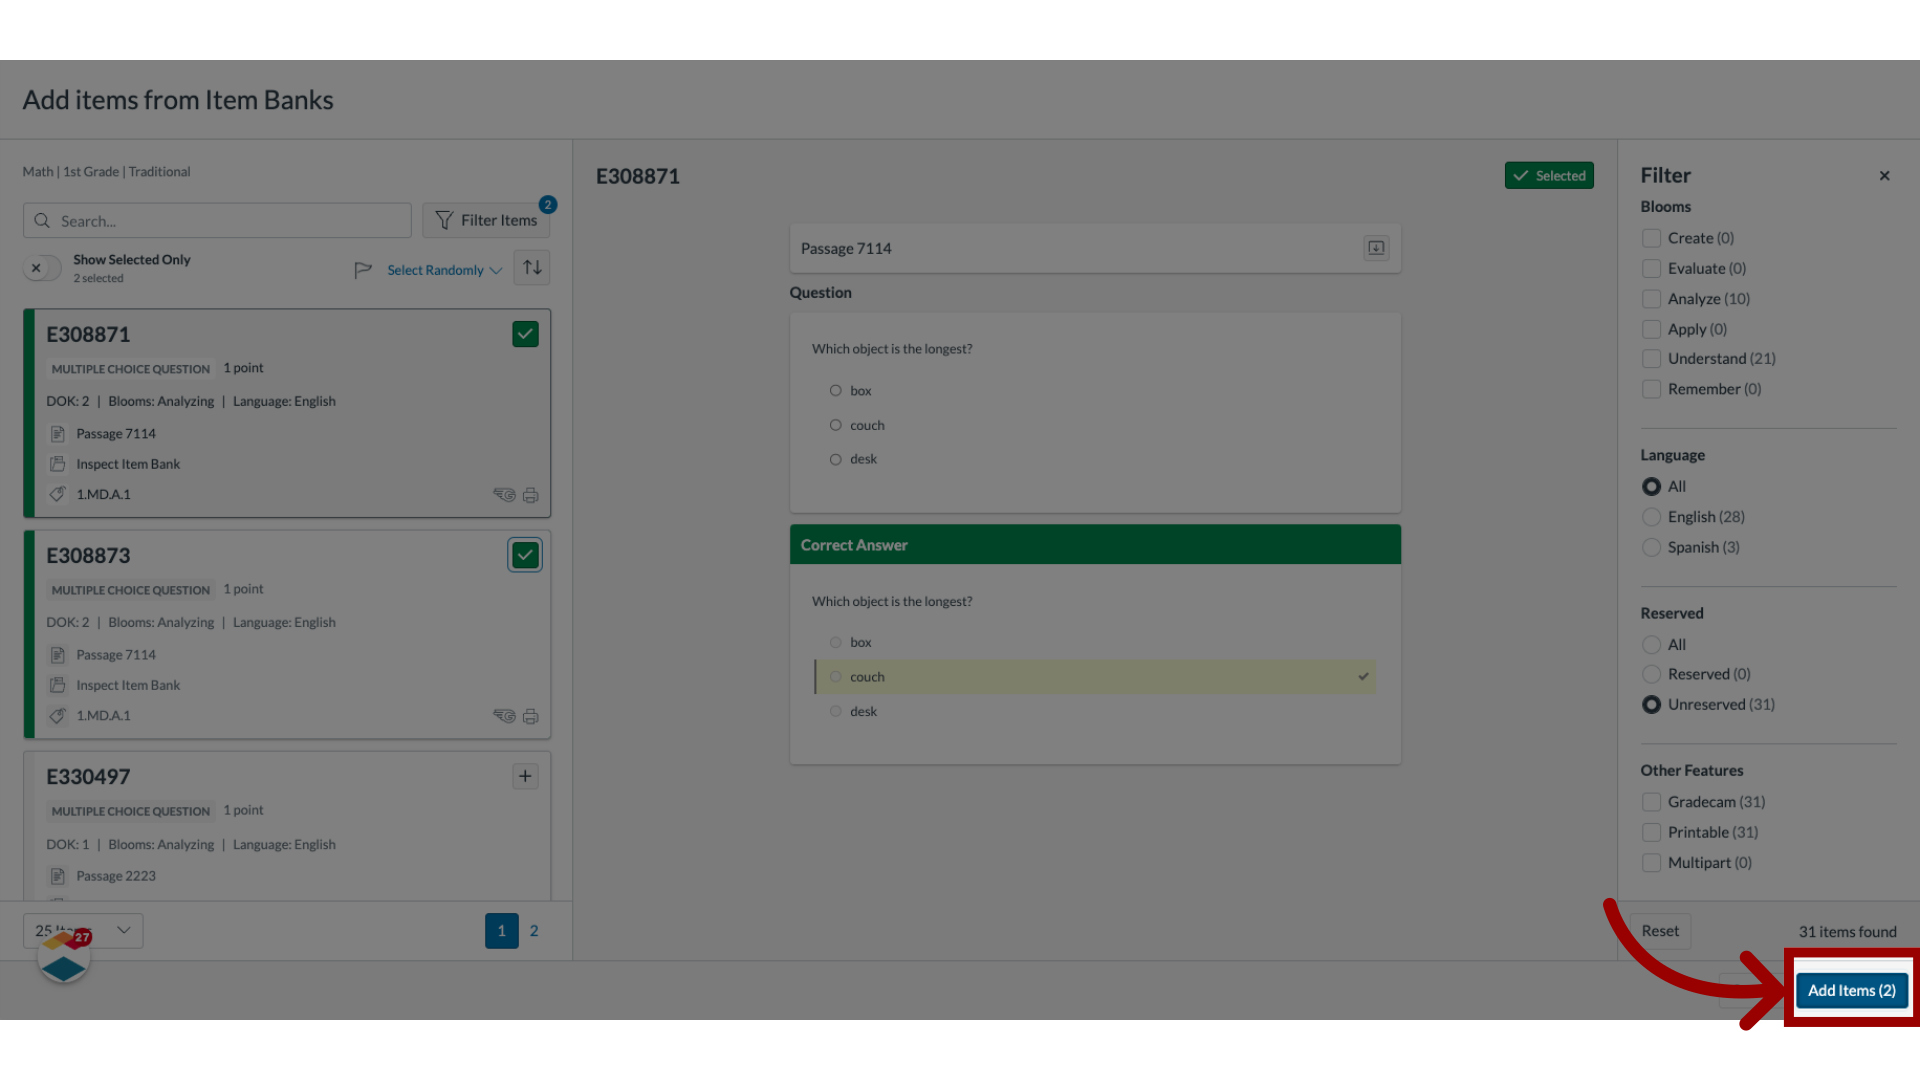
9. Add Item
To select an item, click the Add icon.

10. Add Selected Items to Assessment
To add selected items to the assessment, click the Add Items button.
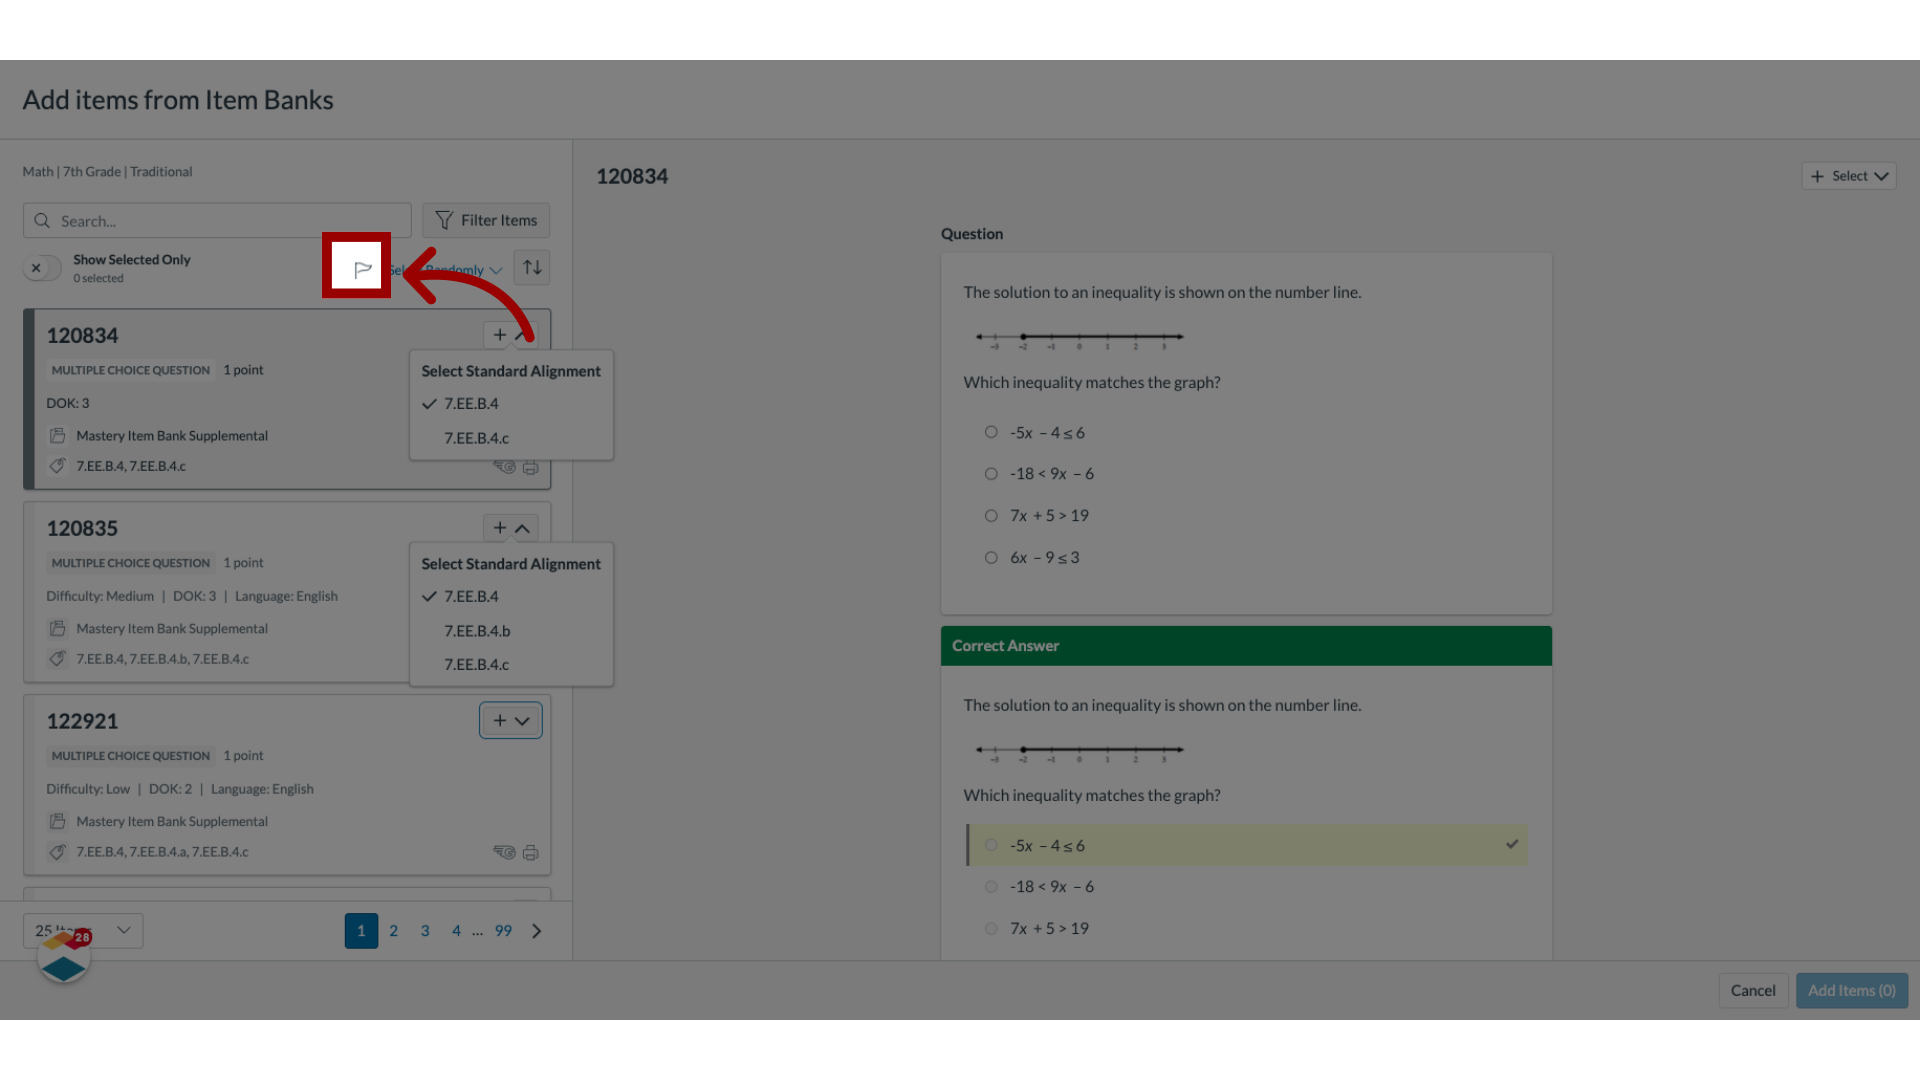
11. Flag Item
To flag items from the Mastery Item Bank or Mastery Item Bank Supplemental for review, click the Flag icon.
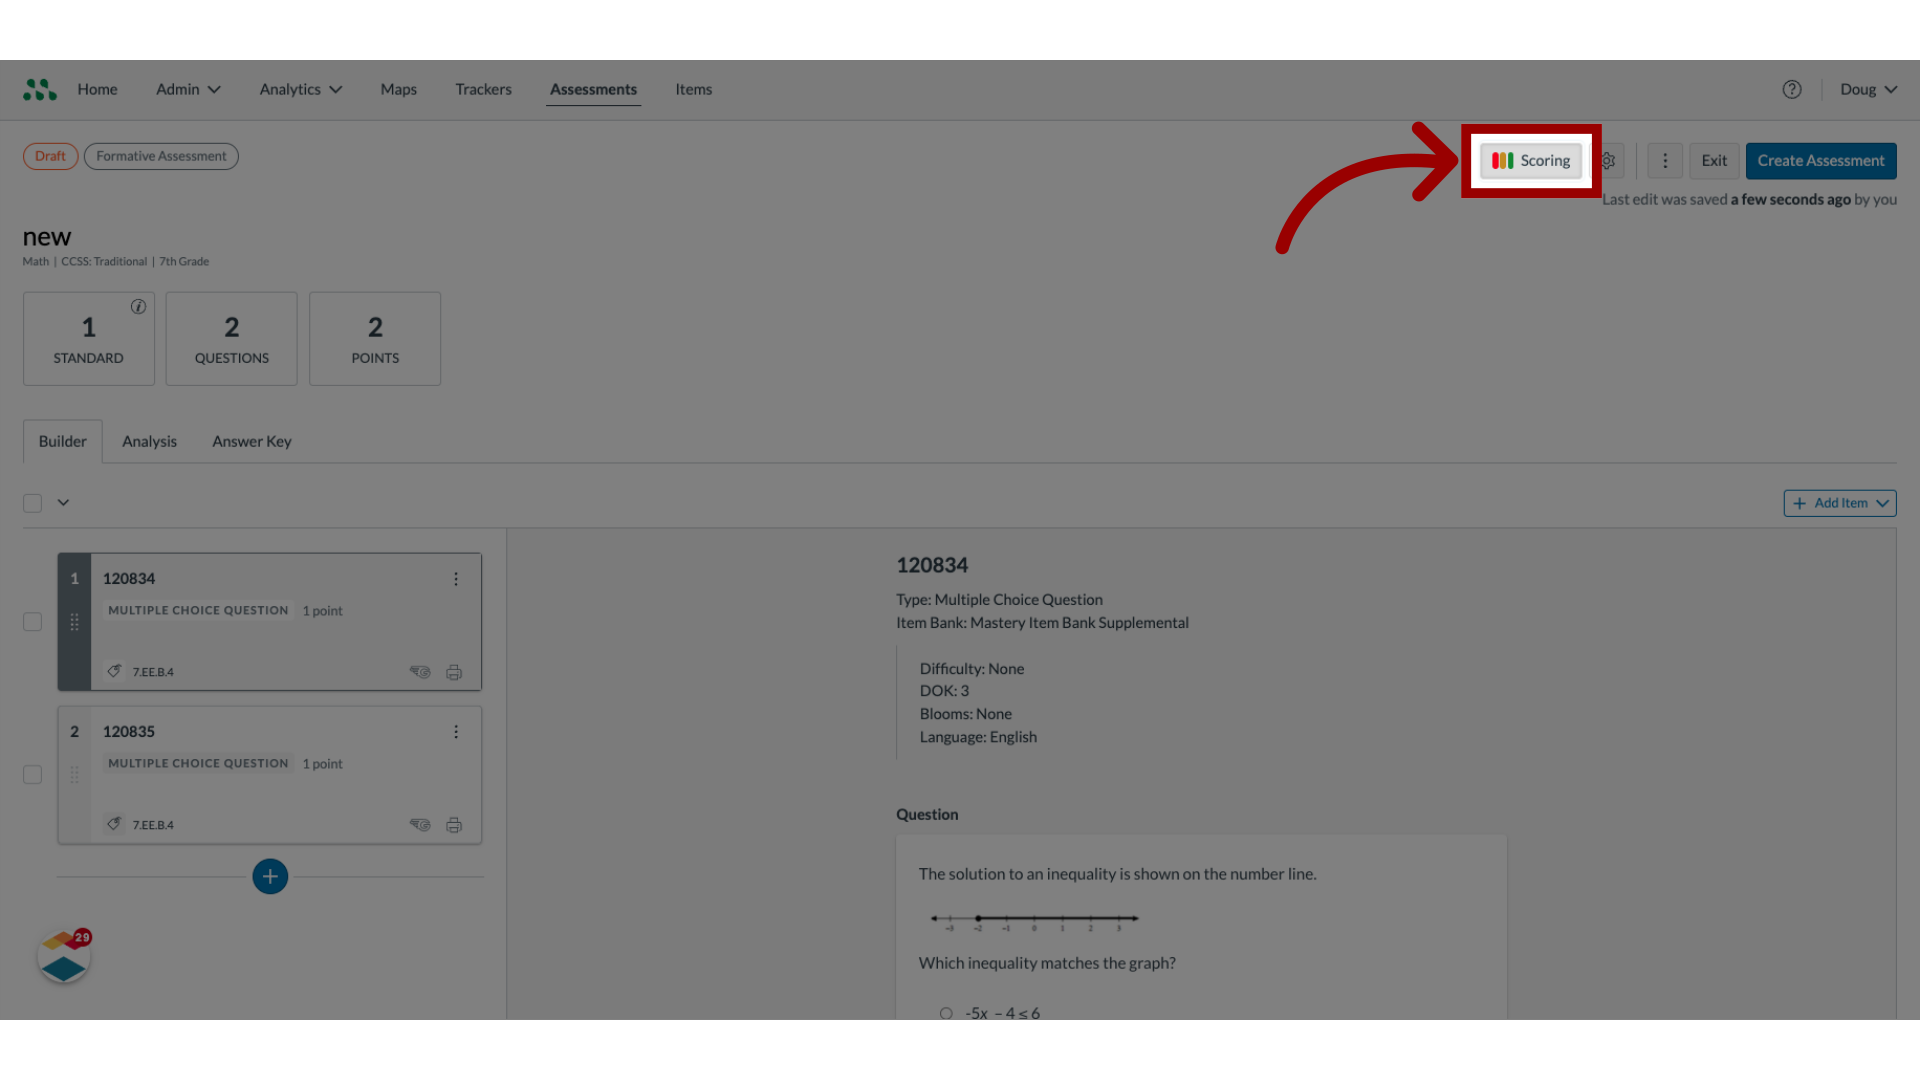
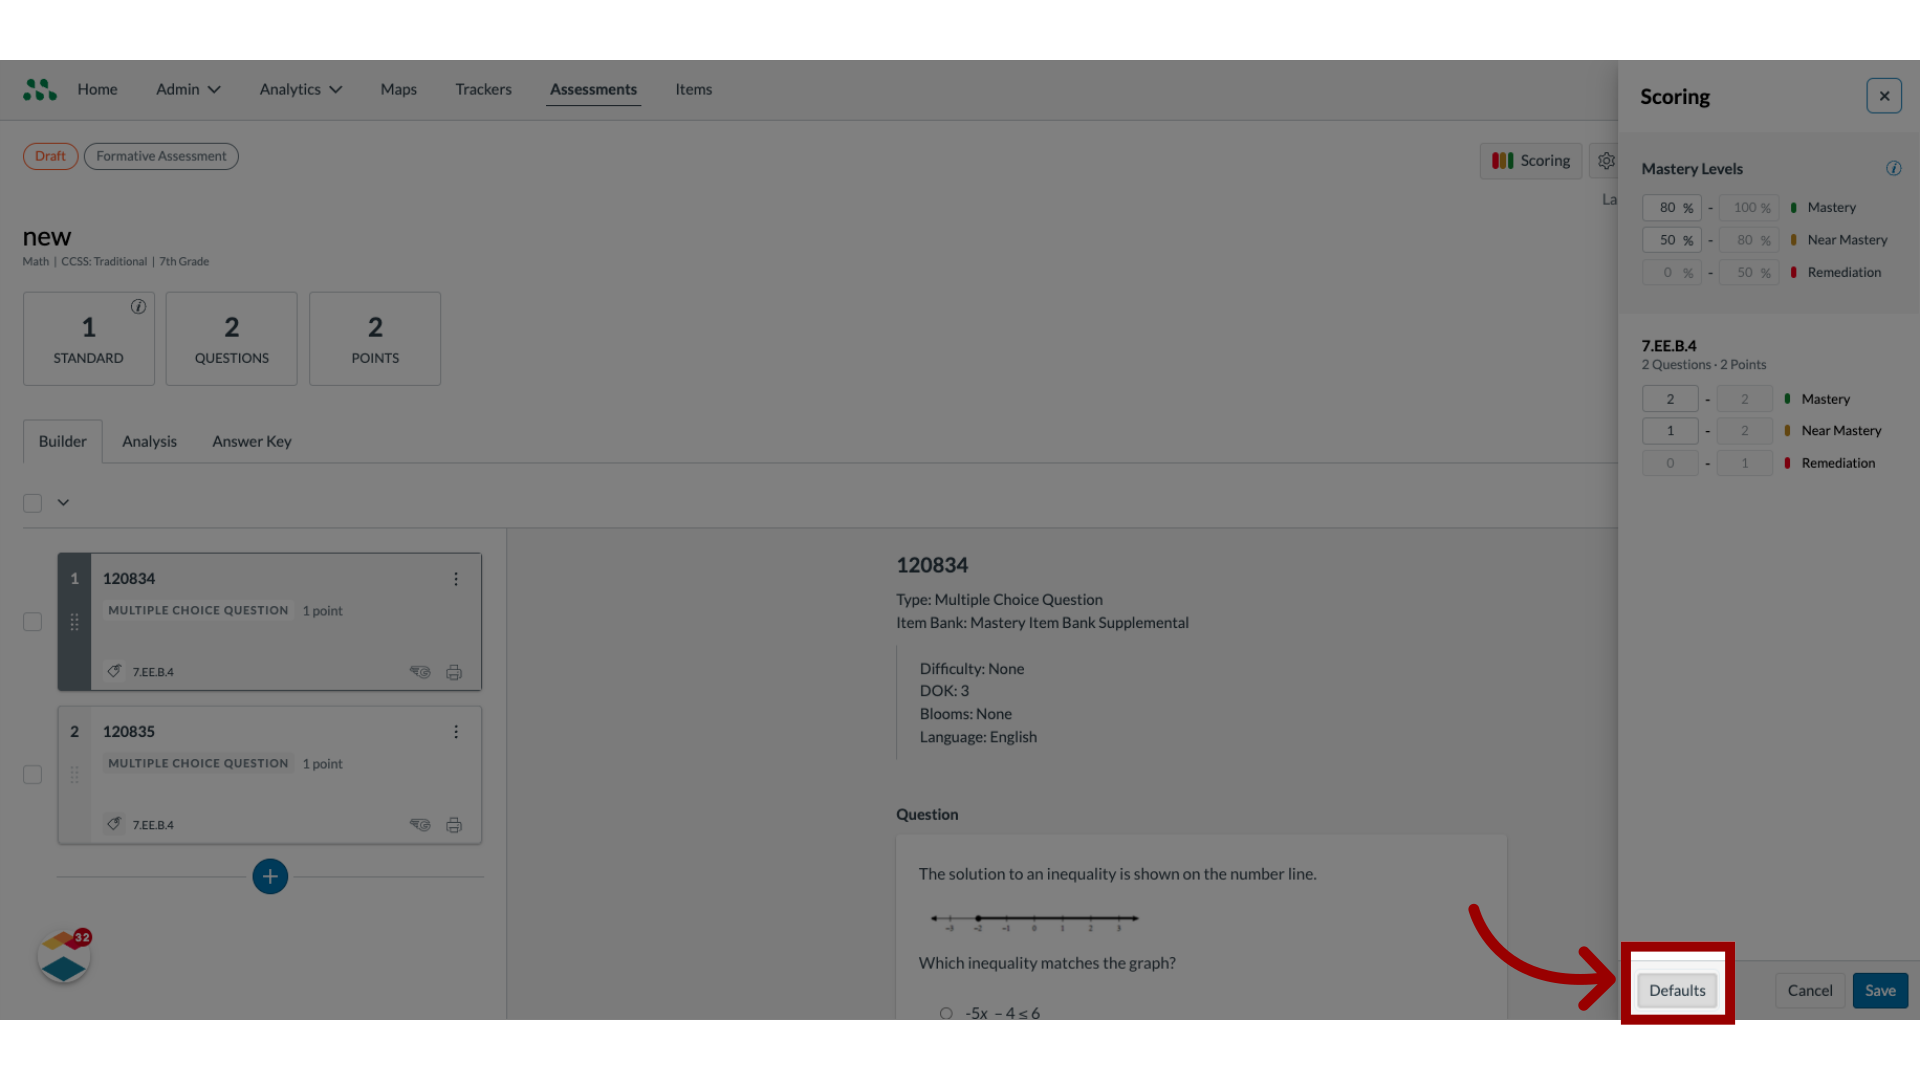
12. Edit Mastery Levels
To edit mastery levels for the assessment, click the Scoring button.
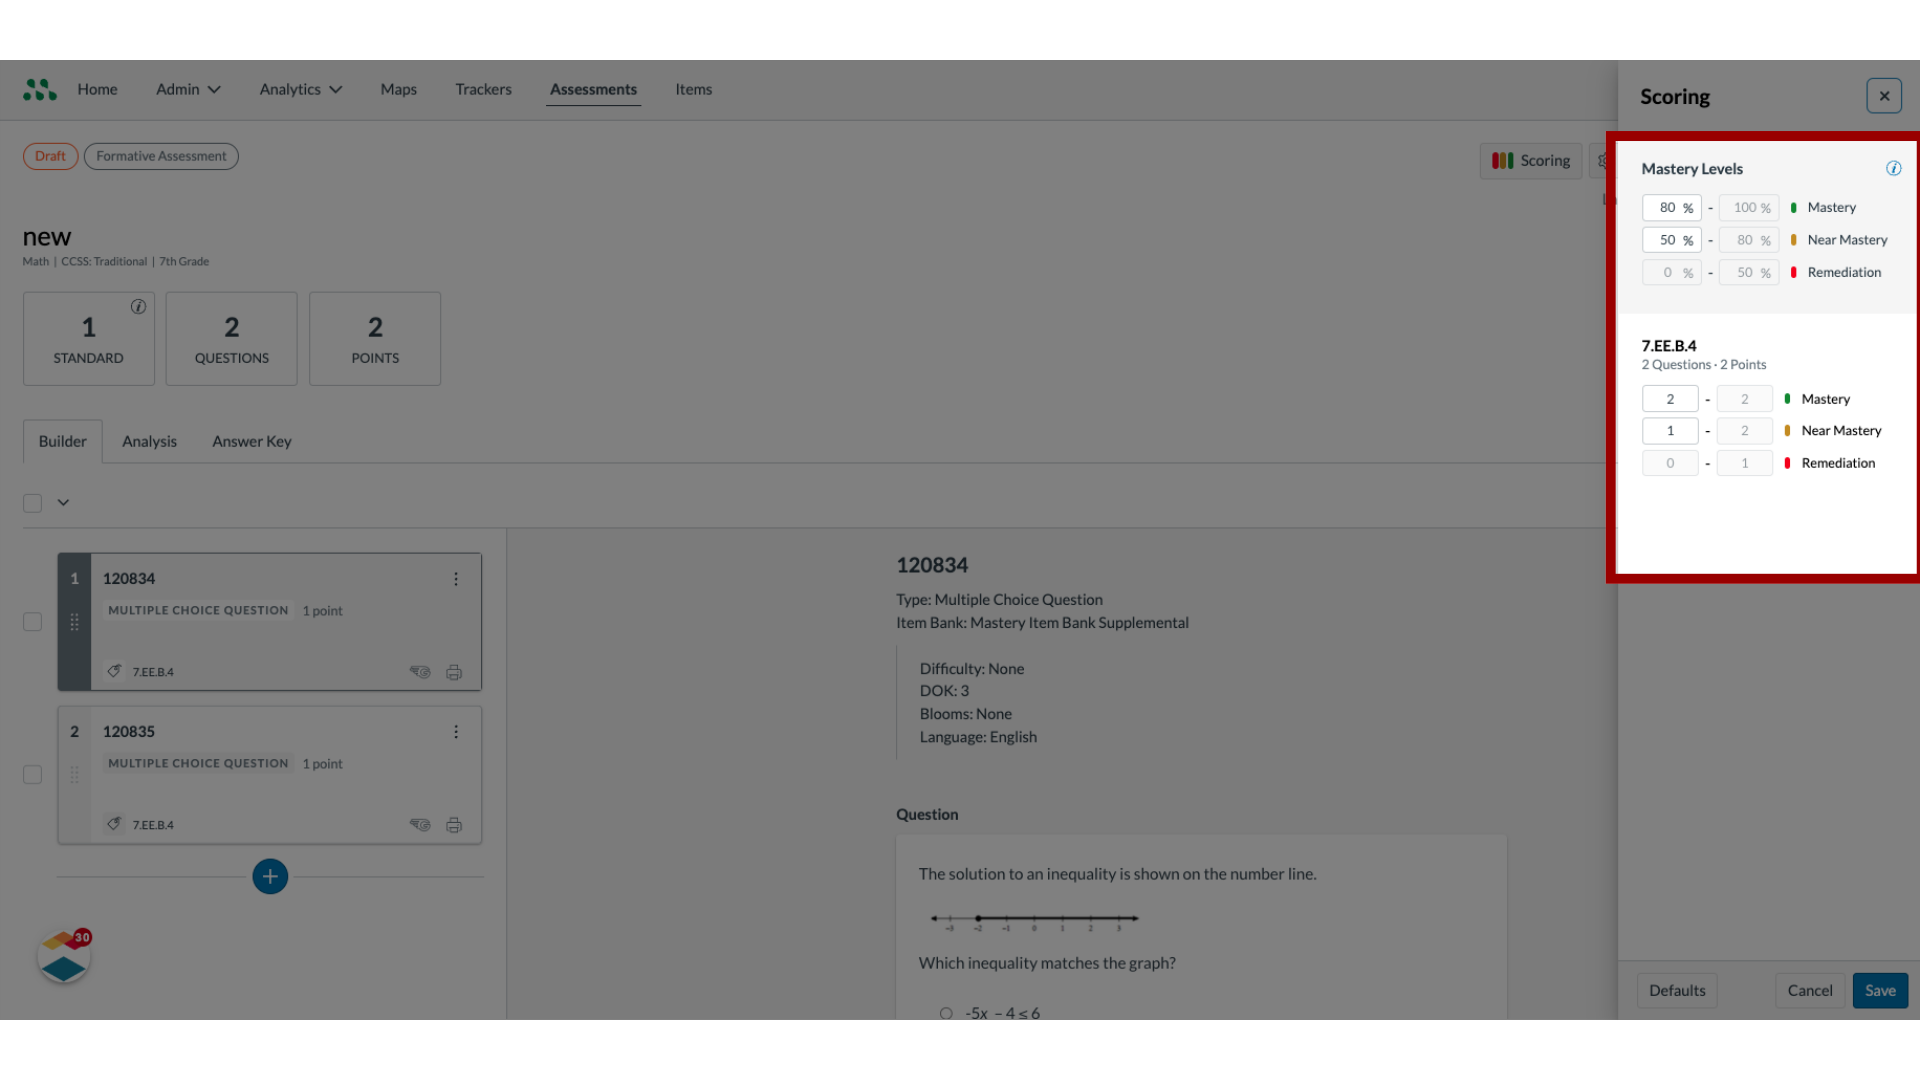
13. Enter Mastery Levels
Enter lower boundary percentages for the Mastery and Near Mastery levels in the fields.
To edit mastery levels for each standard in a multi-standard assessment enter the lower point boundary for mastery and near mastery in the field for each standard.
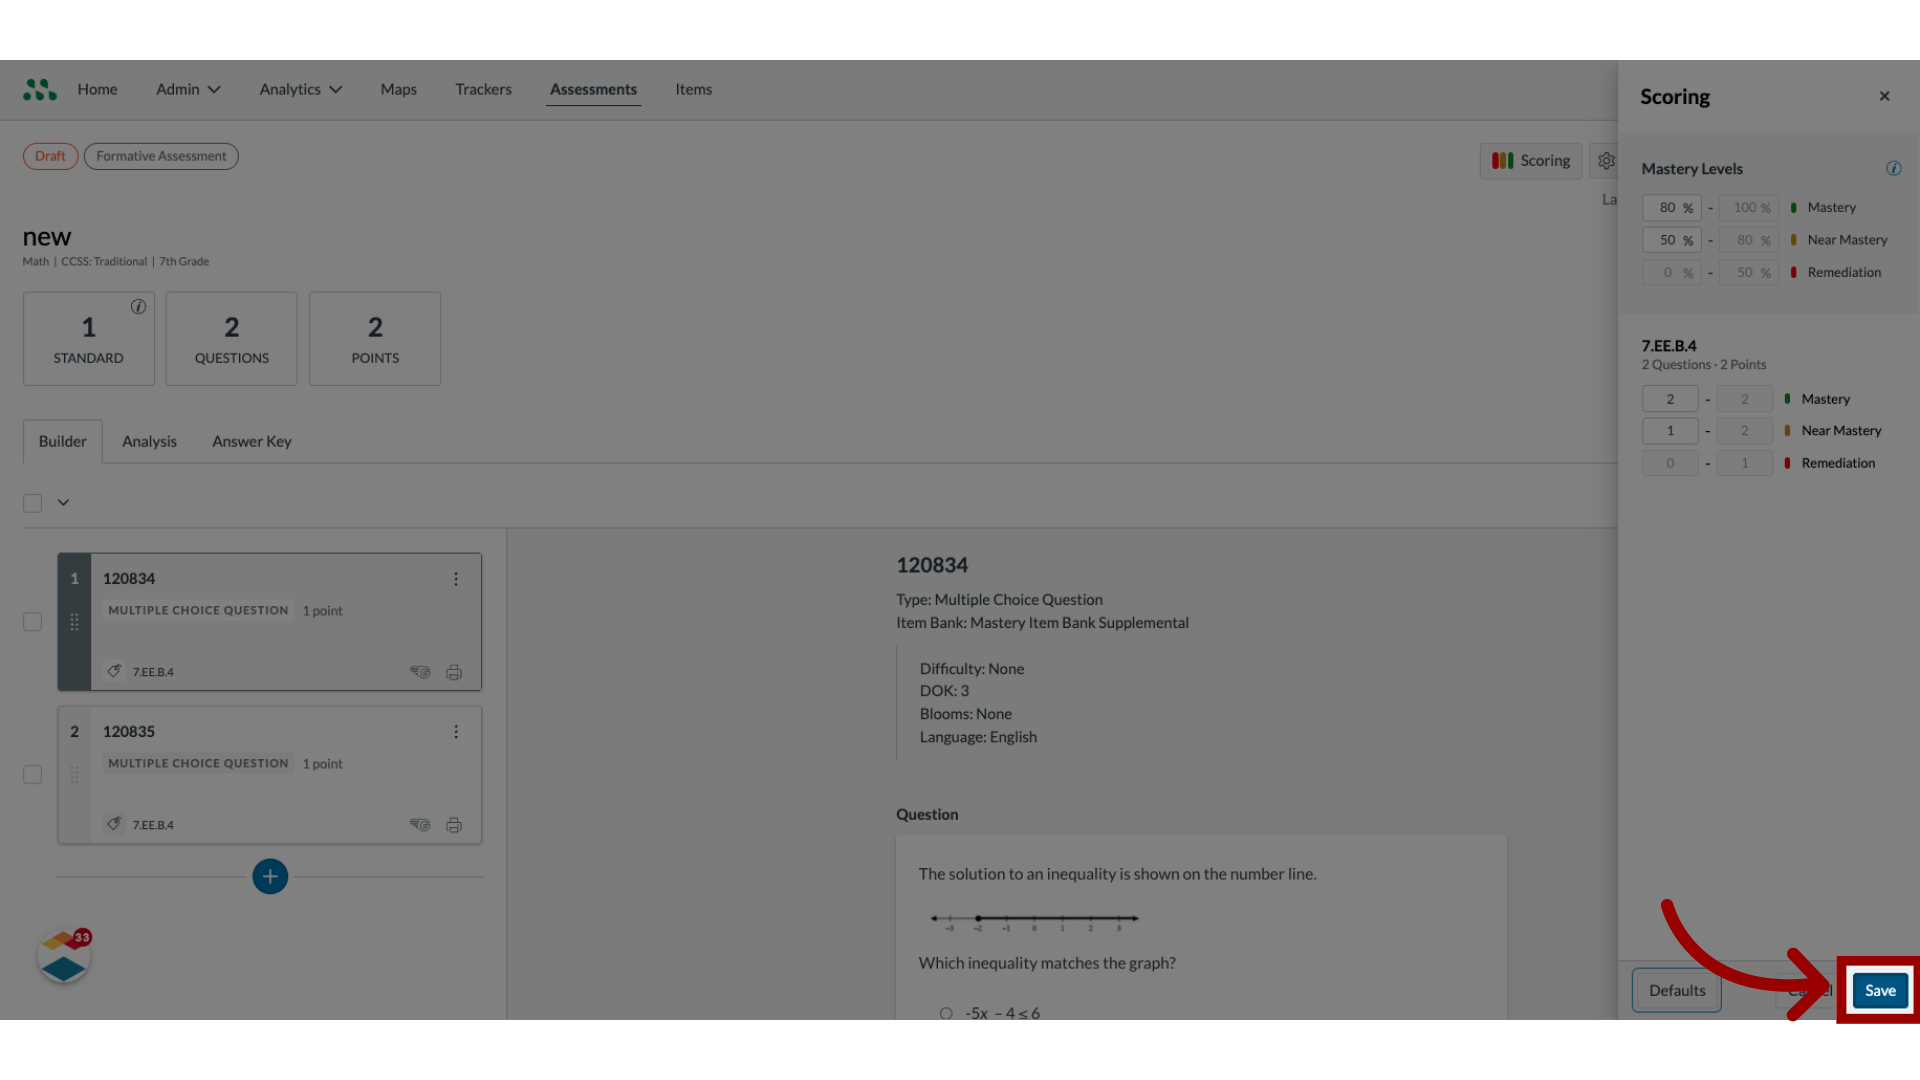
14. Save New Mastery levels
To save the new mastery levels, click the Save button.
15. Reset Default Levels
To return to the default mastery levels for your district, click the Defaults button.
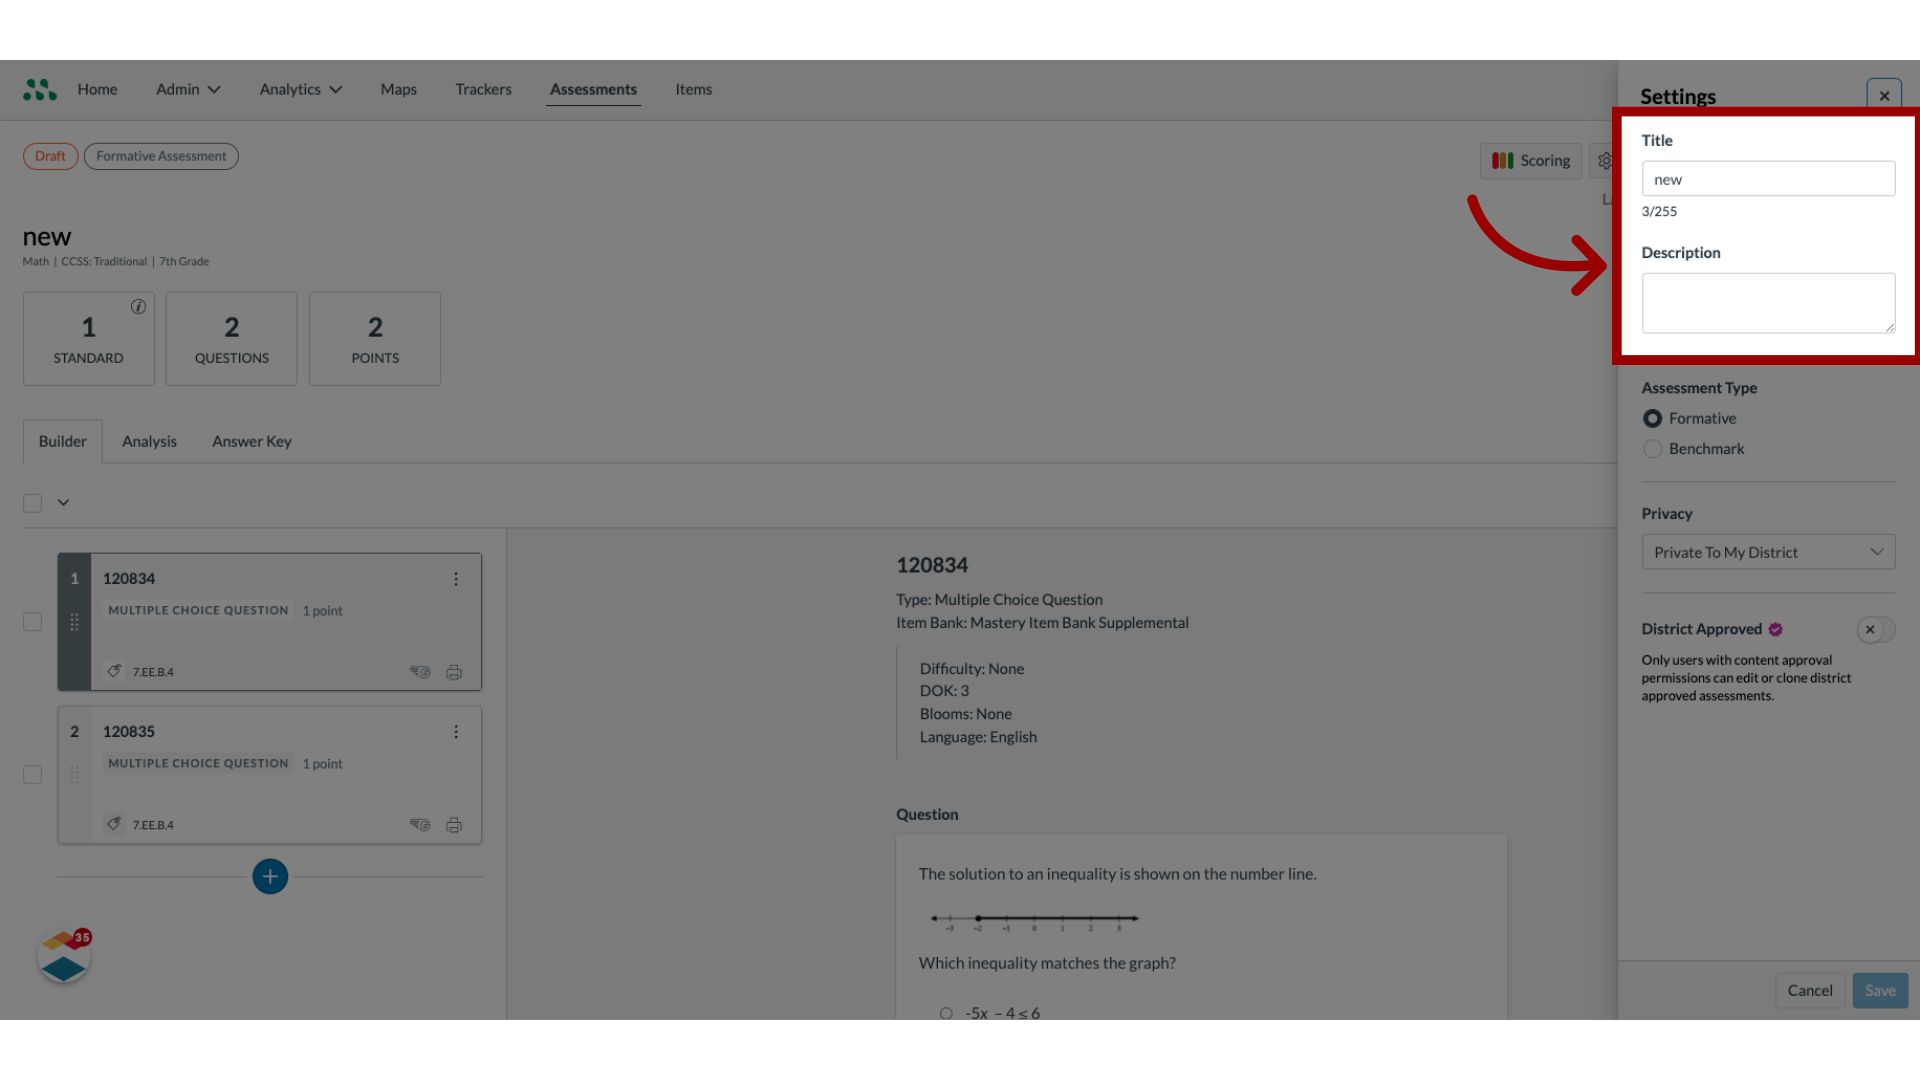
16. Edit Assessment Settings
To edit assessment settings, click the Settings button.

17. Enter Title and Description
To edit the assessment title or description, enter new text in the appropriate fields.
18. Select Privacy Settings
To change privacy settings for the assessment, click the Privacy drop-down menu.
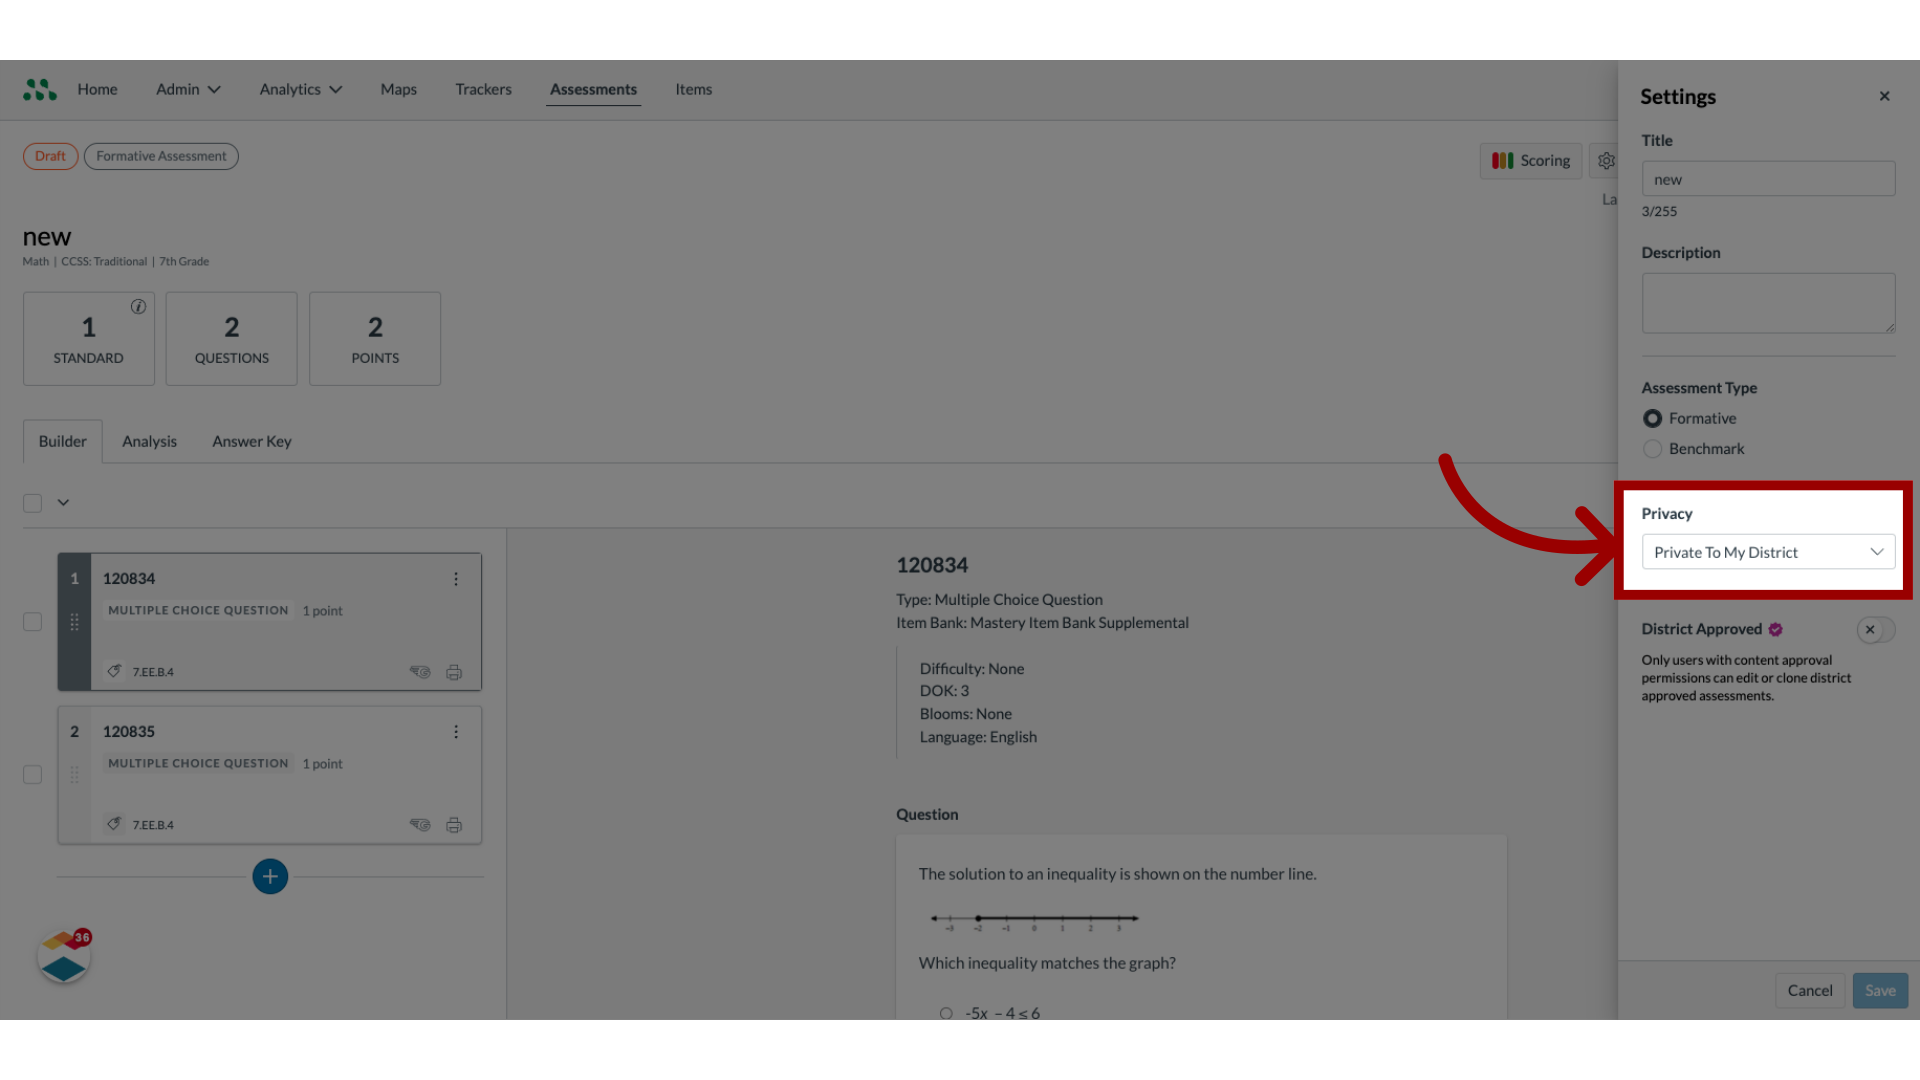
19. Select Assessment Type
District Admins can create both Formative and Benchmark assessments. If the Assessment Type menu displays, to change the assessment type, click a radio button.

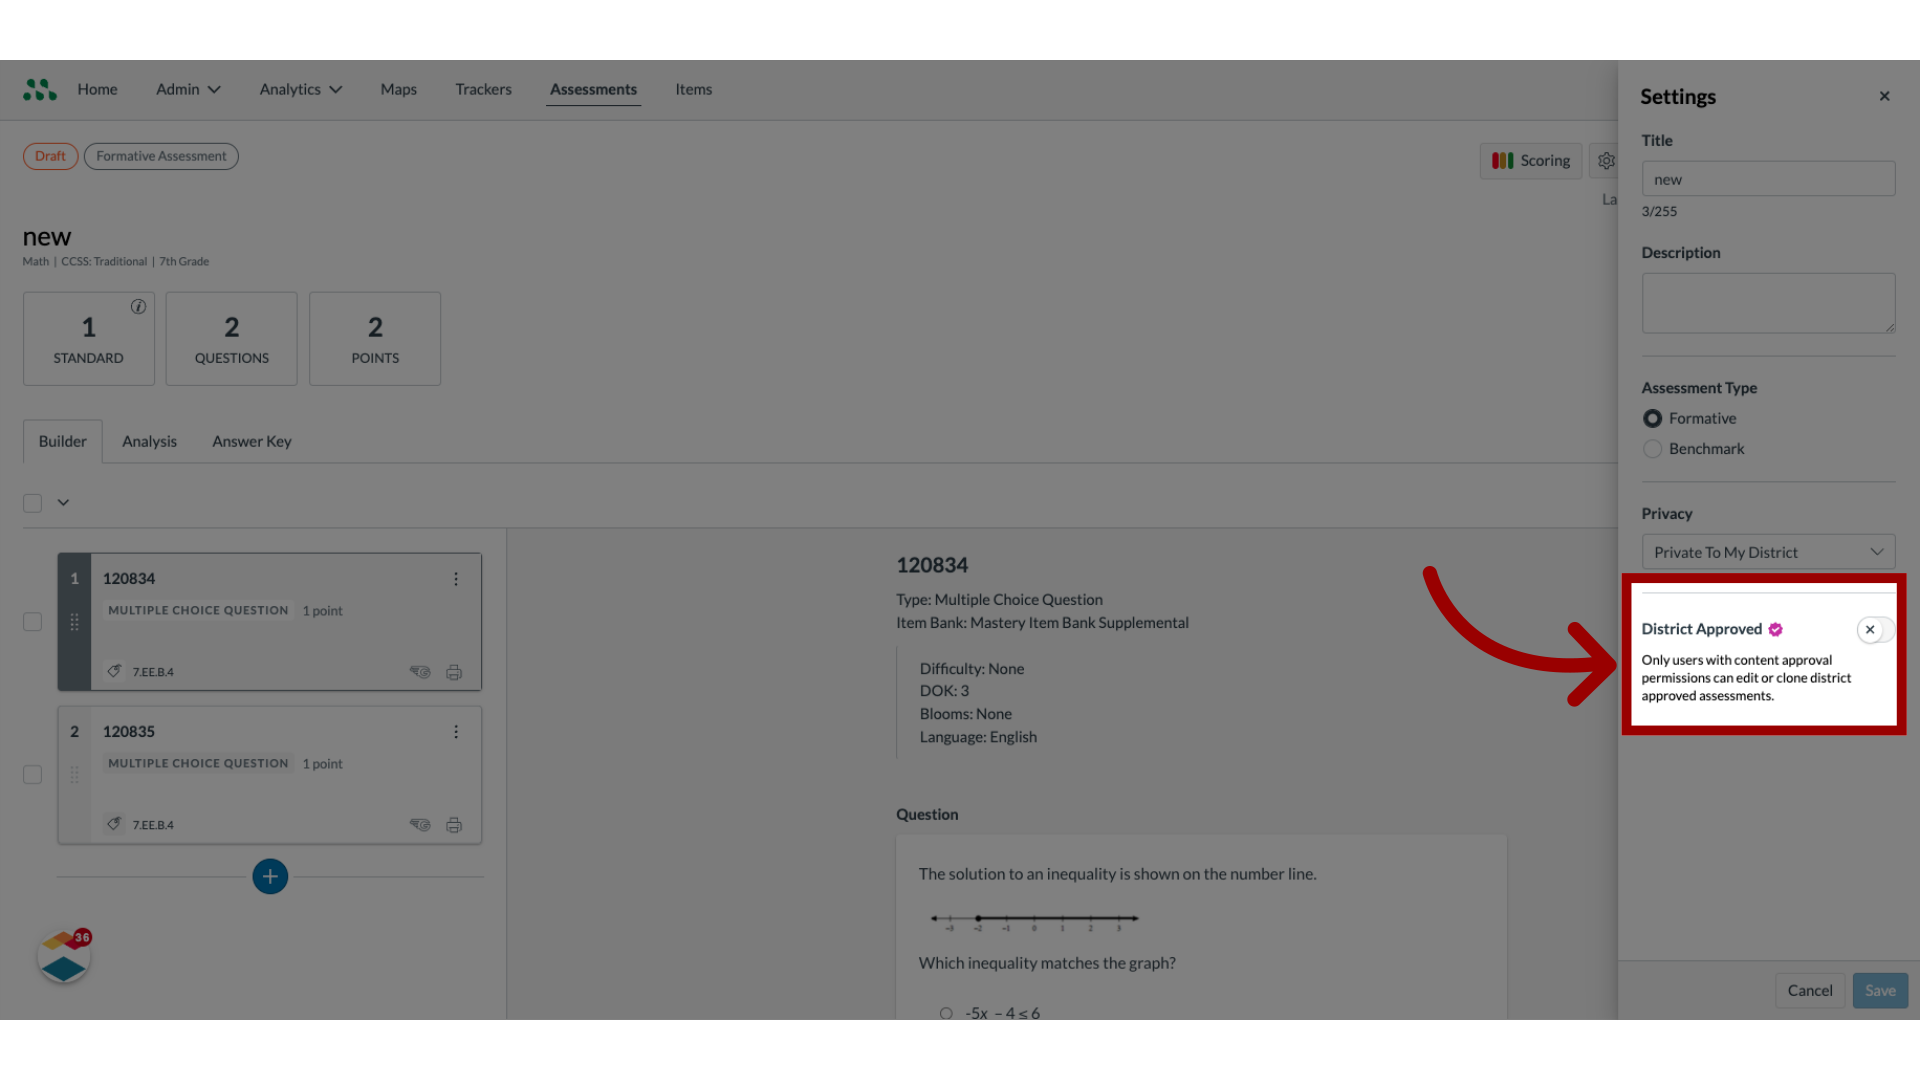
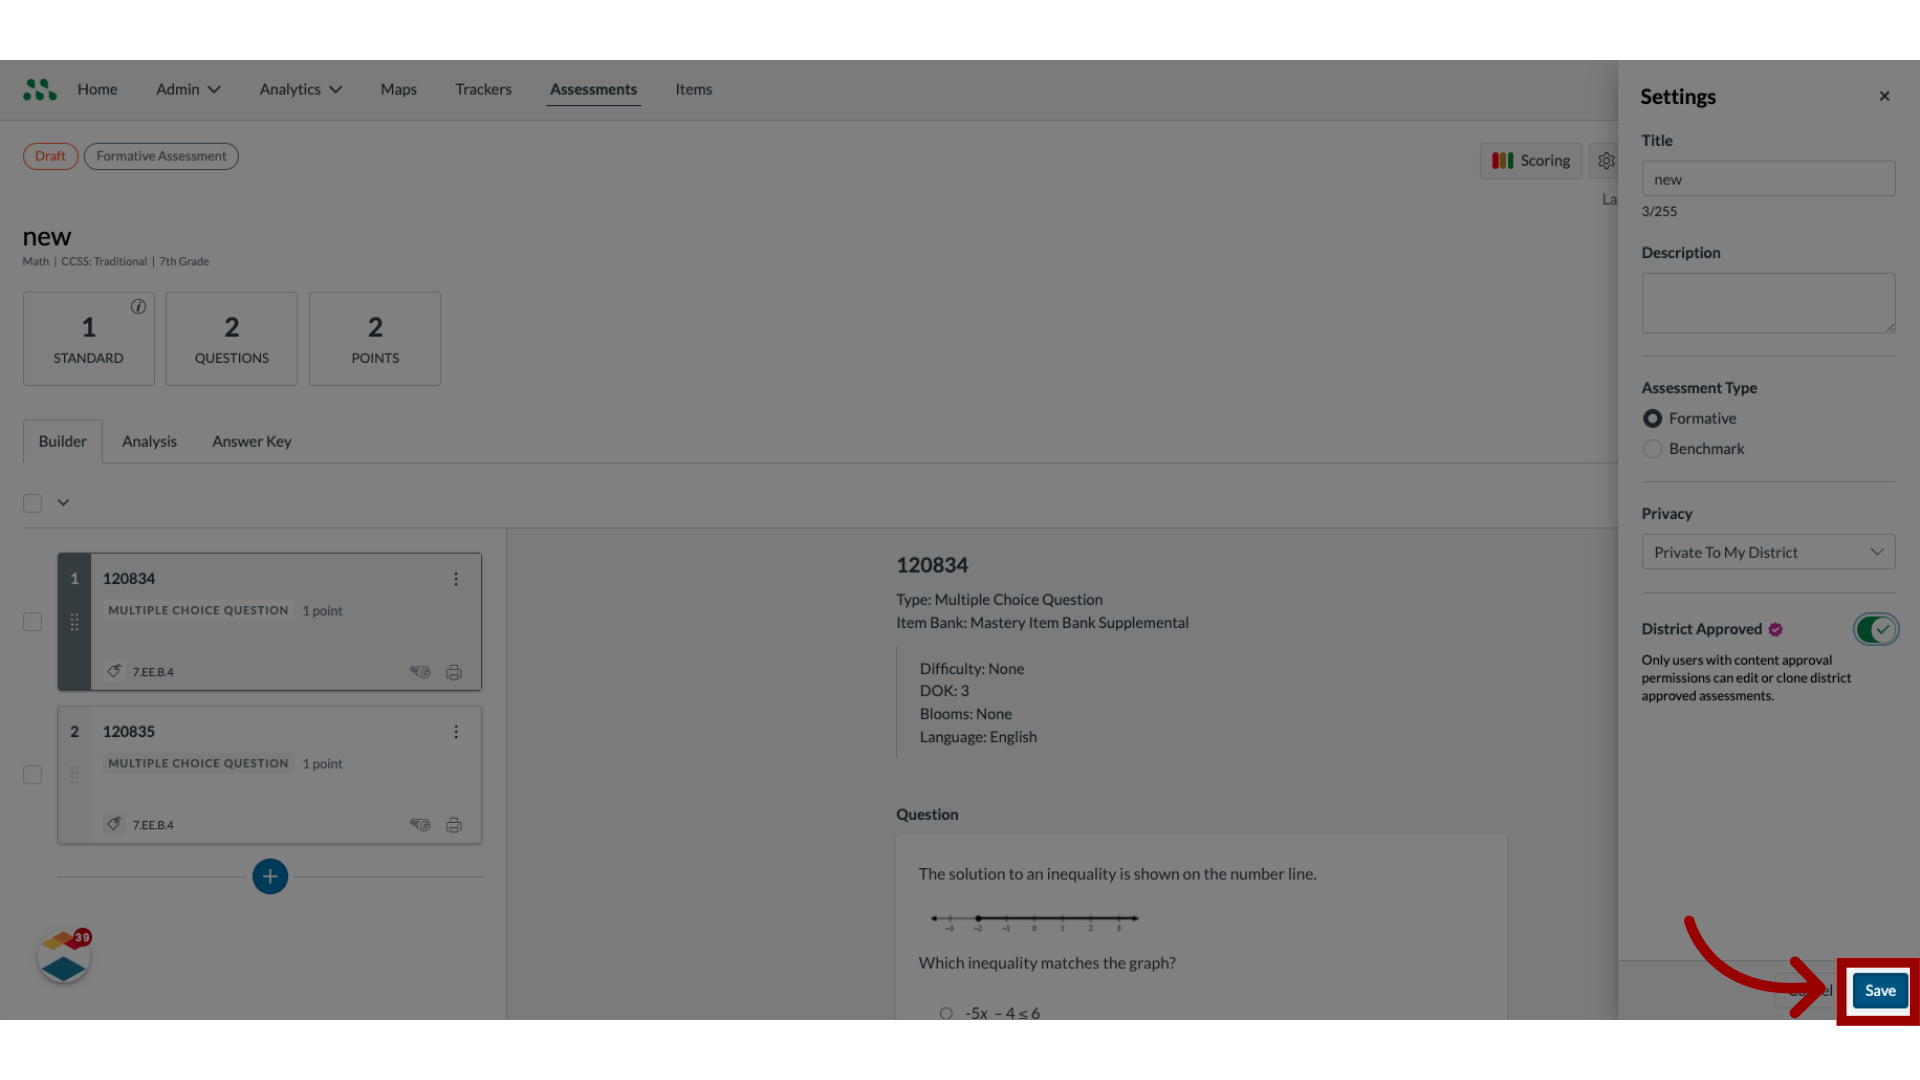
20. Create District Approved Assessment
District Admins can designate both benchmark and formative assessments as District Approved assessments. To designate an assessment as a District Approved assessment, click the District Approved toggle on.
21. Save Changes
To save changes to Settings, click the Save button.
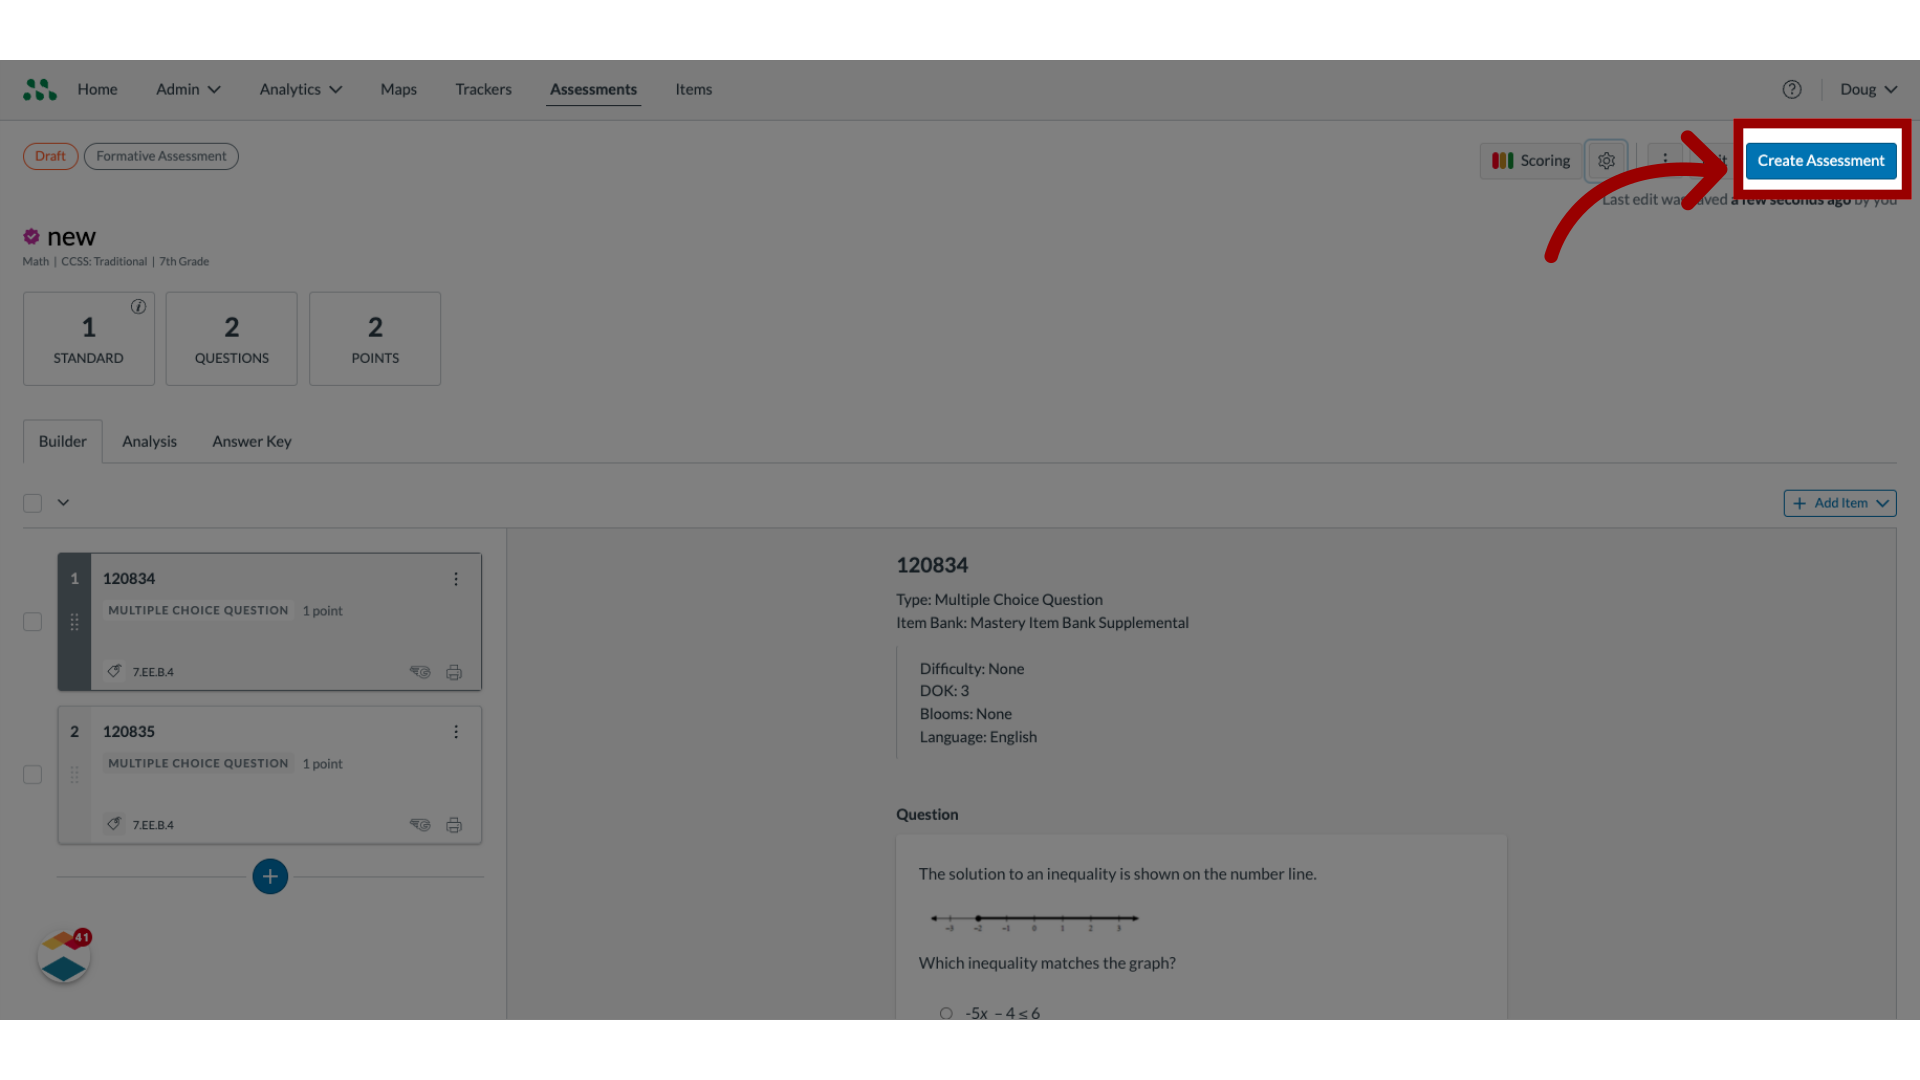
22. Create Assessment
To create the assessment, click the Create Assessment button.
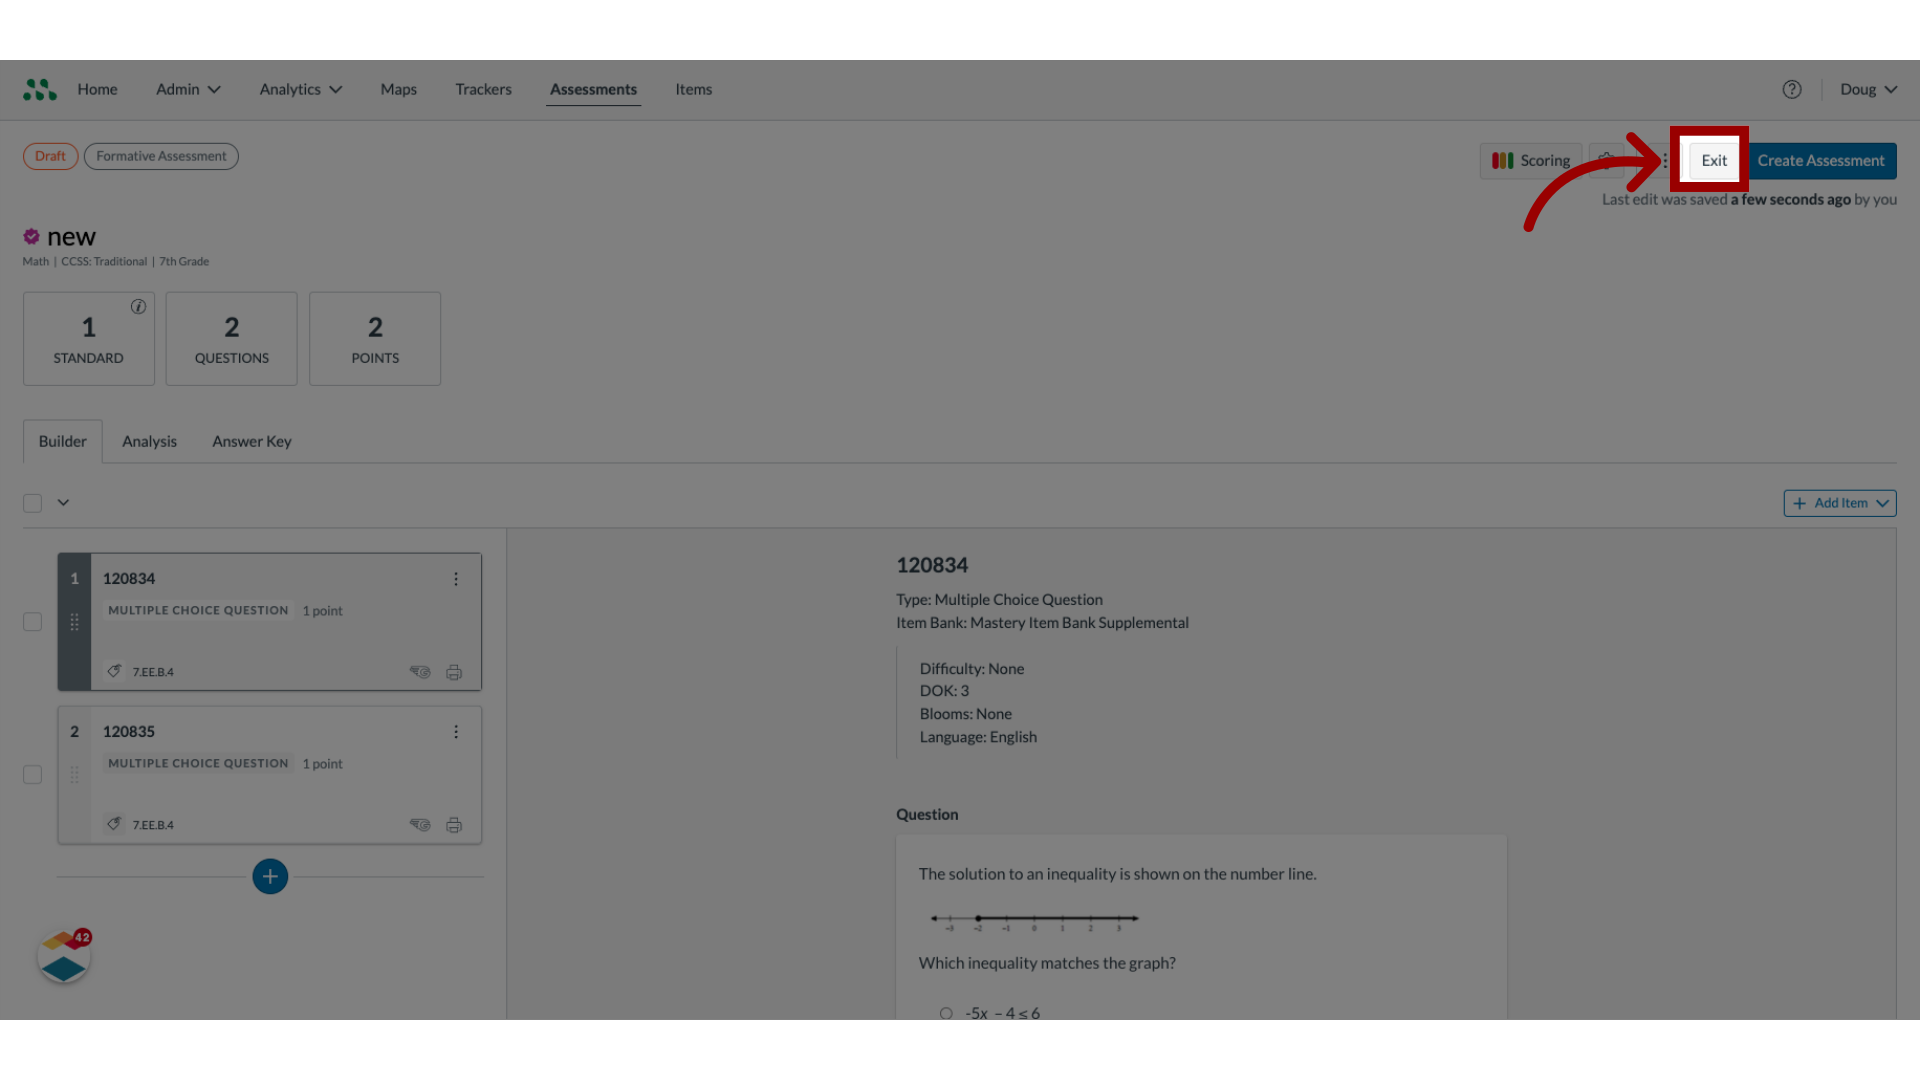
23. Save Assessment as Draft
To save the assessment as a draft, click the Exit button.
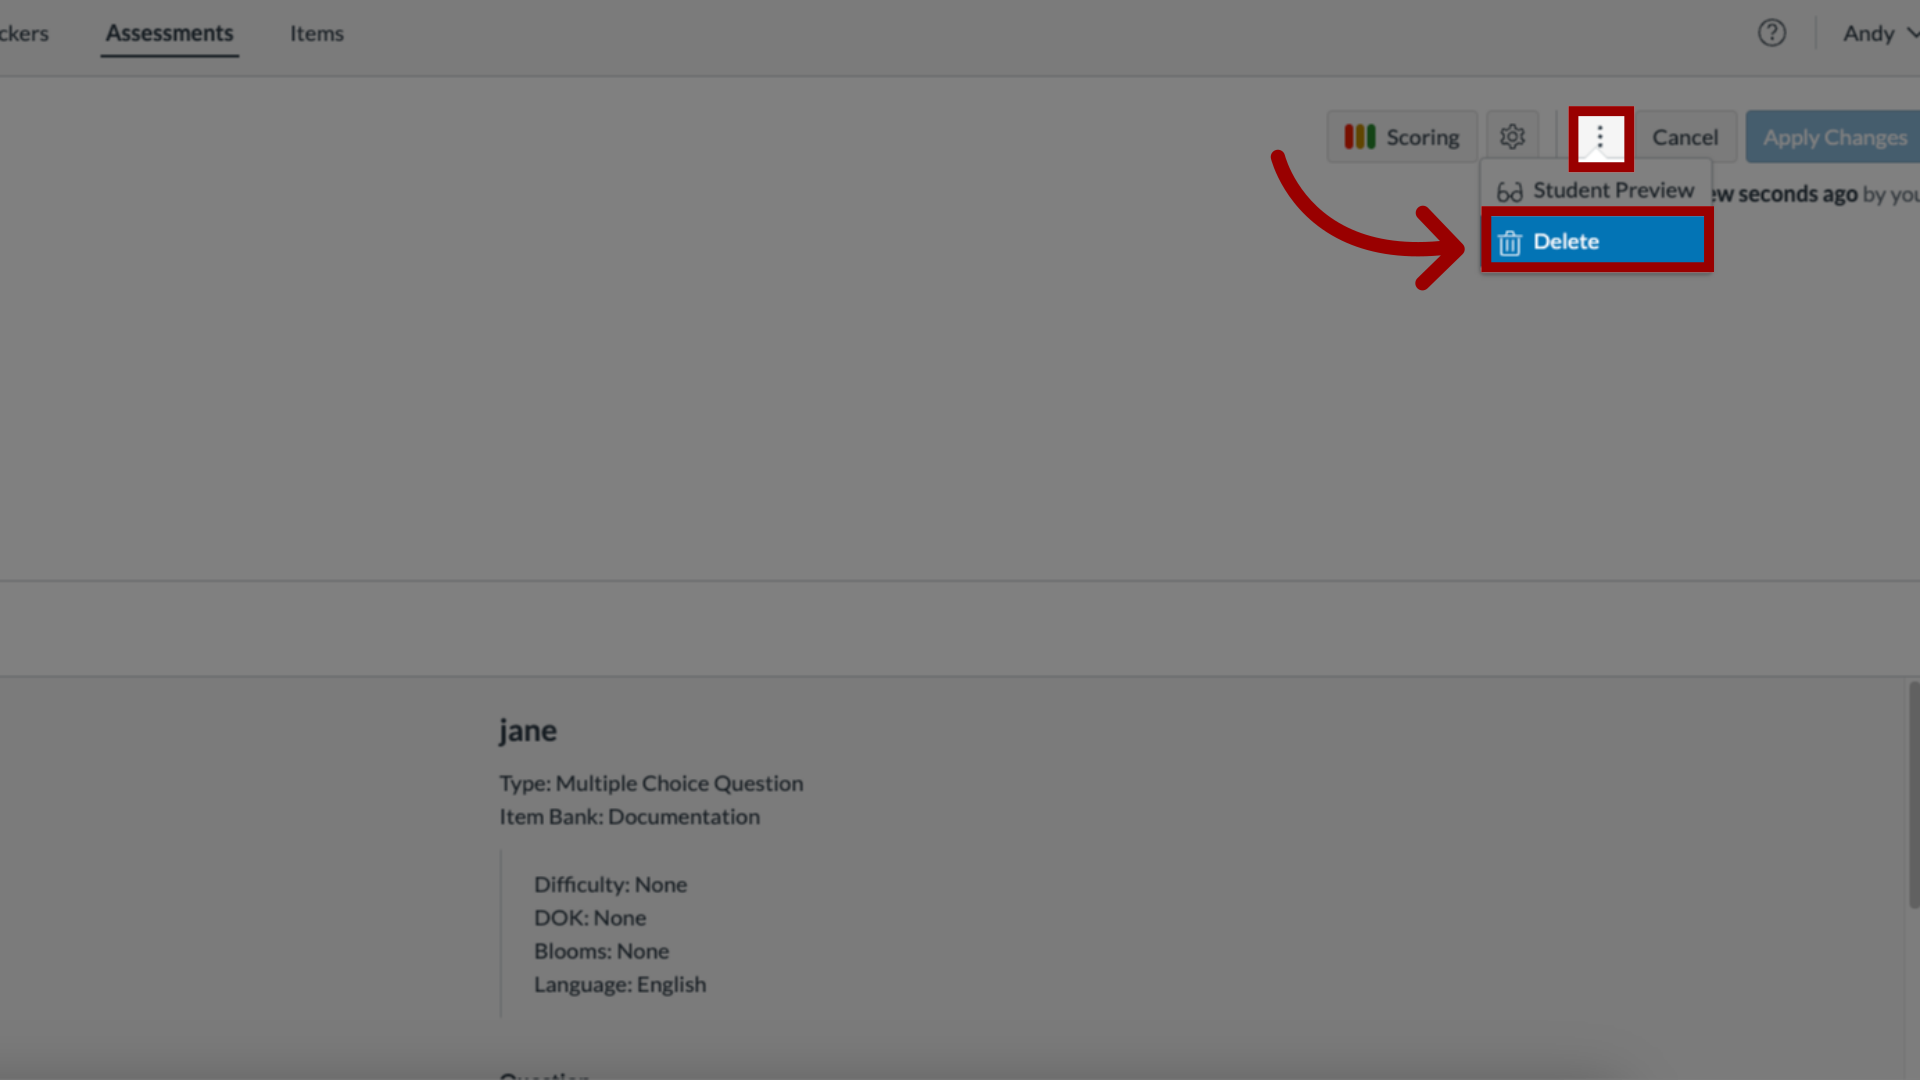
24. Delete Assessment
To delete the assessment, click the More button. Then, click the Delete link.
This guide covered how to create an item-based assessment in Mastery Connect.