If you are allowed to create Canvas courses, you can copy a course and create a new course shell. Copied courses are added to the same subaccount as the course that is copied.
Courses should be copied when you want to use or repurpose previously created content including course settings, assignments, modules, files, pages, and assessments. You can also copy or adjust events and due dates. Not all content can be copied as part of a course.
When you copy a Canvas course using the Copy this Course button, you will be added to the course as an instructor automatically.
For more information, visit our guide about Course Import Tool.
Notes:
- Importing a course more than once may have unintended consequences. If you import content into a new course, edit that content, and then later re-import the original content, the new import will override your existing edits.
- If the Copy this Course button does not appear in Course Settings, this feature has been restricted by your institution. However, if you already have access to a course shell, you can copy a course through the Course Import Tool.
- Copies of existing Canvas courses and course files reference the original Canvas course file quota and do not count against course file quotas.
- Details may vary for BizGov customers based on environment settings, permissions, and enabled features.
- If you copy all content or include course settings in selected content, the grade posting policy from the original course will override the grade posting policy in the new course. Additionally, imported assignments will retain their assignment posting policy from the original course
- When a course is copied that includes a new assessment with an item bank, the item bank is shared with the new course automatically.
- To prevent 0s (zero grades) from being automatically entered into the Gradebook when importing content into a course with a late/missing policy set up, it is recommended that you temporarily disable your late/missing policy before importing the content. You can re-enable it once the import is complete.
- If you get a failed import status, make sure your source course is published and complete before copying. For large courses, avoid copying all files at once. Instead, break the import into sections to reduce errors.
Open Course
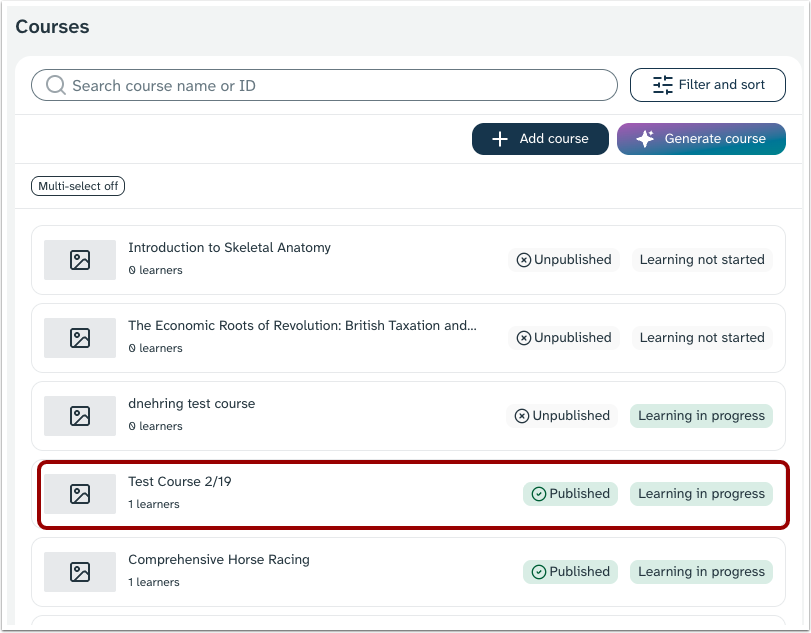
In the Courses page, click the name of the course.
In Course Navigation, click the Settings link.
Copy Course Content
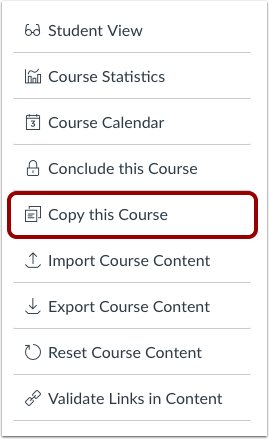
Click the Copythis Course link.
Create Course Details
Enter the Name [1] and Course Code [2] for the new course. The name displays on the Course Home Page and in Conversations. The course code displays at the top of the Course Navigation menu and in the course card in the dashboard. Course code is also referred to as the reference code or short name.
Select a Term [3]. When a term is selected, the Start date [4] and End date fields [5] automatically default to the dates of the selected term. To modify the term dates, contact your institution's admin.
Note: If the current course includes course override dates in Course Settings, the Start and End date fields populate with those dates.
Select Migration Content
To import all content from the course, select the All Content radio button [1].
If you want to select specific content, click the Select specific content radio button [2].
Note: If you select the specific content option, you are required to select the content you want to import; this action cannot be cancelled.
Adjust Events and Due Dates
If you want to adjust the due dates associated with the course events and assignments, click the Adjust events and due dates checkbox [1]. To include a substitution for the course, click the Substitution button [2].
Create Course
Click the Create Course button.
View Content Imports
The Content imports section displays the status of your import. Running reports display a progress bar indicating the time remaining to complete the import [1].
View the content from any completed imports by accessing any link in Course Navigation.