Studio can be used as a standalone product, but its strength lies in its integration power. Studio integrates with Canvas and allows instructors to seamlessly integrate media interaction into the classroom.
When Studio is integrated with Canvas, all Studio users can use Studio as an external tool through the Rich Content Editor. The Rich Content Editor is part of multiple features in Canvas including Assignments, Discussions, and Pages. For students, the Rich Content Editor is also available in course groups and in Text Entry assignment submissions.
By default, embedded media files allow comments to be added, though comments can be removed based on user preference. When media tabs are disabled, embedded Studio media can be resized in the user interface.
Note: Depending on your user role, not all Studio functionality may be available through the Rich Content Editor. If your Global Navigation Menu includes a link to Studio, you can manage videos at any time directly through a Studio account. Instructors can also access Studio through the Course Navigation Menu.
View Studio Icon in Rich Content Editor
As an external tool, Studio can be accessed through the Studio icon in the Rich Content Editor [1]. The icon is used when embedding media into the Rich Content Editor. To learn more about embedding Studio media in the Rich Content Editor, refer to these guides:
Instructors can also add Studio media assignments with the Studio integration. Instructors can grade submissions in SpeedGrader just like any other Canvas assignment.
Notes:
- To view the Studio icon, you may need to click the Options icon [2].
- You can also access the Studio tool from the App icon [3].
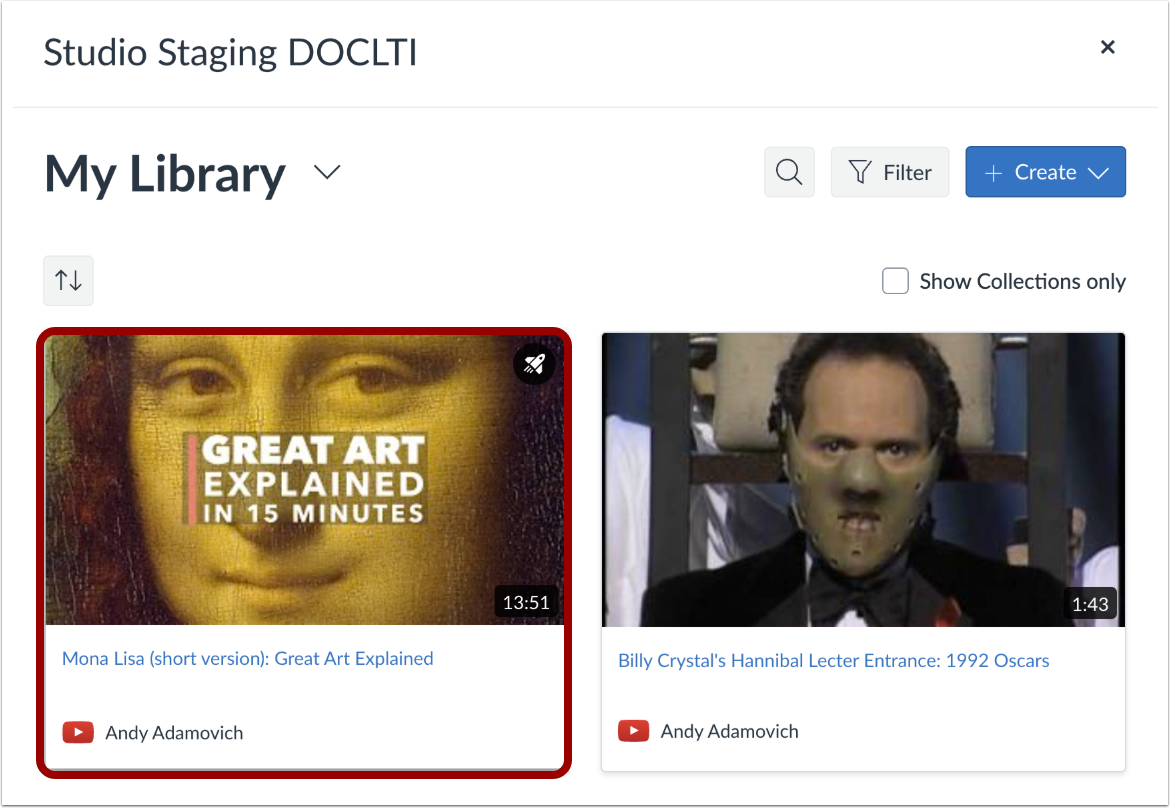
When embedding a video or audio file, any user can search for and view existing media and upload new media.
Users with instructor roles can also view uploads for individual courses.
When submitting a video or audio file for an assignment, students can submit Studio media through the Rich Content Editor as a Text Entry submission, or they can access their Studio media directly as a File Upload submission.
To select a media, click the media thumbnail.
Click in the video window to display the Studio Media Options pop-up. Then, click the Studio Media Options link.
Note: When the RCE Studio Embed Improvements feature option is enabled, you can open the Studio Media Options tray by clicking in the video window. For more information, visit our guide on embedding Canvas Studio media in a Canvas course using RCE Studio Embed Improvements.
The Studio Media Options tray displays information about the media, including the media title, and display and sizing options.
You can customize how the embedded media displays. To embed the video directly in the rich content editor, click the Embed Video radio button [1]. To display a text link to open the media in a new tab, click the Display Text Link (Opens in a new tab) radio button [2].
To select a pre-set size from a list, click the Size drop-down menu [3]. Pre-set size options include medium, large, and extra large.
To enter a custom size, select the Custom option [4]. Enter a custom width or height in pixels in the size fields [5]. As you enter a size, the other field will automatically update to preserve the aspect ratio.
To save the selected options, click the Done button [6].
Note: The media title cannot be edited from the Studio Media Options tray. To edit the media title, view the media details.
Click the Embed Media button.
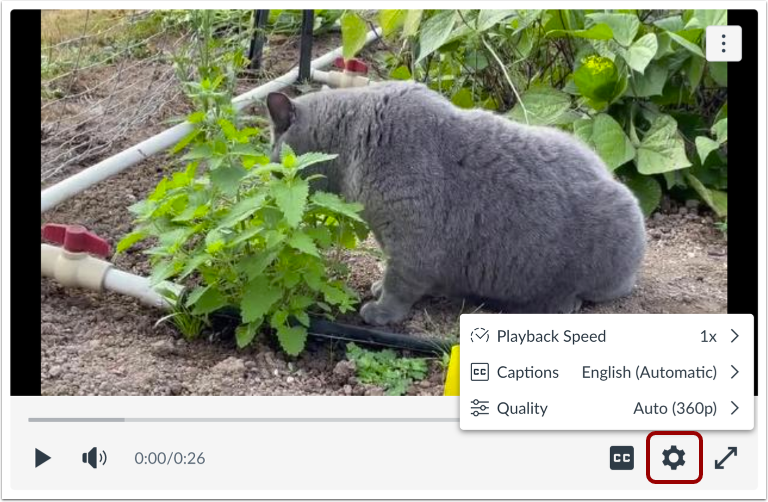
When viewing embedded media in the Rich Content Editor, users can customize their experience using the Settings menu playback controls.
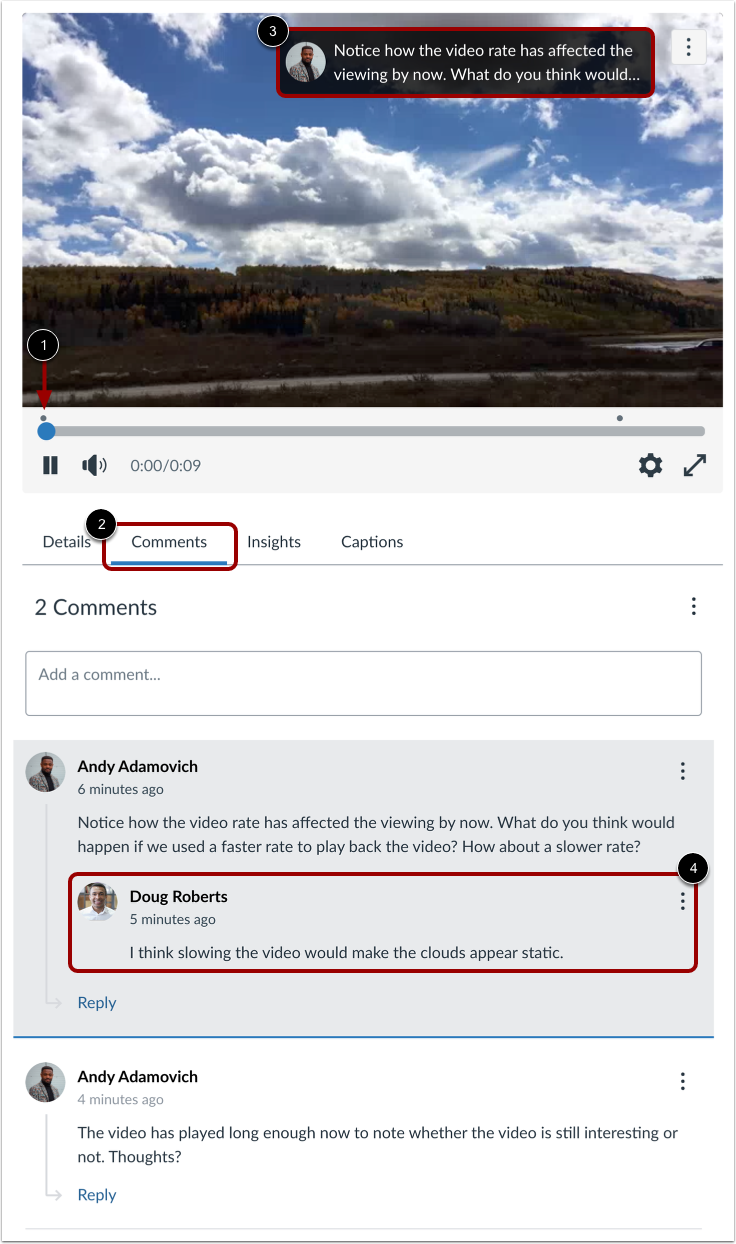
Video and audio files in the Rich Content Editor may or may not include comments. The video or audio file may also include additional details available based on a user's role.
Timeline dots indicate comments added by a user [1].
To view the comments, click the Comments tab [2]. A comment then displays in the media player [3]. Comments are arranged chronologically by time and are highlighted as they appear in the media timeline.
Comments can also include replies from other users [4]. Studio displays the first five replies. However, if a comment includes more than five replies, you can load additional replies.
Note: When the RCE Studio Embed Improvements feature option is enabled, the Comments section may display differently. For more information, visit our guide on embedding Canvas Studio media in a Canvas course using RCE Studio Embed Improvements.
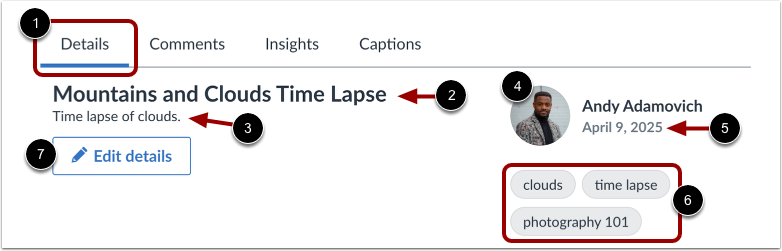
In the Details tab [1], you can view the following:
- Name of the video [2]
- Description [3]
- The profile picture (if supported) and name of the user who uploaded the media [4]
- The date the media was uploaded [5]
- Any tags associated with the media [6]
When media is added through the Rich Content Editor, the title of the media is created using the name of the uploaded file. If you uploaded the media, you can also edit the details of the media [7].
Note: When the RCE Studio Embed Improvements feature option is enabled, the Details tab may display differently. For more information, visit our guide on embedding Canvas Studio media in a Canvas course using RCE Studio Embed Improvements.
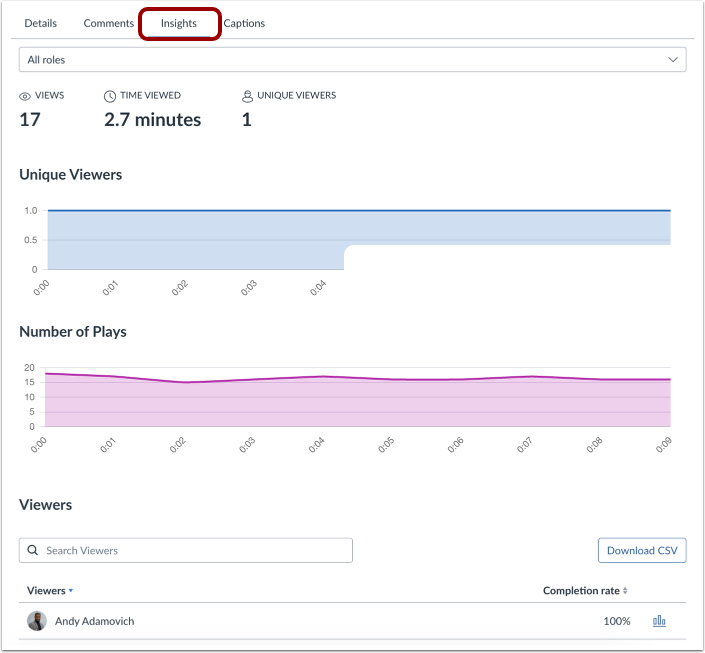
View Analytics
Users with instructor roles can view analytics for each video or audio file on a per-user basis. Analytics on the Insights tab can help instructors see if a user viewed the entire media file or skipped segments. This feature specifically helps instructors see if students sufficiently viewed the content in preparation for an assignment or discussion.
Note: When the RCE Studio Embed Improvements feature option is enabled, the Media tabs may display differently. For more information, visit our guide on embedding Canvas Studio media in a Canvas course using RCE Studio Embed Improvements.