If allowed by your institution, you can add media from YouTube and Vimeo in your Studio account. After you add a YouTube or Vimeo video in Studio, you can add annotations, share access, and manage the media using the media tabs.
Currently, Studio only supports subtitles/closed captioning transcripts provided on media added from YouTube. To add captions to a Vimeo media (if the copyright allows), you can upload caption files in Studio. You can also create captions from scratch.
If a YouTube or Vimeo video's privacy settings change to restrict public access, the Studio player displays a notice. Contact the video owner and request an update to the video share settings.
Studio also supports uploading media files to your Studio account.
Notes:
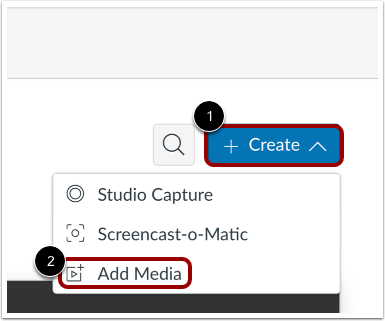
In the My Library page, click the Create drop-down menu [1]. Then, click the Add Media link [2].
Note: Admins can restrict users from uploading media from a device.
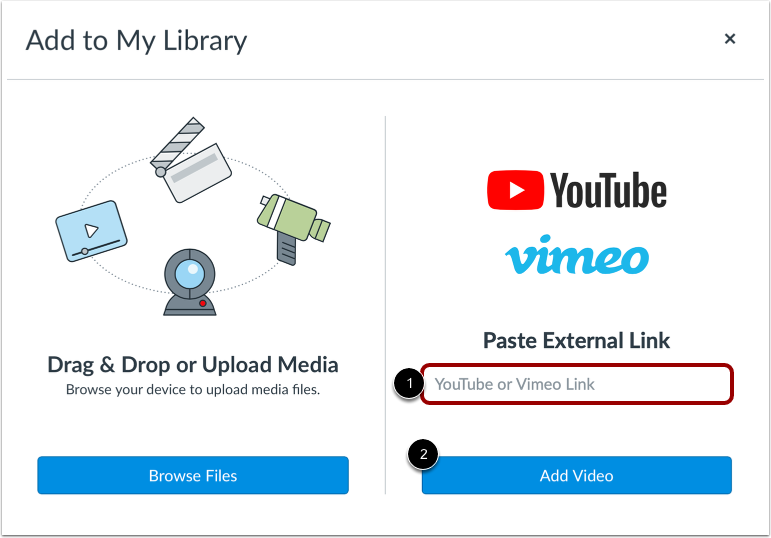
Enter the video URL in the YouTube or Vimeo Link field [1]. Then click the Add Video button [2].
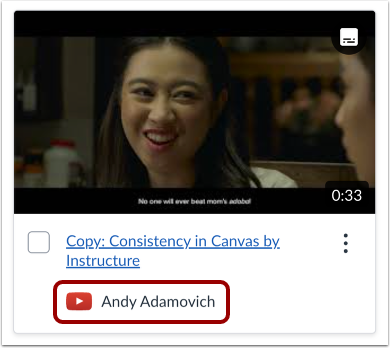
Media added via external sources (Vimeo or YouTube) displays the source's logo and the name of the user who uploaded the media.
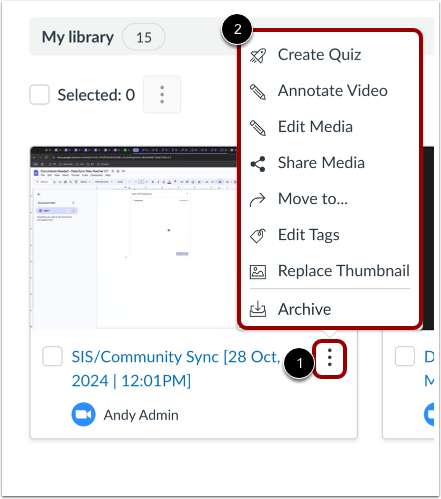
To edit the media, click the MoreOptions icon [1]. Then, to select an editing option, click a link from the list [2].
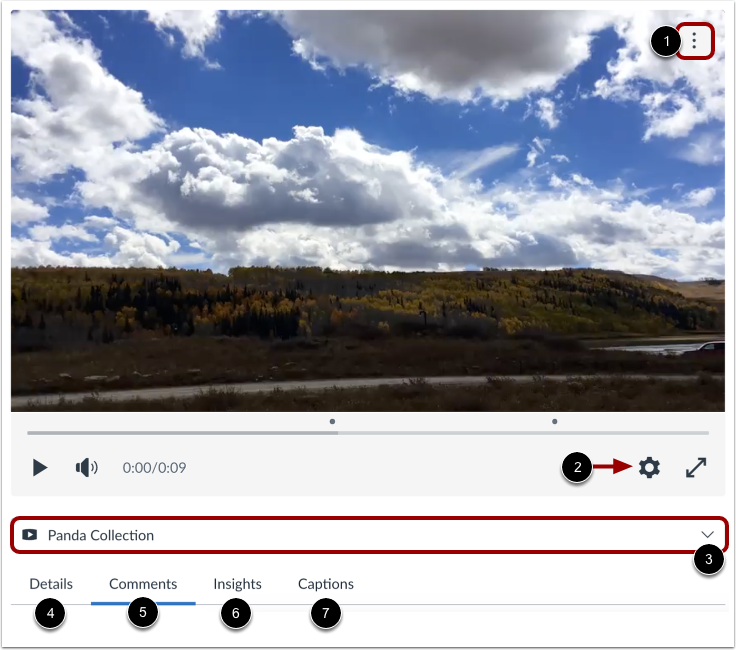
When you view the media, you can share the media, delete the media, or download a transcript of any captions from the More Options menu [1].
To manage the media playback speed and change the video quality, click the Media Settings menu [2].
To view the media in a library or course, click the Media Location drop-down menu [3]. If the media is added in a course, you can view course-specific media details.
You can also edit media details [4], view comments [5], review user insights and analytics [6], and add captions from scratch or upload a caption file [7].