If you have access to your Studio site, you can view your Settings menu. As an admin user, your Settings menu allows you to manage settings for your institution's Studio account.
Sign in to Studio Site
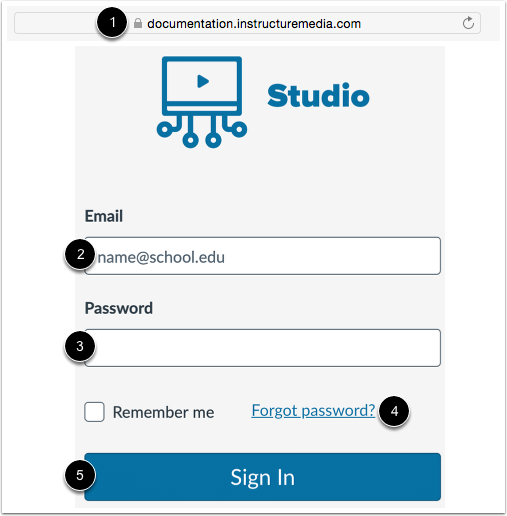
In a browser window, enter the URL of your Studio account [1].
In the Email field [2], enter your email address. This is the email address where you received your invitation to create a Studio password.
In the Password field [3], enter your password. If you forgot your password, click the Forgot password? link [4].
Click the Sign In button [5].
Notes:
- Studio sites follow a URL structure of [your institution name].instructuremedia.com.
- If your institution enables Canvas authentication, you can log into your Studio site with your Canvas credentials.
Open Studio Settings
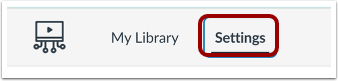
In the Studio Navigation menu, click the Settings tab.
View Personal Settings
To view and manage your personal settings for auto-captioning and auto-publishing, click the Personal tab [1].
To enable high contrast styles in Studio, click the Enable High Contrast View toggle on [2].
Unless your district has disabled the feature, auto-captioning is enabled by default. To disable the feature, click the Enable Auto-Captioning toggle off [3].
Unless your district has enabled the feature, auto-publishing for automatic captions is disabled by default. To enable the feature, click the Enable Auto-Publish for Automatic Captions toggle on [4].
To identify and highlight potential inaccuracies in auto-generated captions, click the Enable Assisted Caption Editing toggle on [5].
By default, an email notification is sent when auto-captions are generated. To disable these notifications, click the Send Email Notification when Automatic Captions are Generated toggle off [6].
Note: If a toggle displays as shaded and cannot be changed, the setting has been locked by your district.
View Studio Groups
To view information about your groups, click the Groups tab [1].
To view more information about the group, click the group name link [2].
View Conferences
To manage Zoom recordings in Studio, click the Conferences link [1].
To save your Zoom recordings to Studio, click the Save Zoom recordings to Studio toggle on [2].
By default, Zoom recordings are saved to your library. To save Zoom recordings to a collection, click the Save to drop-down menu [3] and select the New Collection link [4].
To delete recordings from the Zoom cloud after they are saved to your Studio account, click the Remove recordings from Zoom Cloud after saving to Studio checkbox [5].
To stop saving Zoom recordings to your Studio account, click the Deauthorize Zoom button [6].
View Studio Integrations
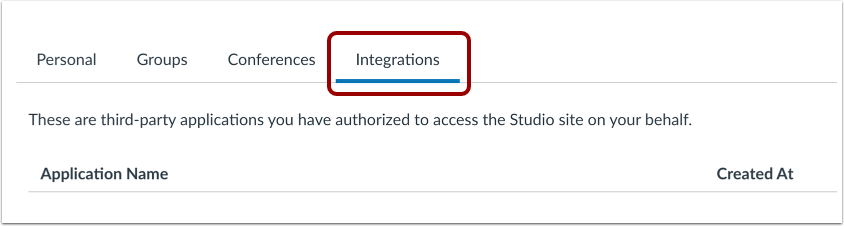
To view a list of third-party applications you have authorized to access Studio on your behalf, click the Integrations tab.
View Studio Admin Settings Tabs
As an admin user, you can view additional admin settings in Studio Settings.
To manage embedding and captioning feature access for Studio users, click the Admin tab [1].
To view and manage user role permissions, click the Permissions tab [2].
To view and manage developer keys, click the Developer Keys tab [3].
To view and manage users in your Studio account, click the Studio Users tab [4].
To view LTI keys for your Studio account, click the LTI Keys tab [5].