As a Canvas Studio admin, you can manage default options for embedding and captioning Studio media from the Admin tab of the Settings menu.
Open Admin
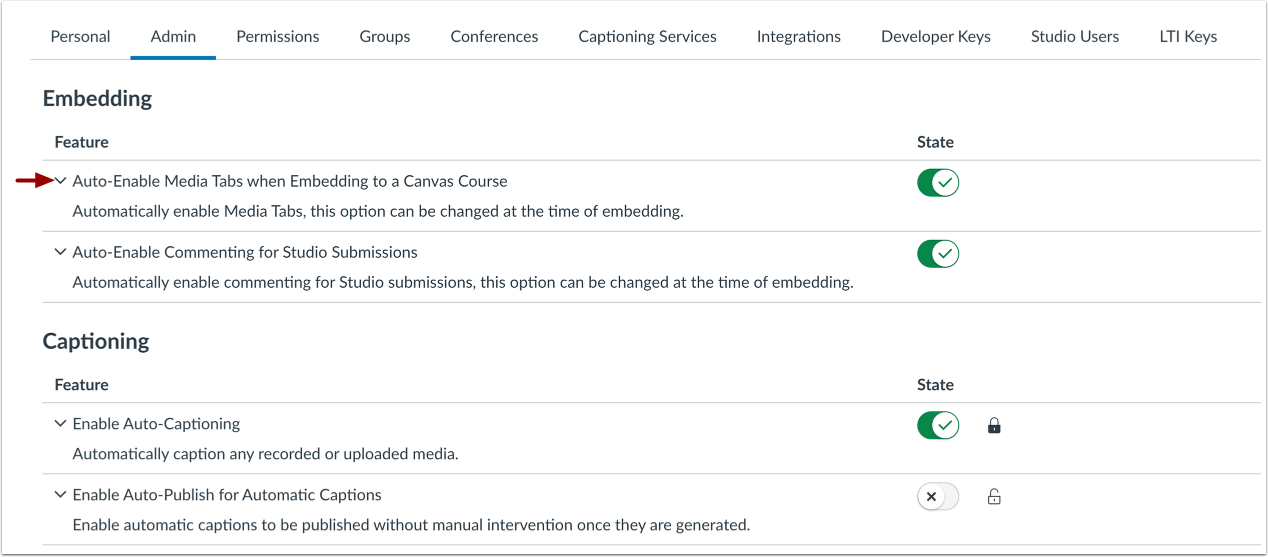
In the Settings menu, click the Admin tab.
View Feature Descriptions
To view more feature details, click the Expand icon.
To enable media tabs by default when instructors embed media, click the Auto-enable Media Tabs when embedding to a Canvas Course toggle on.
Media tabs on embedded course media display media details, comments, insights, and captions. Students can also view details and enter comments.
Note: When an instructor embeds media, the instructor can select to hide media tabs.
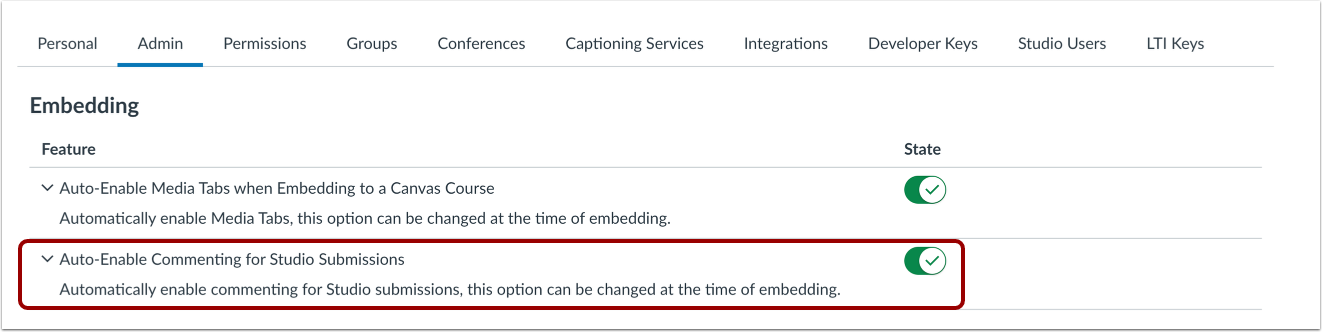
To enable media tabs by default when students embed media, click the Auto-enable commenting for Studio submissions toggle on.
Media tabs for student-embedded media allow comments on the media.
Note: When a student embeds media, the student can select to hide media tabs.
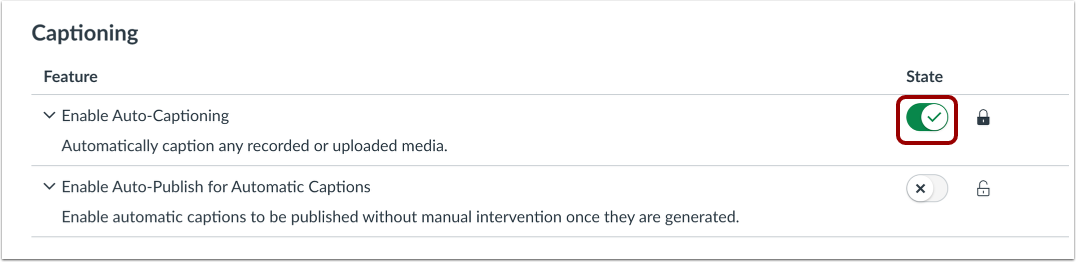
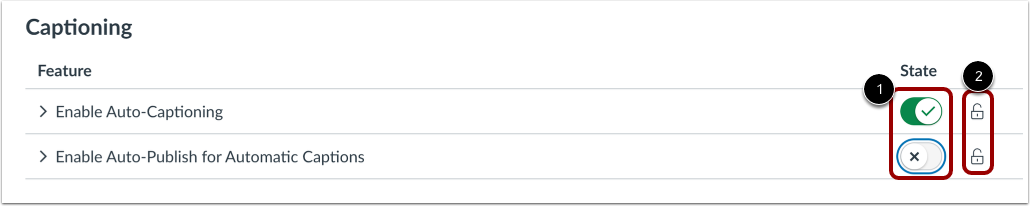
Enable Auto-Captioning
By default, auto-captioning is turned on. To disable auto-captioning for your account, click the State toggle off.
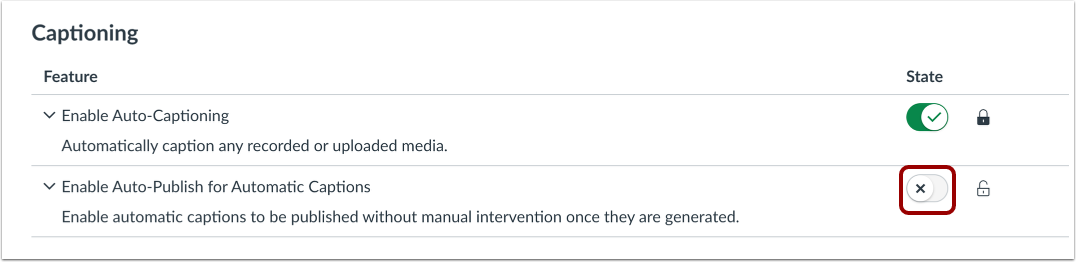
Enable Auto-Publish for Automatic Captions
By default, auto-publish for auto-captioning is turned off. To enable auto-publish for auto-captioning, click the State toggle on.
Lock Captioning Features
As an admin, you can set and lock captioning features for all user accounts.
To select a feature setting, click the State toggle to the desired state [1]. Then, click the Lock icon for that feature [2].
Note: Locking a feature setting overrides users' individual captioning settings.