Studio allows you to manually add captions to uploaded media and YouTube or Vimeo videos to ensure accessibility. Using the Caption Editor, you can add caption lines that display on the video within specified time frames.
Once captions are added, a caption file is generated. You can edit, download, replace, or delete this file at any time.
Notes:
In the Studio Library, locate the media and click the media thumbnail.
Create Captions
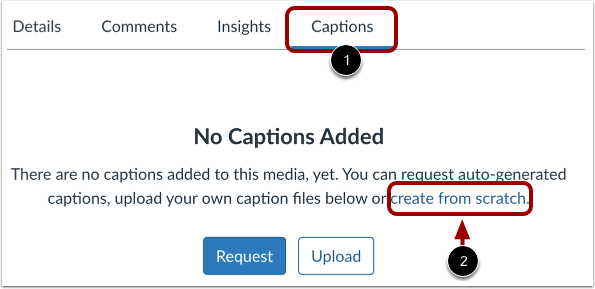
On the Captions tab [1], click the create from scratch link [2].
If captions already exist, you can create additional captions in other languages. Click the New Caption button [1]. Then, select the Create Captions option [2].
Select Language
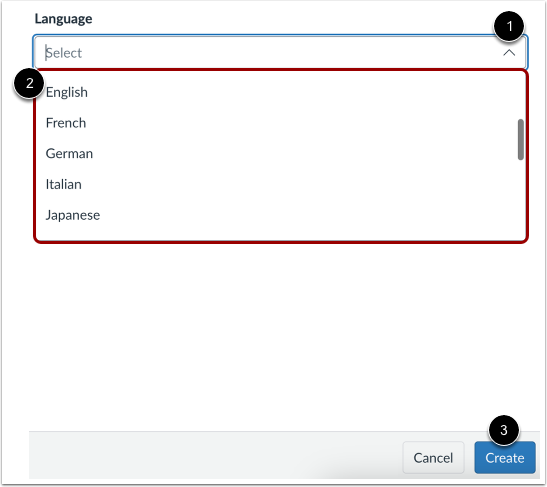
In the Create Captions window, click the Language drop-down menu [1] and select the language for the captions [2].
Click the Create button [3].
Enter Custom Caption Language
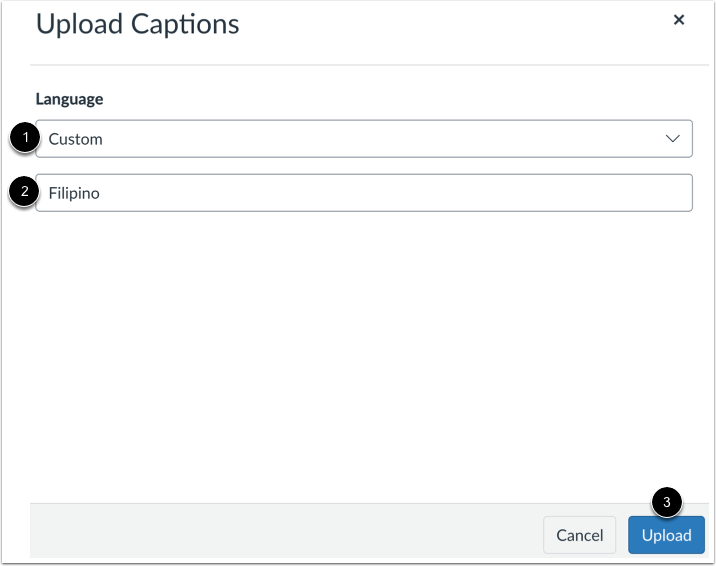
If the language you need is not listed, click the Custom link [1].
Enter the custom language name in the Language field [2], then click the Upload button [3].
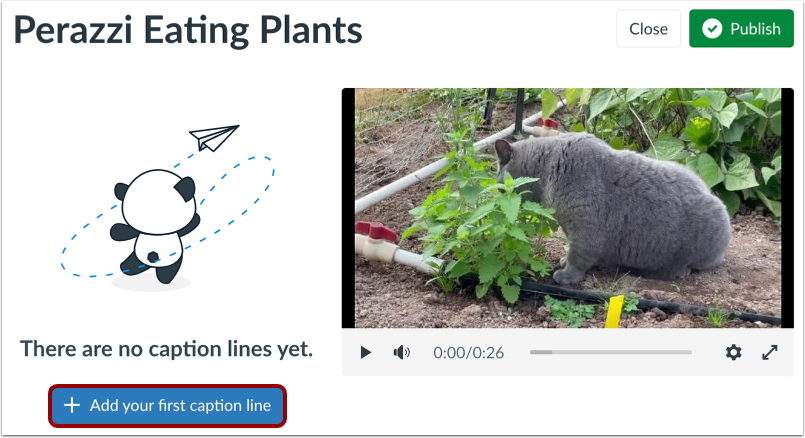
Open Caption Editor
Click the Add your first caption line button.
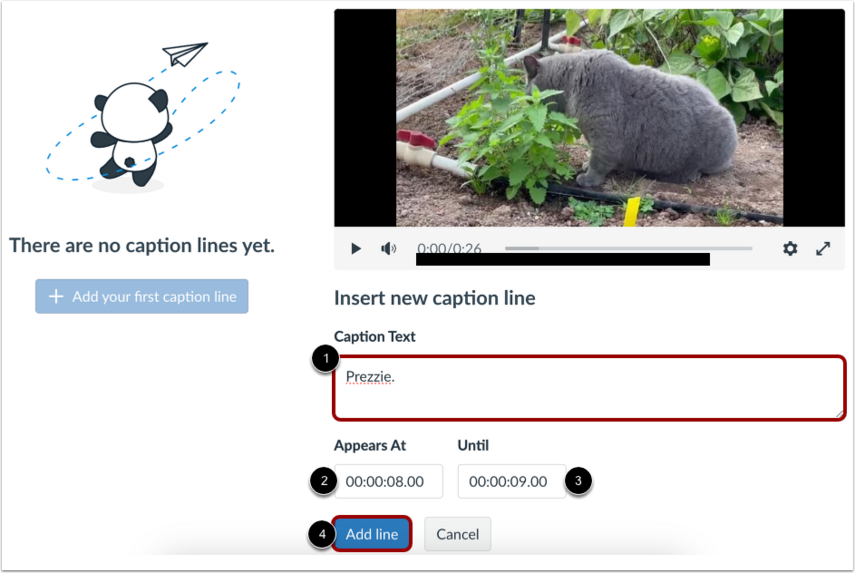
Create Caption Line
To add a caption line, enter text in the Caption Text field [1].
To control how long the caption line displays, enter a start time in the Appears At field [2] and an end time in the Until field [3]. The timestamp format is: [hours]:[minutes]:[seconds].[milliseconds].
Click the Add line button [4].
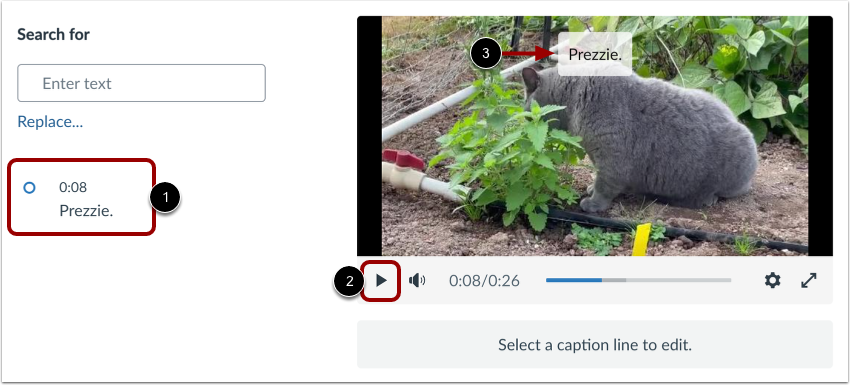
View Caption Line
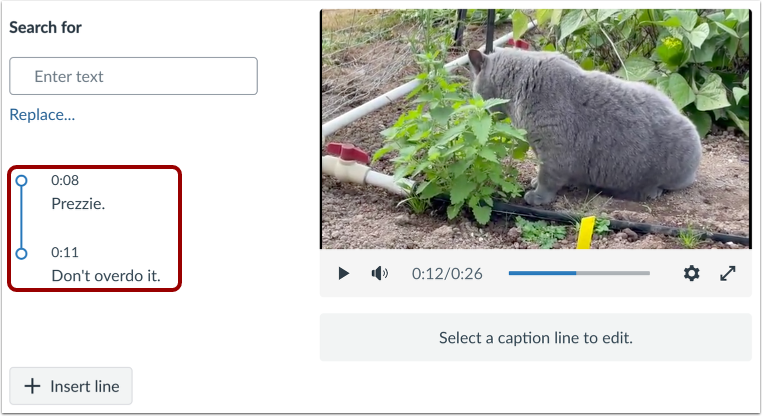
Your first caption line and its start time display in the caption editor [1].
To view the caption on your video, click the media Play button [2]. The caption displays on the video [3].
Note: Captions are saved automatically.
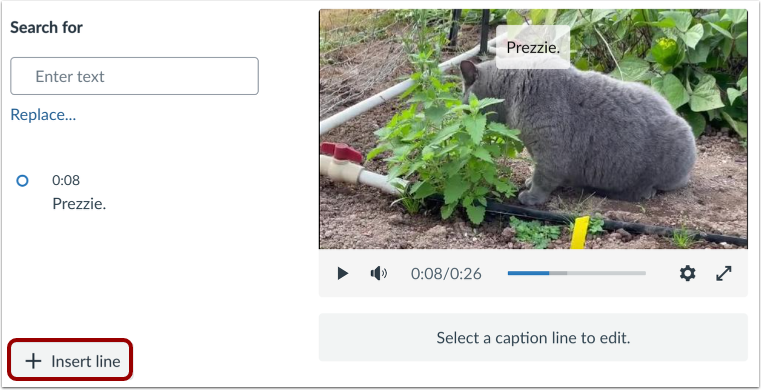
Add Additional Caption Lines
To add additional lines, click the Insert line button.
View All Caption Lines
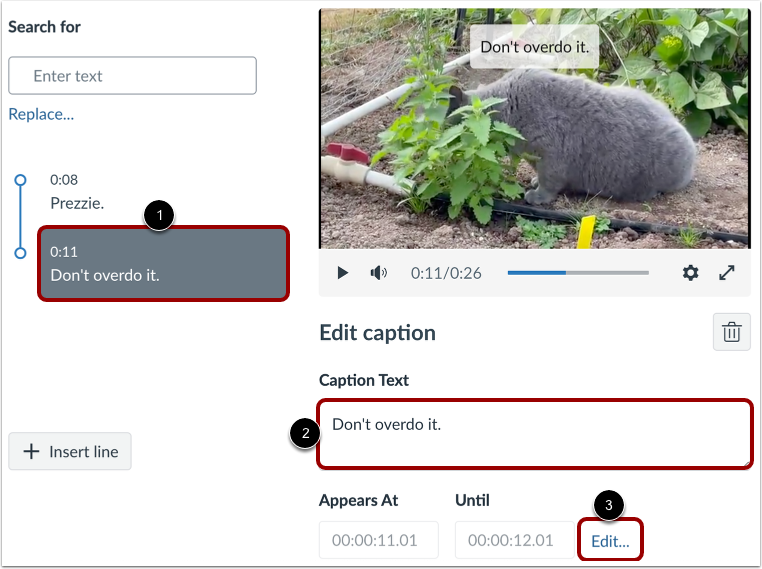
All caption lines and start times display in the editor.
Edit Captions
To edit a caption line, click the caption [1]. Edit the caption text in the Caption Text field [2]. To edit display times, click the Edit... link [3].
Publish or Close
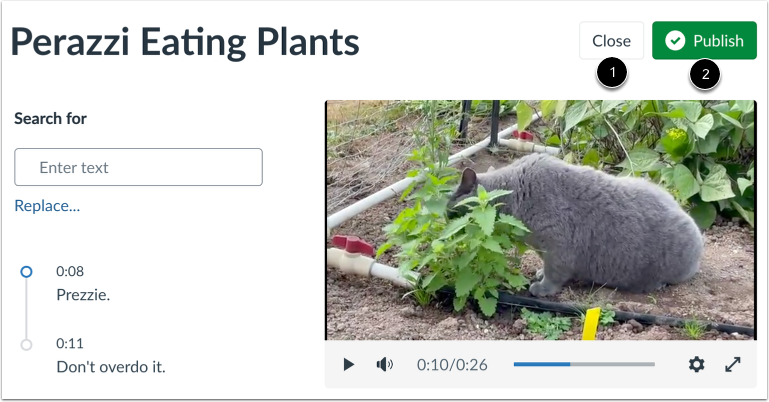
To close the caption editor with your captions, click the Close button [1].
Alternatively, to publish the media with your captions and close the editor, click the Publish button [2].
Notes:
- If available, Studio uploads and YouTube videos import captions automatically.
- Captions created from scratch are saved as a draft until you click the Publish button.
Manage Unpublished Captions
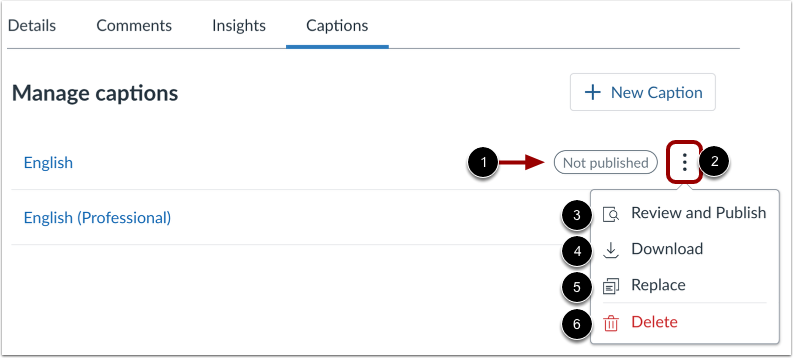
Unpublished captions display the Not Published status [1].
To manage the caption file, click the Options icon [2]. You can review, edit, or publish the captions in the Caption Editor [3]. You can also download as an SRT [4], replace [5], or delete [6] the captions file.
View and Manage Published Captions
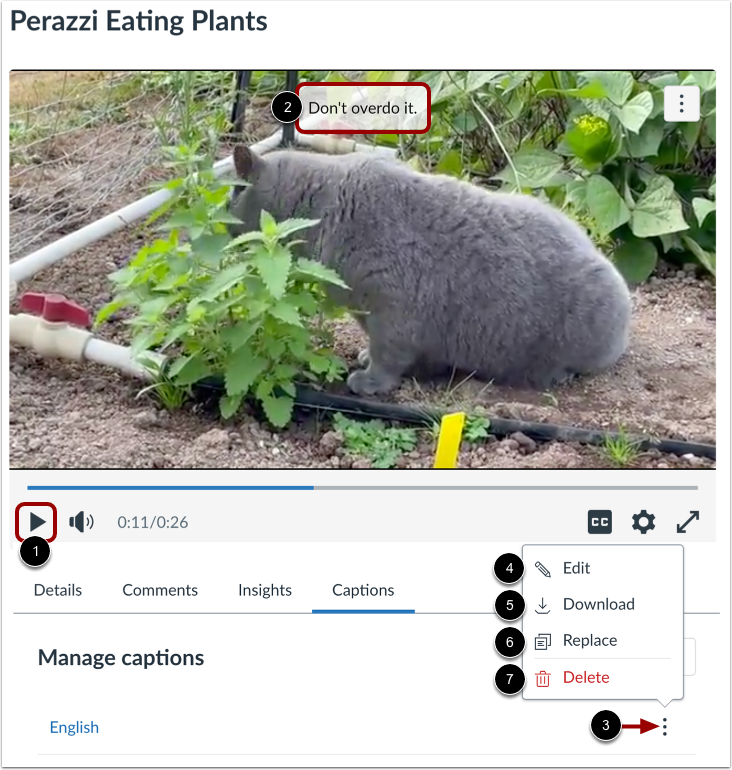
You can view published captions along with the media. Click the Play button [1] and view the captions [2].
To view options for a caption file, click the Options icon [3]. You can edit [4], download as an SRT file [5], replace [6], or delete [7] the caption file.
Enable Captions
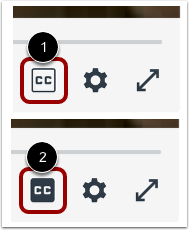
By default, captions are turned off [1]. To turn on captions in the media, click the Caption icon [2].
Notes:
- The Caption icon only displays if the media has captions.
- The media player prioritizes custom-created or uploaded captions in Studio over YouTube's auto-generated captions. Because the player remembers your last selection (sticky settings), the language will default to whatever you last viewed. You can change the caption language in the Settings menu.