In Mastery Connect, you can create passages to add to items. A passage displays alongside an item for students to read while answering the item. You can use the passage content editor to format text and include a variety of content such as images, math, tables, information, etc.
Open Items
In the Global Navigation menu, click the Items link.
Open Passages
Click the Passages tab.
Add Passage
Create button [1], then click the New Passage link [2].
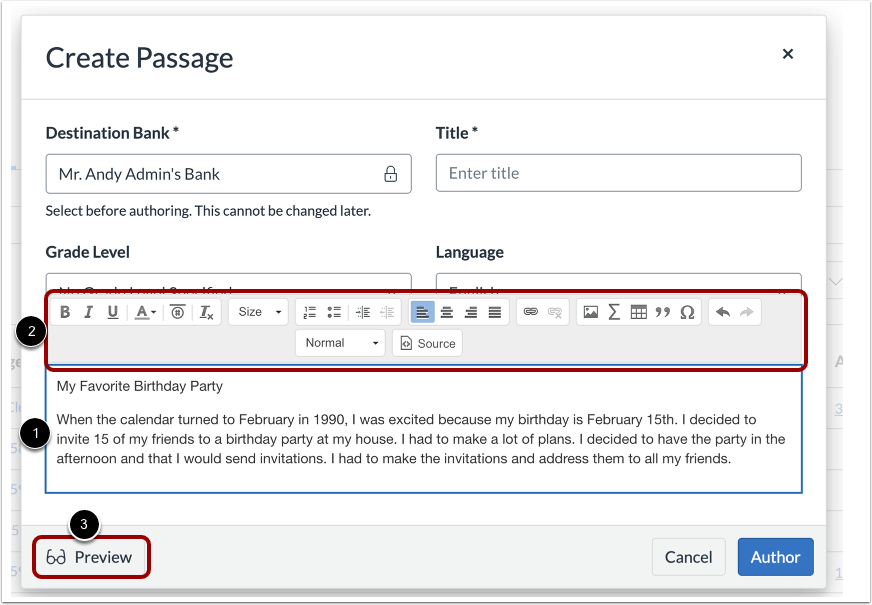
Enter Passage Details
Select a Destination Bank [1].
Enter a title for the passage in the Title field [2].
To select an optional grade level, click the Grade Level drop-down menu [3] and choose a grade range option.
By default, English is selected as the language for the passage. To create the passage in a different language, click the Language drop-down menu [4] and choose from the available options (Spanish, Chinese, French, Portuguese, or Vietnamese).
Enter the passage content in the Passage Text field [5].
Enter Passage Content
Enter text in the Passage field [1].
When you click in the Passage field, the passage content editor displays [2]. To format the passage text, add images, add math, etc., use the buttons and menus in the passage content editor.
To preview the passage, click the Preview button [3].
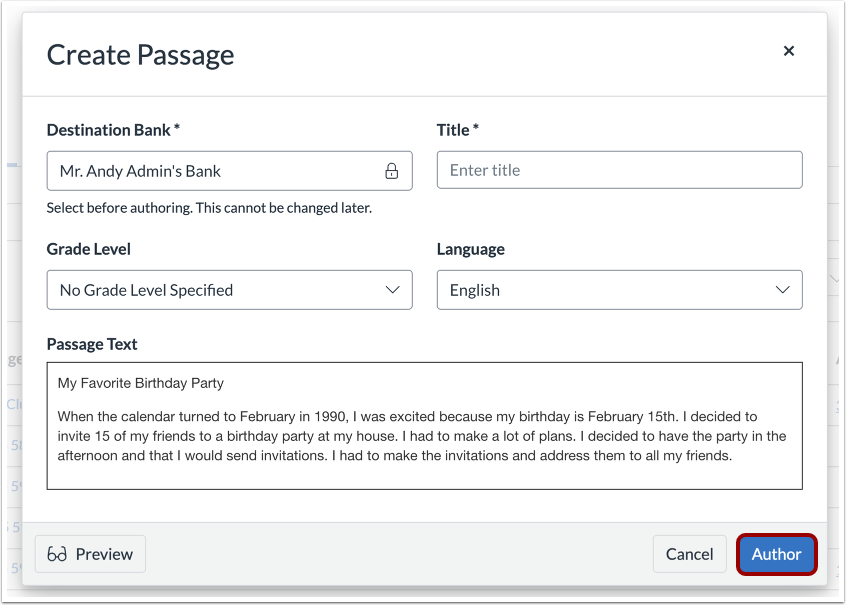
Author Passage
To save the passage, click the Author button.
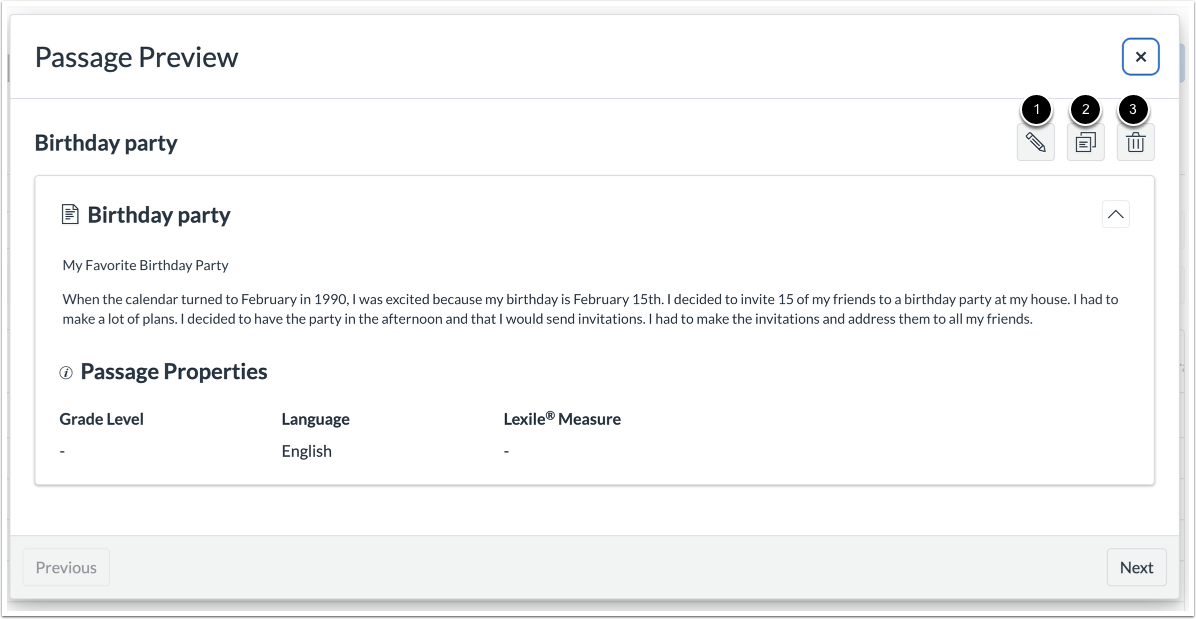
View Passage
From the passage preview, you can return to editing the passage, clone the passage, or delete the passage.
To return to passage editing, click the Edit button [1].
To clone the passage, click the Clone button [2].
To delete the passage, click the Delete button [3].