You can install and configure Commons in a self-hosted instance of Canvas. Self-hosted Canvas Commons instances can only share and view public resources.
Open Account
In Global Navigation, click the Admin link [1], then click the name of the account [2].
Add Developer Key
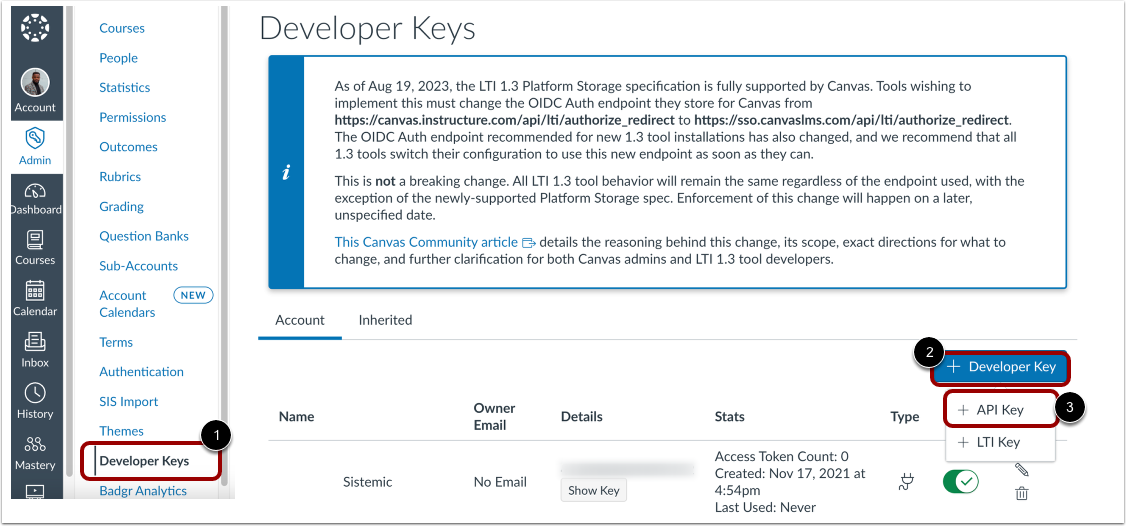
In Account Navigation, click the Developer Keys link [1], or navigate to /accounts/self/developer_keys.
Click the Developer Key button [2], then click the API Key link [3].
Enter Key Settings
Enter information int the following fields:
- Key Name [1]: An easily-identifiable, human-readable name for your Commons key.
- Owner Email [2]: The email address for an administrator in your self-hosted Canvas instance.
- Redirect URI (Legacy) [3]: https://lor.instructure.com
Click the Save button [4].
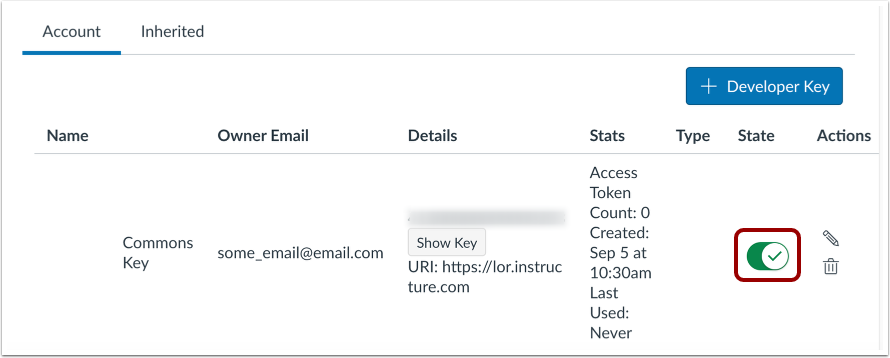
Enable Commons Key
To enable the Commons key, click the toggle in the State column.
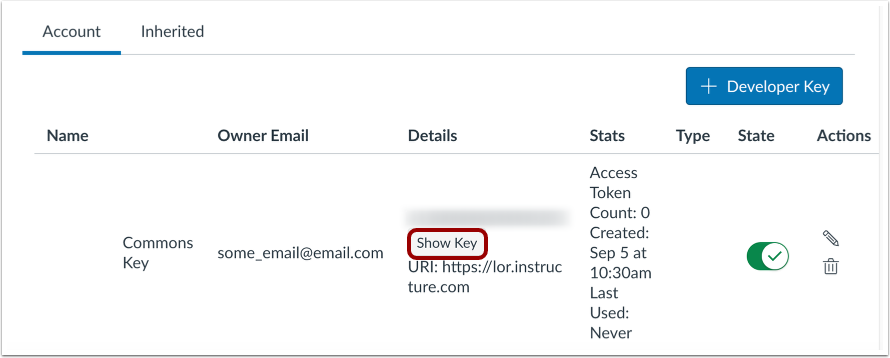
View Client Secret (Key)
To view the Client Secret (Key), click the Show Key button. Select and copy this key, as you will need it later in the setup process.
Open Account Settings
In Account Navigation, click the Settings link.
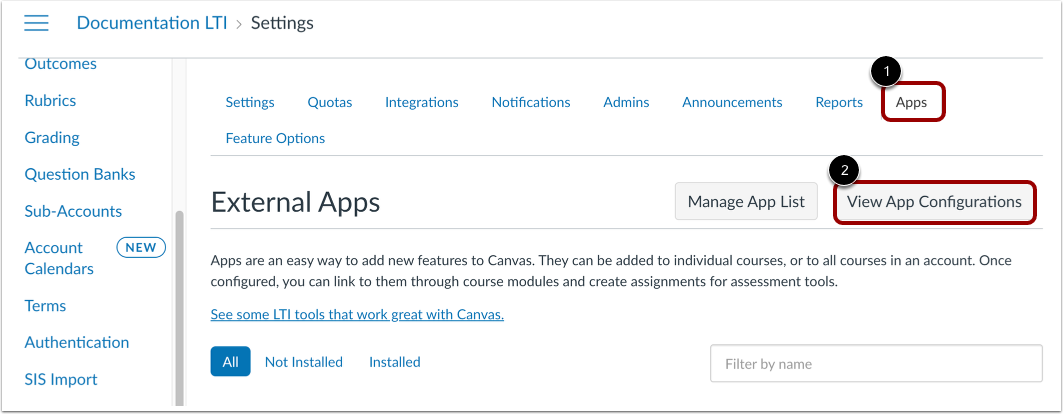
View App Configurations
Click the Apps tab [1].
Click the View App Configurations button [2].
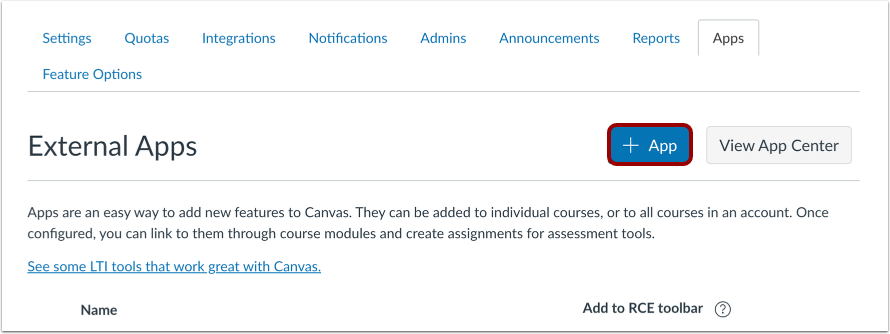
Add App
Click the Add App button.
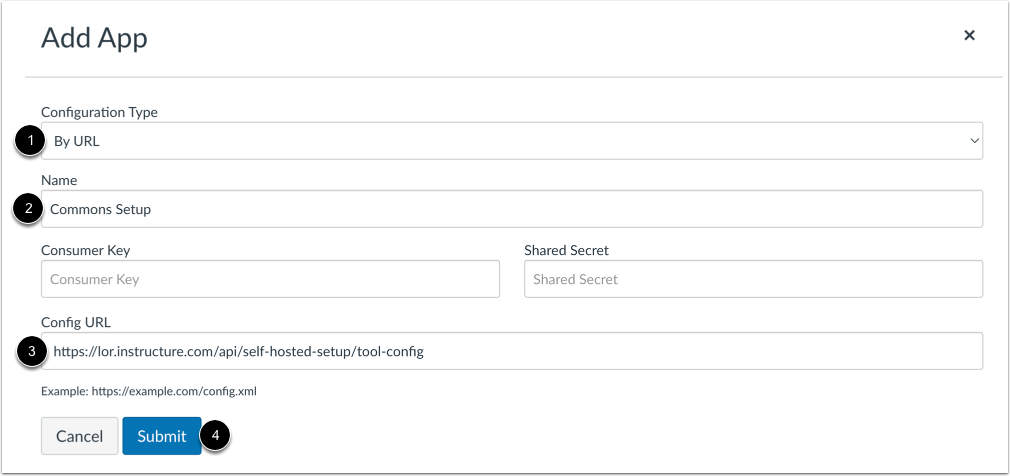
In the Configuration Type drop-down menu, select the By URL option [1].
Enter the following information:
Click the Submit button [4].
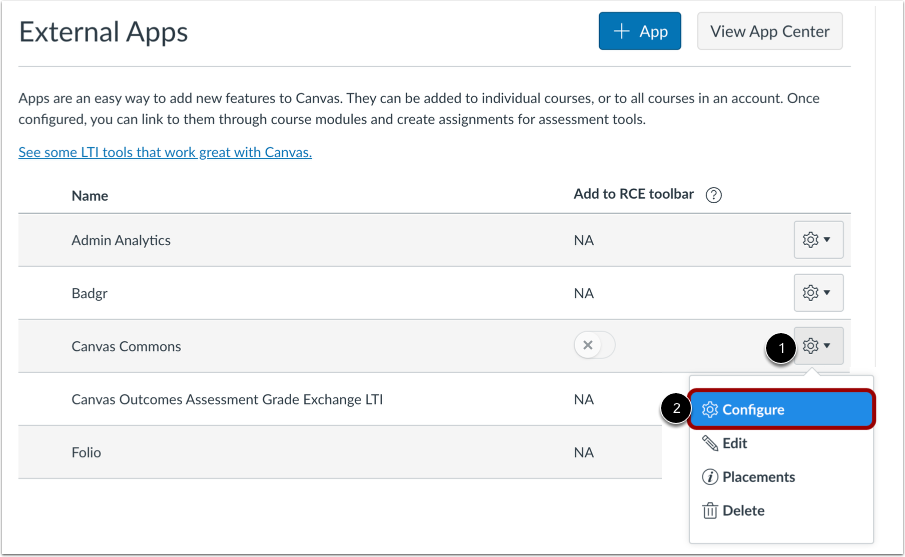
Click the Settings icon [1] and select the Configure option [2].
Enter App Configuration
Enter your Client ID in the Client ID field [1] and Client Secret (Key) in the Client Secret (Key) field [2]. Then click the Continue setup button [3].
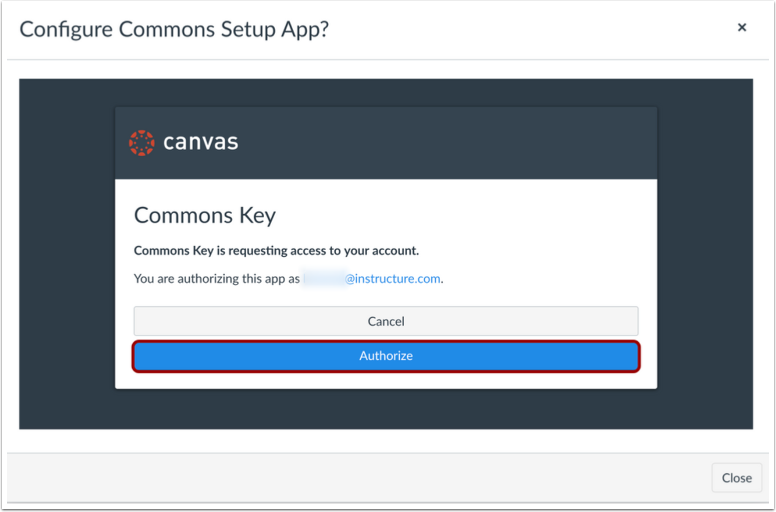
Authorize Commons Key
Click the Authorize button.
Complete Commons Setup
Click the Close button.
Refresh Browser
To see the Commons link in the Global Navigation menu, refresh the page.